Twisting two-ply cord (reverse wrap) – practise with jute or sisal
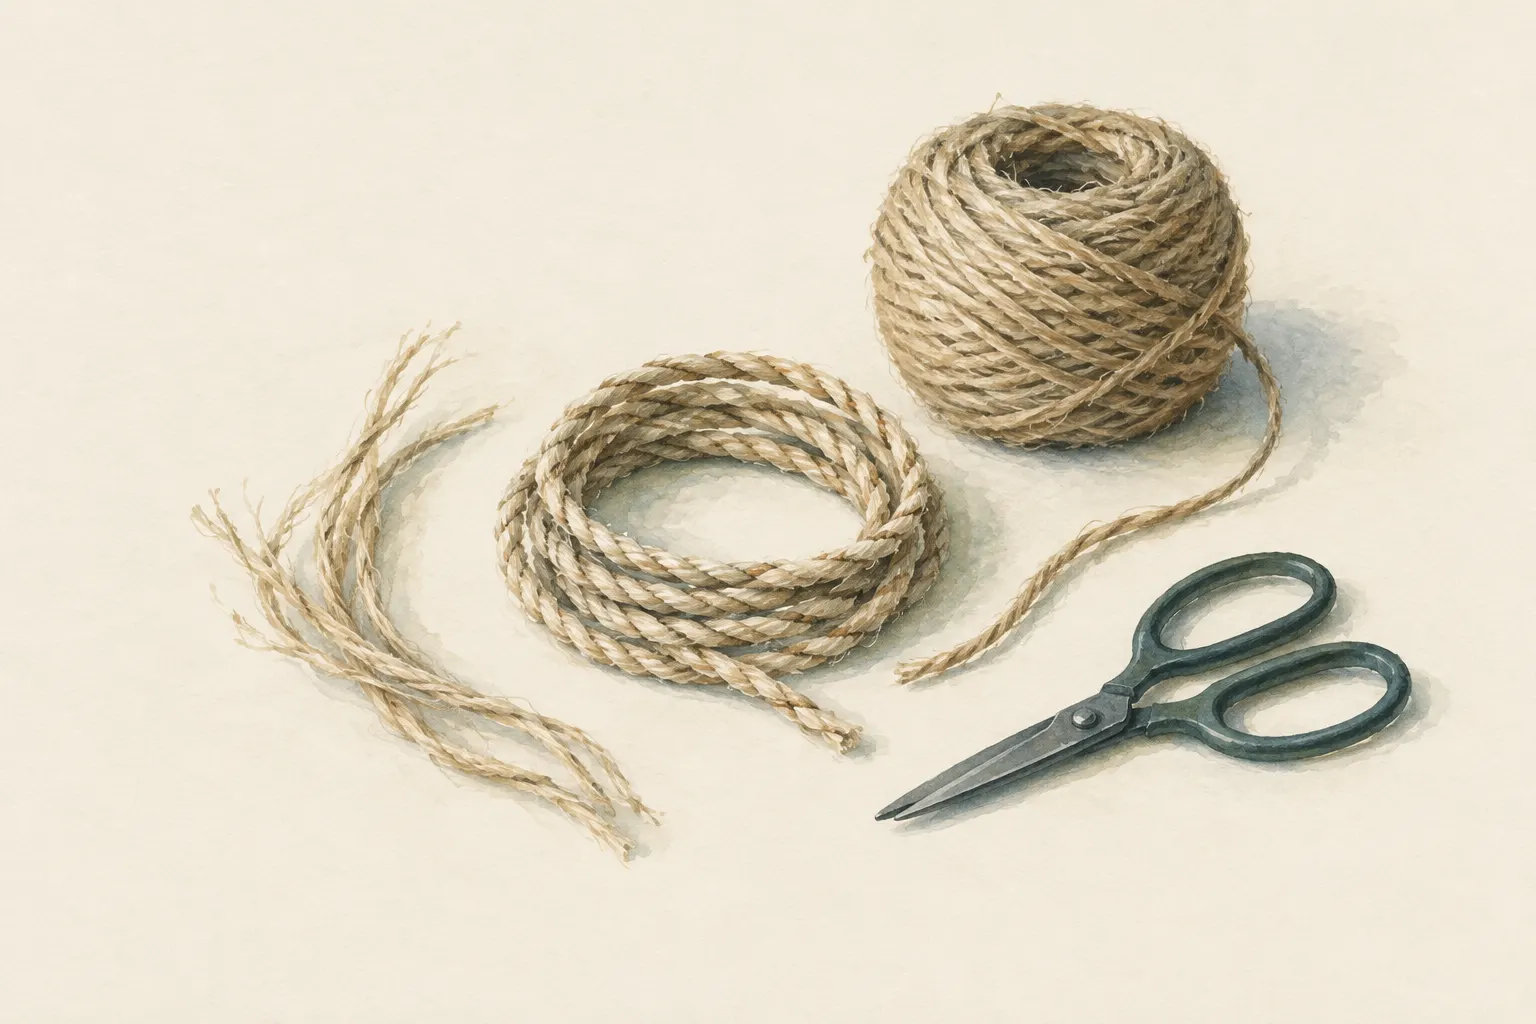
In the reverse wrap two strands of fibre are each twisted in one direction and laid around each other in the opposite direction. The counter-tension holds the cord together. Practise with bought jute or sisal twine that you unravel – that way you learn the technique without plant identification. The result is suitable for light ties, not for loads.
- First usable 50 cm in about 30 minutes
Explained simply
Have you ever looked closely at a rope? It is made of several thin strands twisted around each other. You can do exactly that on a small scale: take two bundles of fibre, twist each one in one direction and then lay them around each other in the other direction. This is called the reverse wrap.
The trick is like two children holding on to each other: each strand wants to untwist again, but the other one holds it in place. So the cord stays together by itself, without any glue. You can practise with a piece of jute or sisal twine from a hardware shop, unravelled into single fibres.
Important: home-made cord is a nice craft result, but it is not a climbing rope. Nobody knows how much it can hold. Use it only for light things like pendants or bundles – never for people or heavy loads.
How it works
Each strand is twisted in one direction, for example clockwise. This creates a tension in it that wants to turn it back. If you now lay the two strands around each other in the opposite direction, these two tensions work against each other. One strand cannot untwist without taking the other with it – and vice versa. The result is a cord that stabilises itself.
Bought laid rope is built on exactly this principle: fibres are twisted into yarns, yarns into strands and strands into rope, and each stage runs opposite to the one before. Once you have twisted cord yourself, you understand why a rope end unravels if it is not secured. The counter-tension is no longer balanced there.
Friction between the fibres holds everything together. Long, even fibres grip each other better than short broken bits. That is why unravelled jute or sisal is so good for practising: the fibres are long, even and cheap to get.
What really matters
The most common mistake is laying both strands in the same direction in which they were twisted. Then the cord immediately untwists again. Remember: twist one way, lay over the other way. At the start it helps to say it out loud: “twist – lay over – twist – lay over”.
Divide the fibre bundle unevenly at the start, so that one strand is a little longer. When a strand gets thin, lay in new fibres with an overlap. Because the strands are of different lengths, the joins later lie staggered rather than side by side. Two joins at the same point would be a weak spot where the cord breaks easily.
Twist evenly and rather firmly. Loosely twisted cord is soft, but it frays and holds little. Make sure both strands stay roughly the same thickness, and the cord will be round and even. Secure the end with a simple overhand knot or a whipping, that is a binding of thin thread.
Safety and limits
Home-made cord has an unknown and usually low strength. Depending on the fibre, the twist and the joins, it can be much weaker at one point than at another, and you cannot see that from outside. That is why it is never used for people, climbing, belaying or loads above people. Tested ropes with manufacturer data exist for that.
This entry deliberately practises the technique with bought material. Identifying wild plants and getting fibres from them requires reliable expert knowledge, and harvesting plants is regulated or forbidden in many places. With jute, sisal or even strips of fabric and plastic bags you learn the movement just as well – without that risk.
How to practise it
Take about half a metre of jute or sisal twine and unravel it until you have a loose bundle of fibres. Do not fold it exactly in the middle but a little off-centre, and hold the fold between thumb and index finger. Twist the strand furthest from you a few times in one direction and then lay it over the other one against the direction of twist. Now the other strand is on top – and everything starts again.
The first usable 50 centimetres take roughly half an hour; after that it gets faster. Many people find a calm rhythm, almost like knitting. The technique suits children well because it needs no tools; scissors are enough to trim the fibres. Nice first projects are a bracelet, a pendant or a cord for bundling tinder.
Good to know
Two-ply cord made on this principle is a very old technique, known in many cultures around the world. Long before there were factories, threads, nets and ties were made this way. Bushcraft textbooks describe it with various natural fibres.
The real value of this exercise lies in understanding. If you know how cord is built, you are more likely to notice when a rope is worn, why ends must be secured and why knots weaken a rope. The same technique also works with fabric scraps or plastic strips when no ready-made cord is at hand – for light tasks.
Step by step
Prepare fibres
Unravel a piece of jute or sisal twine and arrange the fibres into a loose bundle.
- 1
Prepare fibres
Unravel a piece of jute or sisal twine and arrange the fibres into a loose bundle.
- 2
Fold the bundle
Divide the bundle unevenly (one strand a little longer), fold it in the middle and hold the fold between thumb and index finger.
- 3
Twist the upper strand
Twist the strand furthest from you a few times in one direction (e.g. clockwise).
- 4
Wrap in reverse
Lay the twisted strand over the other one against the direction of twist. Now the other strand is on top – repeat.
- 5
Add fibres
When a strand gets thin, lay in new fibres with an overlap. The uneven split means the joins are staggered.
- 6
Secure the end
Secure the end with an overhand knot or whipping.
Common mistakes
- Laying both strands in the same direction
- Joins at the same point
- Twisting too loosely
Quick view
Materials
Jute or sisal twine (bought)
Unravelled into loose fibres
Low strength, absorbs water and rots – light loads and practice only.
Suitable for
- Understanding how rope is built
- Light ties, pendants, crafts
- Group and children's activities
Not suitable for
- Load-bearing or safety-relevant uses
- Climbing, belaying, lifting loads
- Identifying and harvesting wild plants
Prerequisites
- Some patience and dexterity
Safety
- Home-made cord has an unknown and usually low strength. Never use it for people, climbing or loads above people.
How it works
Each strand is twisted in one direction and the strands are laid around each other in the opposite direction. Each strand wants to untwist but is stopped by the other – so the cord stabilises itself. Bought laid rope is built on the same principle.
Advantages
- Builds understanding of rope construction
- Hardly any material needed
- Works well with children
Disadvantages
- Slow
- Low, unknown strength
Deep knowledge
Background
Two-ply cord made by the reverse-wrap principle is a very old technique found in many cultures. Bushcraft textbooks describe it with various natural fibres.
This entry deliberately practises the technique with bought material. Identifying and harvesting wild plants needs expert knowledge and is regulated in many places.
Variants
- With plastic strips
- The same technique works with strips of plastic bags or fabric – see cordage from textiles.
Common mistakes
- Laying both strands in the same direction
- Joins at the same point
- Twisting too loosely
Limits and risks
- No plant identification
- No strength figures
Material alternatives
Derived from material properties: a substitute must have all relevant properties. Observe the notes on the substitute.
- Jute or sisal twine (bought)
- Rope (Never use unknown or damaged rope for life-safety purposes.), Paracord (Not a climbing or safety rope.), Thin twine (Low breaking strength – light loads only.), Accessory cord (Use only certified cord after training for life-safety purposes.), Webbing (tubular webbing) (Inspect knotted webbing before every use.), Tree straps (Load only within the manufacturer's limits.)
Results come exclusively from structured entries. No improvised instructions are generated.
Sources
Ray Mears – Hodder & Stoughton (2002): Bushcraft
Making cordage from fibres
Mors L. Kochanski – Lone Pine Publishing: Bushcraft: Outdoor Skills and Wilderness Survival
Cordage and rope making