Cordage from clothing, fabric and plastic bags
An old T-shirt, a bed sheet or plastic bags can be cut into strips and twisted or braided into cord. That is enough for bundling, a washing line or tying light things. Such cord is unsuitable for loads above people, climbing or abseiling.
- 15–30 minutes for a few metres
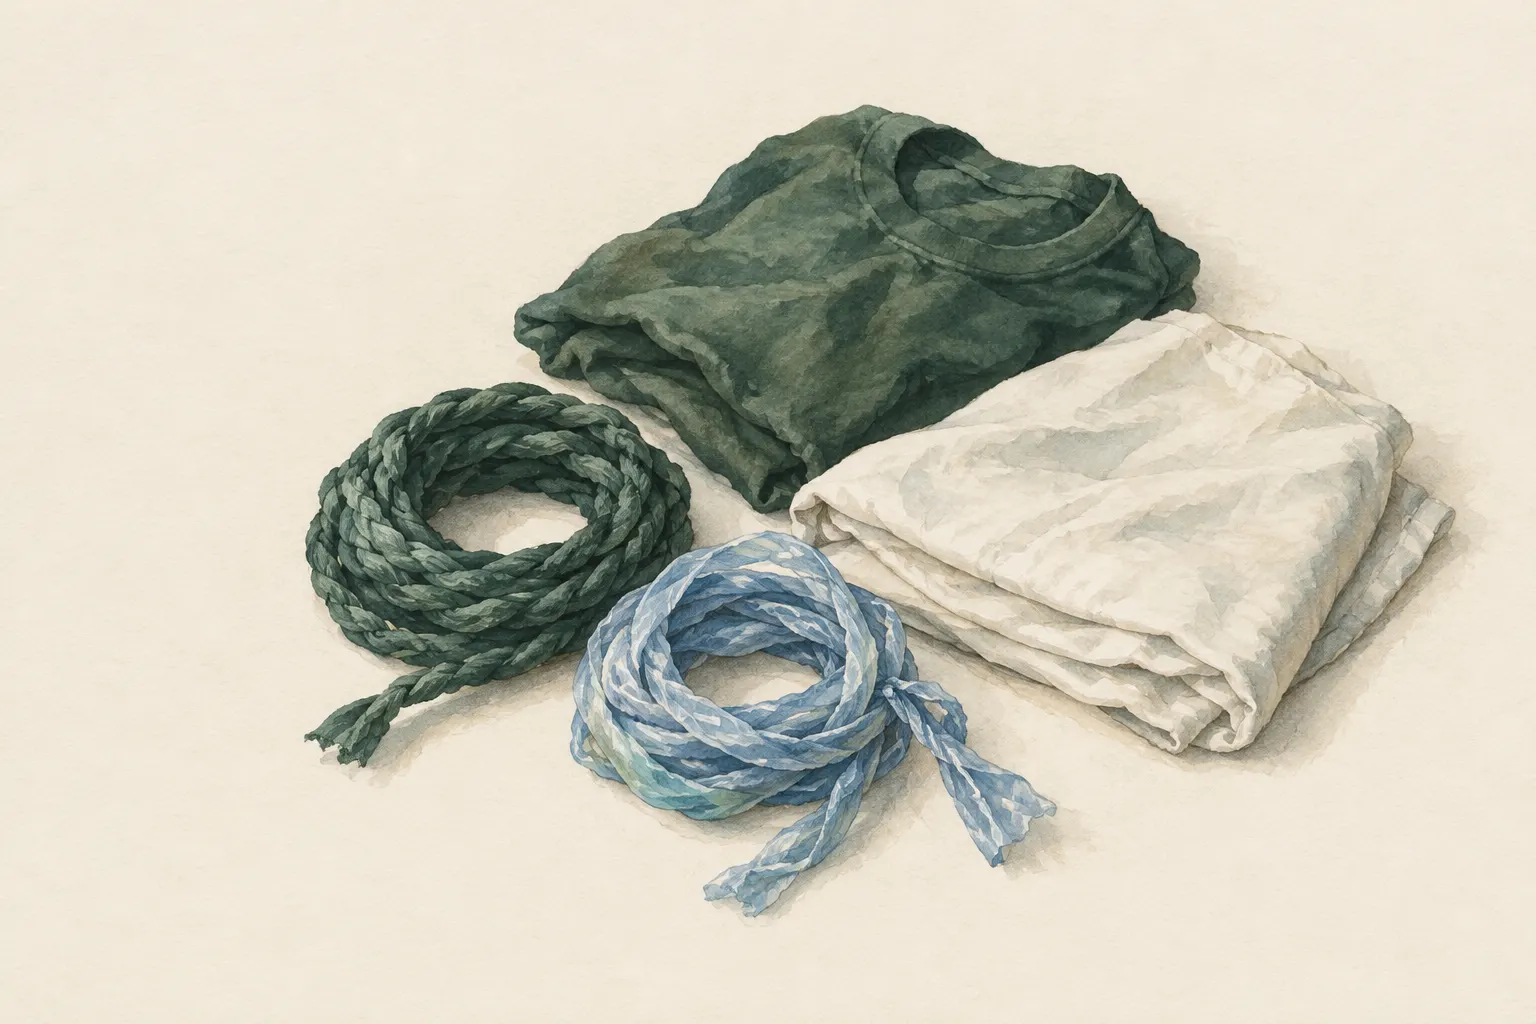
Explained simply
You can make cord out of an old T-shirt. You cut it into one long, narrow strip – a bit like peeling an apple in a single long spiral. When you pull on the strip, the edges curl in and it becomes round like a noodle. Plastic bags can be cut into strips and rings in the same way.
A single strip is weak, just as a single hair snaps easily. But if you twist or braid several strips together – like a plait – they share the work. They rub against each other and hold each other in place. That gives you a cord you can use to bundle things, put up a washing line or make a carrying handle.
The most important point: nobody knows how much a homemade cord like this can hold. So it must never hold people – not for climbing, swinging or abseiling – and never carry anything that could fall on someone. Plastic bags and cord loops also do not belong in the hands of small children.
How it works
A cord does not become strong because one thread is especially tough, but because many fibres work together. With the reverse-wrap method you first twist each strand in one direction and then lay both strands around each other in the opposite direction. Each strand wants to untwist – and in doing so presses itself even more firmly against the other. This opposing tension holds the cord together without any glue or knots.
Braiding with three strands is similar, just without twisting: the strands cross each other in turn and pinch one another in place. A braid is usually a little thicker and flatter than a twisted cord, but it is easy to learn and hardly ever comes undone by itself.
The material plays a part too. T-shirt fabric is a knit (jersey): it stretches, and its cut edges curl in when pulled instead of fraying. Bed sheets are woven; their edges tend to fray, and strips cut from them stay flat. Plastic bags made of thin film stretch a lot under load and slowly give way – a line made from them needs re-tensioning more often.
What really matters
Even strips matter more than fast work. Every little nick or jag in the cut edge is a place where a tear can start – just as a crisp packet tears most easily at the little notch. So cut with sharp scissors in calm, long strokes and keep the width as even as you can. For a T-shirt, the entry gives about 2–3 cm as the strip width.
When lengthening, stagger the joins: if all strands end and restart at the same point, a weak spot forms there. Twist new strips in with a generous overlap, or join plastic rings with loops. Secure the ends with an overhand knot so nothing untwists.
Also remember that every knot weakens a cord, because it is bent sharply there. That is just as true of bought rope. For a washing line or a bundle it does not matter – but it is one more reason why improvised cord is only fit for light tasks.
When it makes sense – and when not
Good uses are anything where a break is at most annoying: bundling firewood or a sleeping pad, a washing line in camp or in the garden, a snapped shoelace, a handle for a bag, loops for hanging things on a backpack. At home during a longer power cut, a line made from old textiles can also be handy, for example for drying laundry.
One simple test question helps: "What happens if the cord breaks right now?" If the answer is "then the bundle falls apart", all is well. If it is "then someone falls" or "then something lands on someone", improvised cord is the wrong choice. Climbing, abseiling, securing people, loads above people and towing are explicitly ruled out.
Also, do not sacrifice clothing you need to stay warm. In the cold, a dry jumper is worth far more than a few metres of cord. Use fabric scraps, broken shirts, bags or material that is left over anyway.
Safety: what to watch out for
The strength of homemade cord is unknown. It depends on the fabric, the strip width, nicks, knots and moisture – and it cannot be reliably estimated without testing equipment. That is why this page deliberately gives no figures, and why the rule has no exceptions: never for people, never for loads above people.
Plastic bags, film strips and long cord loops are dangerous for babies and toddlers because they can suffocate or become strangled. Keep material and finished cord out of reach and do not string lines where small children play or sleep.
When cutting: scissors are safer than a knife. If you use a knife, cut away from your body on a firm surface. Keep cord made from synthetic fabric and plastic away from fire and embers – it melts and can drip.
How to practise it
Practise at home with an old T-shirt, with no time pressure. Cut off the body below the sleeves, then cut one long strip in a spiral and stretch it bit by bit. Then try both methods: once twisting, once braiding. You will soon notice which one comes more easily to you.
Good practice tasks are small and everyday: tying up a bundle of newspapers, stringing a short washing line on the balcony or making a handle for a shopping bag. Watch how much the cord stretches and whether it needs re-tensioning after a day.
With children this makes a nice craft project – as long as adults do the cutting and the finished cords are not used for climbing or swinging. Incidentally, cords braided from fabric scraps were traditionally used for rag rugs too.
Step by step
Cut strips
T-shirt: cut across below the sleeves and cut a continuous strip about 2–3 cm wide in a spiral. Plastic bags: remove handles and bottom, cut into rings and loop them together.
- 1
Cut strips
T-shirt: cut across below the sleeves and cut a continuous strip about 2–3 cm wide in a spiral. Plastic bags: remove handles and bottom, cut into rings and loop them together.
- 2
Stretch
Pull knit-fabric strips firmly – the edges curl in and the strip becomes round.
- 3
Twist or braid
Twist two strips using the reverse-wrap method or braid three strips into a plait.
- 4
Lengthen
Twist new strips in with an overlap or join them with loops.
- 5
Secure ends
Secure the ends with an overhand knot.
Common mistakes
- Strips with nicks or uneven width
- Sacrificing needed clothing
- Loading the cord with people
Quick view
Materials
Cotton cloth / T-shirt
Removes coarse particles only – no disinfection.
Heavy-duty bin bag (large)
Or shopping bags
Suffocation risk: never pull plastic bags over the head or face and keep them away from small children.
Not breathable – sweating and condensation.
Knife (fixed or locking blade)
Or scissors
Cut away from your body.
Rules on carrying knives differ by region – check local rules.
Suitable for
- Bundling, washing line, loops
- Replacement laces
- Makeshift carrying handles
Not suitable for
- Climbing, abseiling, belaying people
- Loads above people
- Towing
Prerequisites
- Spare textiles – not clothing you need for warmth
- Basic knots
Safety
- Do not cut up clothing that is needed for warmth in the cold.
- Keep plastic bags and strips away from small children (suffocation and strangulation risk).
How it works
Single strips are weak and stretch. Twisted or braided, several strips share the load and friction holds them together. Even strips without nicks tear less easily.
Advantages
- Made from waste material
- No plant knowledge needed
Disadvantages
- Low, unknown strength
- Time-consuming
Deep knowledge
Background
Making cord from fabric scraps is an old household technique, for example for rag rugs. Survival manuals list clothing and equipment as raw material when rope is missing.
The limit is clear: anything that holds or secures people needs tested rope.
Variants
- Paracord inner strands
- If you have paracord, the inner strands can serve as thin sewing cord – the sheath remains usable as cord.
Common mistakes
- Strips with nicks or uneven width
- Sacrificing needed clothing
- Loading the cord with people
Limits and risks
- No strength figures
- No plant fibres
Material alternatives
Derived from material properties: a substitute must have all relevant properties. Observe the notes on the substitute.
- Heavy-duty bin bag (large)
- Tarp, Plastic sheet / large bin bag (Tears easily; never pull over the head (suffocation risk).), Emergency blanket (Tears easily once punctured; short-term shelter only.), Document folder (waterproof) (Store securely – contains sensitive personal data.), Rain poncho (When used as a shelter, it no longer protects your body from rain.), Bivy bag (Never fully close off the face.), Tent (Do not cook or heat inside the tent (fire and carbon monoxide danger).), Group shelter bag (Airtight – ventilate regularly.)
Results come exclusively from structured entries. No improvised instructions are generated.
Sources
Headquarters, Department of the Army (USA) (2002): FM 3-05.70 Survival
Improvised cordage and use of available equipment