Orienting the map
An oriented map is turned so that its north points towards real north. Then left on the map is left in the terrain – which makes recognising paths and features much easier. It works with a compass or by using unambiguous terrain features.
- Under a minute
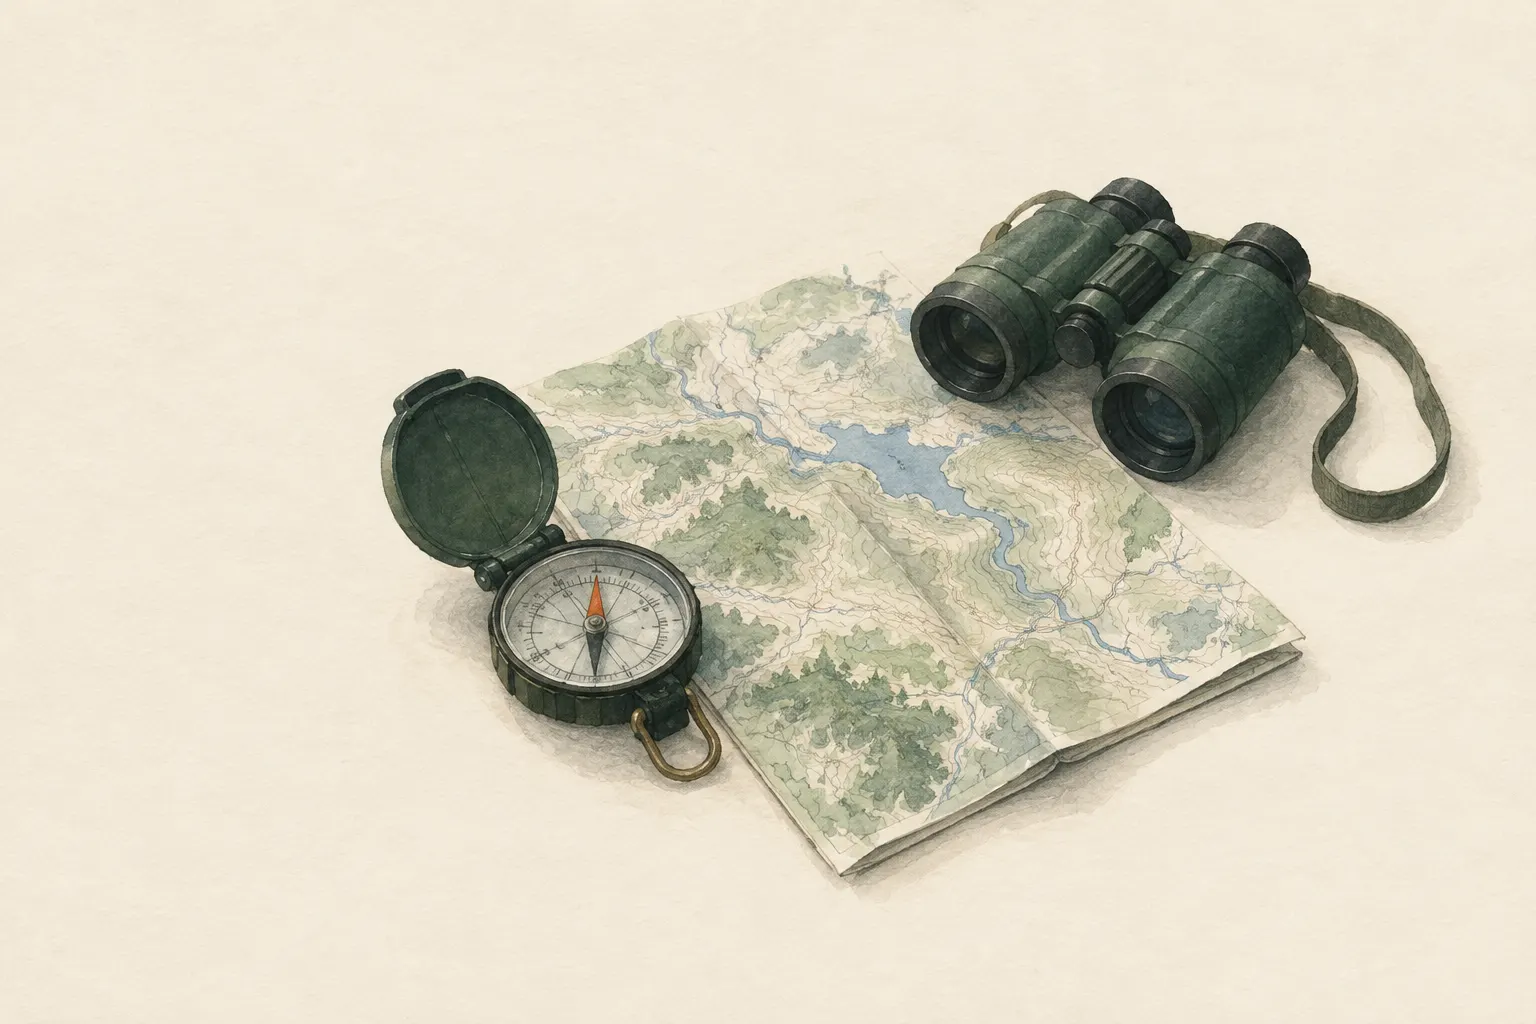
Explained simply
Imagine you are standing at a fork in the path holding the map with 'north' at the top – but you are facing south. Then everything is swapped: the path that branches left on the map really branches off to the right. No wonder people get muddled.
'Orienting the map' means turning it so that its north points towards real north. Then the map lies exactly like the landscape around you. What is left on the map is left outside too. The lake in front of you on the map really is in front of you. The writing will sometimes be sideways or upside down – that is fine.
You can orient the map with a compass, or with something you recognise for certain, such as a church tower or a summit. Important: always check with a second feature before you choose a path.
How it works
With a compass it is especially easy. Lay the long edge of the compass along a north–south line on the map, with the direction arrow pointing to the top of the map. Now turn map and compass together – not just the compass! – until the red end of the needle also points to the top of the map. Done: the map is oriented.
Without a compass you need a feature you are completely sure of, both on the map and in the landscape: a distinctive summit, a lake, a church tower, a long straight road. Turn the map so that the direction from your position to that feature on the map matches the direction outside. Even simpler: stand on a straight path and turn the map until the path on the map runs the same way as the path under your feet.
For orienting the map this accuracy is almost always enough. Declination – the small difference between map north and compass north – usually does not matter here. For precise bearings over long distances, that is different.
What really matters
Keep the map oriented while you walk. When you go round a bend, you turn – but the map turns in your hands as if it stayed lying on a table. Many people unconsciously turn the map back to 'north up' because the writing is readable that way. That is exactly how wrong turns happen.
A misidentified feature leads to a wrongly oriented map. If you mistake one hill for another, everything seems to fit afterwards – just twisted. So the rule is: always check at least one other feature. Does the stream, the forest edge or the direction of the slope also match? If not, either your position or the orientation is wrong.
Keep the map as flat as possible and the compass away from metal, such as a car roof, a railing or a phone in your chest pocket.
Typical situations
A quick orientation is worth it at every junction. It takes less than a minute and prevents most mistakes where you know the right path but take it in the wrong direction. In orienteering, where speed matters, the map is always kept oriented.
An oriented map also helps you work out where you are: things you see are much easier to find on the map when they lie in the same direction. It works just the same in a town – with a street map and a striking building.
For children and beginners, orienting the map is often the best way into navigation because it creates an instant 'aha': suddenly map and world fit together.
When it is enough – and when not
Orienting the map is a tool for the big picture: which junction? Where is the lake? Which side of the valley am I on? For these questions it is fast and reliable.
For a precise direction over a longer distance – for example across trackless forest or in fog – it is not enough. Then you take a bearing with the compass, correcting for declination where needed, and check distance and terrain features along the way.
Without a compass and without unambiguous features (for example in thick fog on a plateau) you cannot orient the map reliably. Then it is better to stop and wait, or go back on a known path, than to guess.
How to practise it
Take a street map or a map of your neighbourhood outside. Stand at a junction, orient the map with the compass and say aloud which street leads where. Then orient it again without a compass, using only a building or a street – and compare.
Practise as a family: at each junction a child gets to orient the map and announce the way. It is fun and trains the eye to see that map and landscape belong together.
Step by step
Hold the map flat
Hold the map level or lay it on a flat surface, away from metal.
- 1
Hold the map flat
Hold the map level or lay it on a flat surface, away from metal.
- 2
Orient with a compass
Place the compass with its edge parallel to a north–south line on the map. Turn map and compass together until the red end of the needle points to the top of the map.
- 3
Or: with terrain features
Without a compass: find a surely identified feature (summit, lake, church tower, straight road) and turn the map until its direction on the map matches the real direction.
- 4
Match the surroundings
Compare further features. If they do not match, either the assumed position or the orientation is wrong.
Common mistakes
- Turning the map back to 'north up' while walking and getting confused
- Aligning the needle to south instead of north
- Orienting with a misidentified feature
Quick view
Materials
Topographic map
Check the publication date – paths and buildings may have changed.
Protect from wet (map case or bag).
Baseplate compass
Metal, magnets and electronics nearby deflect the needle.
Bubbles in the capsule or a sluggish needle indicate a defect.
Suitable for
- Every junction and fork
- Working out your position
- Children and beginners
Not suitable for
- Precise directions over long distances – take a bearing for that
Prerequisites
- Rough knowledge of your position or visible features
Safety
- The oriented map shows where things should be. Always confirm with at least one other feature before choosing a path.
How it works
Map and terrain are brought into line. With a compass, align the needle parallel to the map's north–south lines (north end towards the top of the map). Without a compass, turn the map so that the direction to a surely identified feature on the map matches the direction in the terrain.
Advantages
- Very quick
- Hardly any prior knowledge needed
- Reduces wrong turns at junctions
Disadvantages
- Text on the map is often sideways or upside down
- Without a compass only possible with unambiguous features
Deep knowledge
Background
Orienting the map is one of the first techniques taught in navigation courses because it prevents most wrong turns at junctions. In orienteering the map is always kept oriented.
For orienting the map, accuracy without declination correction is usually sufficient; that does not apply to precise bearings.
Common mistakes
- Turning the map back to 'north up' while walking and getting confused
- Aligning the needle to south instead of north
- Orienting with a misidentified feature
Limits and risks
- Does not give an exact direction over long distances
- Requires correctly identified features or a working compass
Sources
Headquarters, Department of the Army (USA) (2001): FM 3-25.26 Map Reading and Land Navigation
Orienting the map with compass and terrain features