Reading a map: scale, contour lines, legend
A topographic map shows not only paths but also the terrain. If you understand scale, contour lines and the legend, you can estimate distances, recognise steepness and look for landmarks deliberately – even without signal or battery.
- Basics in an hour; reliable reading takes practice in the field
Explained simply
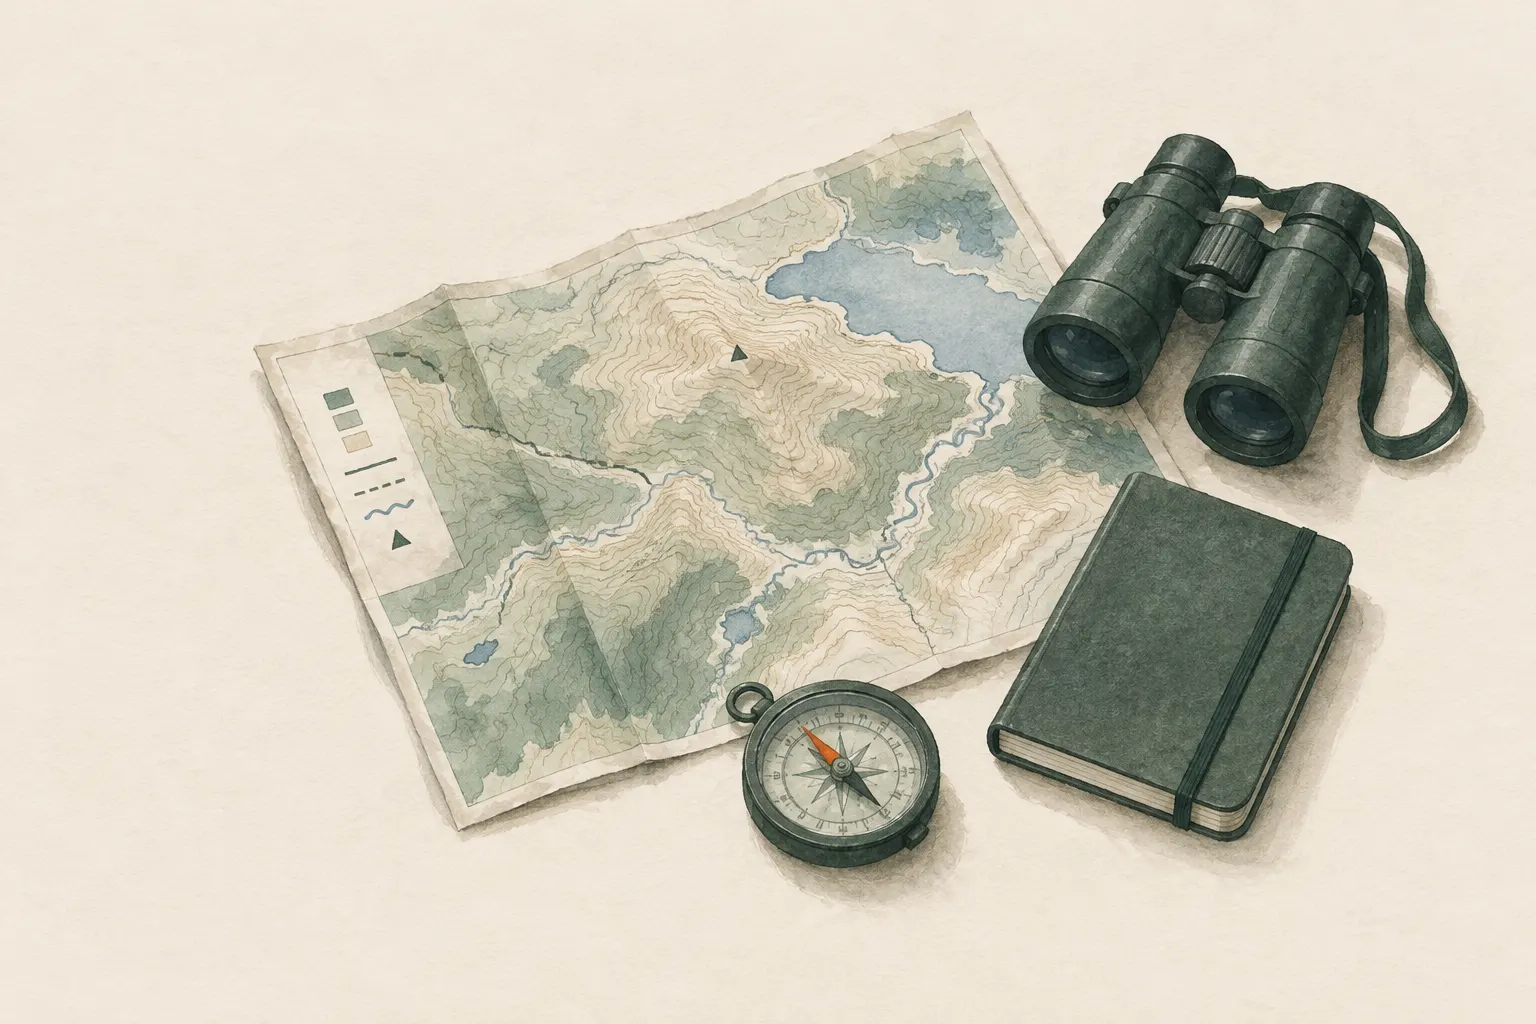
A map is like a photo of the landscape taken from very high up and then shrunk a lot. So that everything fits on one sheet of paper, every centimetre on the map stands for a much longer distance in real life. Exactly how much is stated in the scale. At '1:25,000', one centimetre on the map is 250 metres outside – about two and a half football pitches end to end.
On good hiking maps you see lots of thin, curvy lines. These are contour lines. Each line joins places that are at the same height – as if you sliced a mountain into layers of equal thickness and drew the edges of the slices from above. When the lines are close together, it is steep. When they are far apart, it is flat.
The legend is the map's 'translation table': it explains what every symbol means. The most important safety point: a map can be old. If a path is closed or gone in real life, what you see outside counts – not what is on the paper.
How it works
Scale is a ratio. '1:25,000' means: everything in reality is 25,000 times bigger than on the map. One centimetre on the map therefore equals 25,000 centimetres outside, which is 250 metres. At 1:50,000 it is 500 metres per centimetre. The smaller the number after the colon, the more detail the map shows – but the smaller the area it covers.
Contour lines turn a flat sheet into a landscape. The height difference from one line to the next is called the contour interval and is stated in the legend. Often every fifth line is printed thicker and carries a height value; the numbers are usually written so that their top faces uphill. That tells you where the ground rises and where it falls.
The legend and the map margin also tell you when the map was made, which grid it uses and how path types, rock, forest and water are shown. These symbols are not the same everywhere – every country and publisher has its own habits. So a quick look at the legend is worth it with every new map.
What really matters
Measure distances along the path, not as a straight line. A piece of string laid along the bends and then measured against a ruler shows the real length. Winding mountain paths are often much longer than the gap between start and finish suggests. On top of that, every metre uphill or downhill takes longer than on flat ground.
Read not just the paths but the terrain too. Two paths may look equally long on the map – one stays flat in the valley, the other crosses a dense bundle of contour lines. For safety in particular, contour lines are the most important information on the map, because they show where a short stretch leads through steep, possibly dangerous ground.
A common and risky thinking error: when the landscape does not match the map, you 'bend' it in your head until it somehow fits. Honest scepticism is better. If something does not fit, stop early and check again instead of walking on and hoping.
Limits of the map
A map shows the state of things when it was made. Forest roads get built, paths are moved, bridges removed, forest is cut down or grows back. So look at the publication year and watch for closure signs and notices on the ground.
The map also shows no current conditions: no snow, no flooding, no fallen trees, no ice on the path. And small steps in the terrain that are lower than the contour interval can vanish between two contour lines. A spot that looks harmless can still contain a small rock step.
Digital maps in apps follow the same rules. But zooming in changes the scale, and some details only appear at certain zoom levels. If you can read paper maps, you also understand digital maps better.
How to practise it
Start where you know your way around: your town, a park or a forest you already know. Look on the map for things you know – a crossroads, a stream, a hill – and see how they are shown. That way you learn the map's language without getting lost.
A good game for families: someone points at a spot on the map and the others predict what it looks like there – steep or flat, forest or meadow, uphill or downhill. Then you go there and check. Over time, looking at contour lines, you will almost see the hills in front of you.
Practise measuring as well: estimate a distance on the map, measure it, and then walk it. That gives you a feel for how far 500 metres or a kilometre really is.
Good to know
In many countries topographic maps are published by national mapping agencies. Hiking maps from private publishers often build on them and add marked trails, huts and route notes. Scales around 1:25,000 or 1:50,000 are common for hiking.
Maps are sensitive to rain and wind. A waterproof case or a plastic bag protects them, and a folded map with the current area on top is much easier to handle in the wind.
A map works without power or signal. It is also an excellent tool for talking with others about a trip – or for describing to rescuers exactly where you are.
Step by step
Read the legend and margin information
Before use, read the scale, contour interval, publication year, grid and symbol key. Note how path types, rock, water and forest are shown.
- 1
Read the legend and margin information
Before use, read the scale, contour interval, publication year, grid and symbol key. Note how path types, rock, water and forest are shown.
- 2
Measure distances
Measure the route with a ruler or a piece of string along the path and convert using the scale. Winding paths are longer than the straight line suggests.
- 3
Read terrain from contour lines
Look for height numbers to tell uphill from downhill. Tight lines = steep, wide lines = flat. V- or U-shaped lines show valleys (point uphill) or spurs/ridges (point downhill).
- 4
Choose handrails and landmarks
Mark easily recognisable features along the route – streams, path junctions, forest edges, hilltops. They help confirm your position along the way.
- 5
Check as you go
Compare map and terrain regularly. If expected features do not appear, stop early and reassess instead of carrying on.
Common mistakes
- Mixing up scales (e.g. 1:25,000 and 1:50,000)
- Ignoring the contour interval
- Reading only paths and ignoring the terrain
- Making the terrain 'fit' the map when it does not
- Using an outdated map
Quick view
Materials
Topographic map
As current as possible and at a suitable scale for the area
Check the publication date – paths and buildings may have changed.
Protect from wet (map case or bag).
Baseplate compass
The ruler on the compass helps measure distances
Metal, magnets and electronics nearby deflect the needle.
Bubbles in the capsule or a sluggish needle indicate a defect.
Suitable for
- Hikes and trips of all kinds
- Planning at home
- Situations without signal or power
Not suitable for
- A substitute for local knowledge in dangerous terrain without practice
- Outdated maps of heavily changed areas
Prerequisites
- A map of the area
- Some time to practise in familiar terrain
Safety
- Maps can be outdated: paths are moved, bridges removed, forest roads newly built. When in doubt, follow the actual terrain and local closures, not the map blindly.
- Closely spaced contour lines mean steep terrain. Cliffs and drop-offs are shown differently depending on the map – check the legend.
How it works
The scale states how much reality is reduced: at 1:25,000, 1 cm on the map equals 25,000 cm, i.e. 250 m on the ground. Contour lines join points of equal height; their spacing shows steepness, their shape shows summits, valleys, saddles and ridges. The height difference between two lines (contour interval) is stated in the legend. The legend explains all symbols – they differ between publishers and countries.
Advantages
- Works without power or signal
- Gives an overview of the terrain
- Good basis for planning and talking to rescuers
Disadvantages
- Requires practice
- Can be outdated
- Sensitive to wet and wind
Deep knowledge
Background
In many countries topographic maps are published by national mapping agencies; hiking maps from private publishers add paths and waymarks. Representations, grids and symbols differ, but the basic principles are the same everywhere.
Contour lines are the most important safety information: they show whether a short distance leads through steep, possibly dangerous terrain. Land navigation manuals therefore treat map reading as the foundation for every other technique.
Variants
- Digital maps
- Topographic maps are also available as apps and offline downloads. The reading basics are the same, but scale and level of detail change as you zoom.
Common mistakes
- Mixing up scales (e.g. 1:25,000 and 1:50,000)
- Ignoring the contour interval
- Reading only paths and ignoring the terrain
- Making the terrain 'fit' the map when it does not
- Using an outdated map
Limits and risks
- Maps do not show current conditions such as snow, floods or closures
- Small steps in the terrain can hide between two contour lines
Sources
Headquarters, Department of the Army (USA) (2001): FM 3-25.26 Map Reading and Land Navigation
Scale, contour lines and map symbols
The Mountaineers Books (2017): Mountaineering: The Freedom of the Hills, 9th edition
Map reading in the mountains