Sharpening a knife on a stone
A sharp knife cuts with less force and slips less often. Sharpening means removing material evenly at the edge until the bevels from both sides meet in a fine edge. What matters is a consistent angle, feeling for the burr and progressing from coarse to fine.
- 10–30 minutes depending on the blade's condition
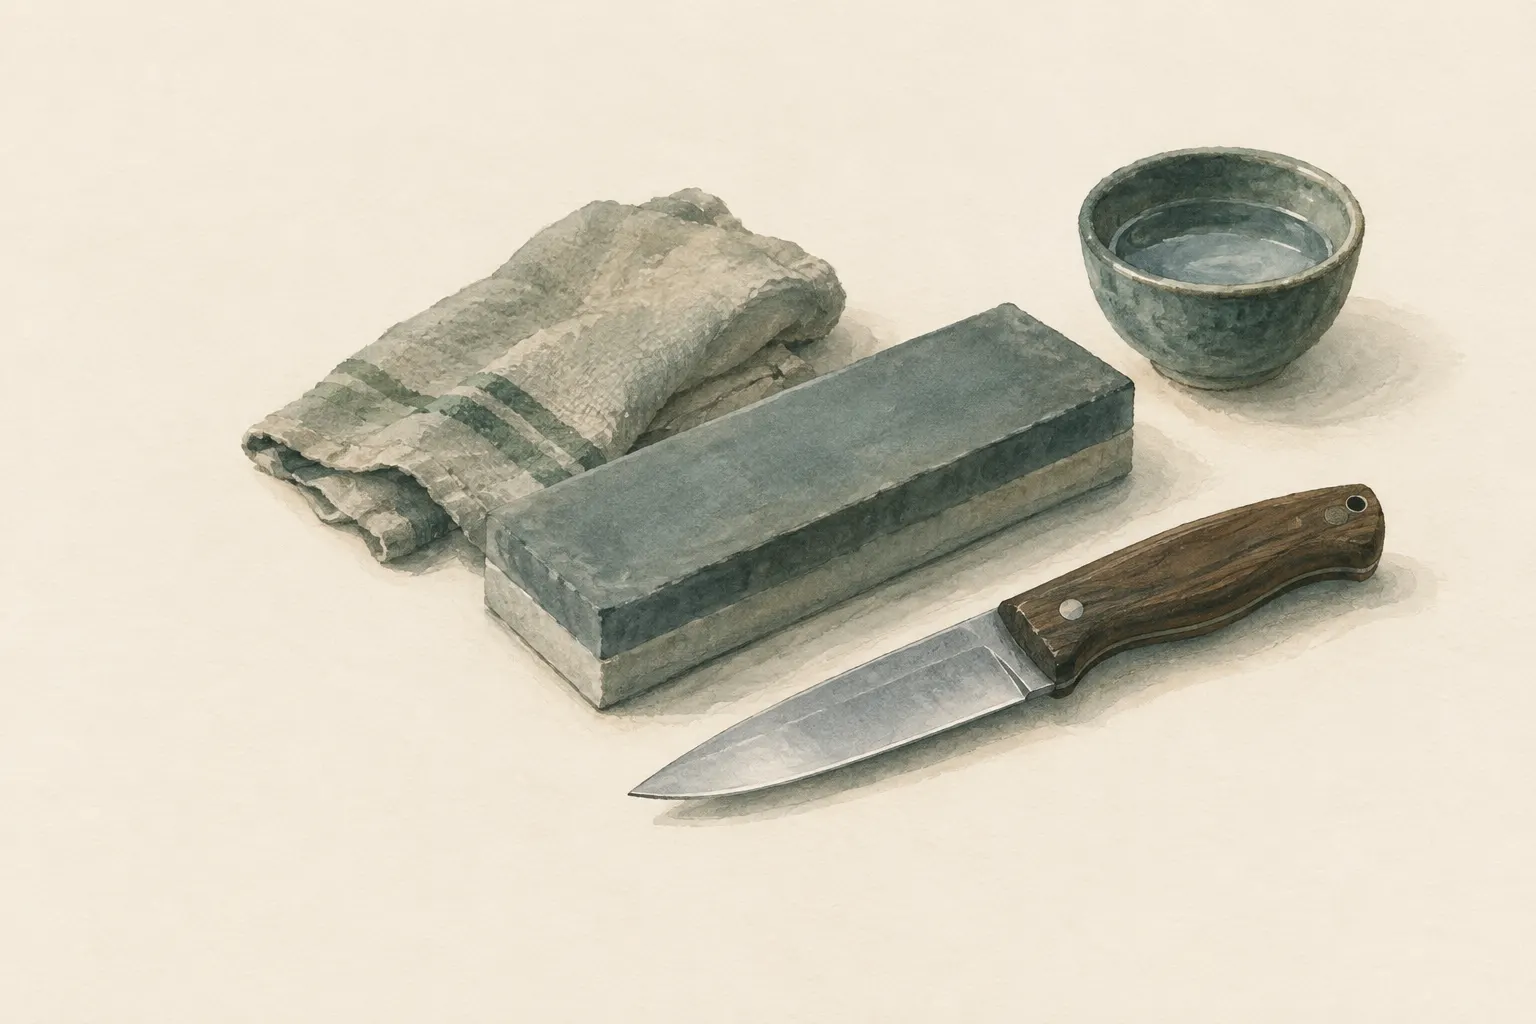
Explained simply
A knife edge is like the rim of a very thin wedge. When you cut with it for a long time, that rim becomes rounded or wavy – a bit like a pencil getting blunt. A dull knife needs more pressure, and then it slips more easily. That is why a sharp knife is safer.
When sharpening, you rub the blade over a sharpening stone. The stone takes away tiny amounts of metal until the two sides of the blade meet again in a fine line. The most important thing is to hold the blade at the same angle every time – as if you wanted to slice a thin layer off the stone.
For safety: keep your fingers behind the edge and place the stone so that it cannot slip. After sharpening the knife is much sharper than before – take extra care the first time you cut with it.
How it works
An edge is the line where two ground surfaces meet. The finer that line, the less force a cut needs. With use, the fine edge rolls over, gets small dents or becomes rounded. Sharpening means removing metal evenly on both sides until the surfaces meet cleanly in a line again.
A sharpening stone contains hard, sharp-edged grains. A coarse grit removes a lot quickly and leaves scratches; a fine grit removes little and polishes. That is why you work from coarse to fine. Many stones have two sides for this.
The burr is the most important signal while sharpening. When the ground surface reaches right to the edge, the metal there becomes so thin that it bends over to the other side. You can feel this tiny wire of metal with a fingertip when you stroke across the edge. Only when the burr can be felt along the whole length is that side done.
What really matters
A consistent angle matters more than a specific number of degrees. If you change the angle a little with every stroke, you round the edge instead of sharpening it. Many outdoor knives are ground at roughly 15 to 25 degrees per side, but it is best to find the angle the blade already has and hold it. The manufacturer's information takes precedence.
Knives with a flat Scandinavian grind, the "Scandi grind", are especially easy: the wide bevel lies flat on the stone and guides you by itself. With other grinds it helps to colour the edge with a felt-tip pen. After a few strokes you can see where the stone has removed the colour and adjust your angle.
Little pressure, even strokes and covering the whole length from heel to tip – those are the three habits that make the difference. Count your strokes so that both sides get about the same amount.
Safety: what to watch out for
The stone must lie firmly. A damp cloth or a holder underneath stops it from slipping – a slipping stone easily leads to cuts. The fingers of the guiding hand lie flat on the blade and stay behind the edge.
Feel for the burr only across the edge, from the middle of the blade towards the edge, never along it. Do not test sharpness with your finger either, but by slicing a sheet of paper. After sharpening the knife is noticeably sharper: work deliberately slowly the first time you use it and follow the basic rules of knife safety.
Gear and materials
To start with, a combination stone with a coarse and a fine side is enough. Some stones are used with water, others with oil, and some dry – follow the manufacturer's instructions and do not mix them. For the trail there are small pocket stones or diamond files.
A leather strop removes the last fine burr at the end and polishes the edge. You pull the blade over the leather spine first so that the edge does not cut into it. After work, wipe the blade and stone and let the stone dry.
This method does not suit serrated blades, which need special sharpeners, or blades with large chips – take those to a professional. Without experience, power grinders can easily overheat a blade and spoil the steel.
How to practise it
Practise first on a simple, cheap knife rather than straight away on your best one. Set up a calm place with good light so that you can see the bevel and the burr clearly. After the first few strokes, look at the ground surface: an even stripe shows an even angle.
Touching up regularly is much easier than rescuing a completely dull knife. A few strokes on the fine stone after each longer carving session keep the edge in shape. Over time you will feel while carving when the blade starts to fade – that is the right moment.
Step by step
Prepare the stone
Soak or oil the stone according to the manufacturer and place it on a flat surface so it cannot slip. Coarse side up if the blade is very dull; otherwise start with the fine side.
- 1
Prepare the stone
Soak or oil the stone according to the manufacturer and place it on a flat surface so it cannot slip. Coarse side up if the blade is very dull; otherwise start with the fine side.
- 2
Find the angle
For knives with a flat Scandinavian grind (Scandi), lay the edge bevel flat on the stone. For other grinds, find the existing angle and hold it consistently.
- 3
Even strokes
Move the blade over the stone with light pressure as if slicing off a thin layer, covering the whole edge from heel to tip. Count the strokes evenly.
Keep fingers behind the edge.
- 4
Feel the burr
Stroke across the edge on the opposite side with a fingertip. When a fine burr can be felt along the whole length, this side is done.
- 5
Switch sides
Same number of strokes on the other side until the burr moves back. Then switch to the fine grit and work both sides with alternating light strokes.
- 6
Remove the burr and test
Remove the burr with very light strokes or on a leather strop (stropping). Test by cleanly slicing a sheet of paper. Wipe the blade, clean the stone and let it dry.
Common mistakes
- Changing the angle during the stroke (rounds the edge)
- Too much pressure
- Grinding only one part of the edge
- Leaving the burr
- Testing by running a finger along the edge
Quick view
Materials
Knife (fixed or locking blade)
Cut away from your body.
Rules on carrying knives differ by region – check local rules.
Sharpening stone (combination coarse/fine)
Follow the manufacturer's instructions on water or oil.
Cotton cloth / T-shirt
For wiping blade and stone
Removes coarse particles only – no disinfection.
Suitable for
- Outdoor and kitchen knives with a plain edge
- Touching up on the move with a small pocket stone
Not suitable for
- Serrated blades (need special sharpeners)
- Badly damaged blades with chips – better a professional
- Power grinders without experience (overheating the blade)
Prerequisites
- A stable, non-slip surface for the stone
- Basic knife safety rules
Safety
- Keep the fingers of the guiding hand flat and behind the edge. Feel for the burr only across the edge with a fingertip – never along the edge.
- Secure the stone so it cannot slip (damp cloth, holder). A slipping stone easily leads to cuts.
- After sharpening the knife is much sharper than before – take extra care when using it for the first time.
How it works
An edge is the line where two surfaces meet. With use it rounds over or becomes wavy. When sharpening, the stone removes metal until the bevel reaches the edge – recognisable by the burr, a fine wire of metal on the opposite side. Then the other side is ground and the burr removed with a fine grit and light strokes. A consistent angle matters more than a specific number of degrees; many outdoor knives are sharpened at roughly 15–25° per side.
Advantages
- Safer and more pleasant work
- The knife lasts longer
- Possible with little equipment
Disadvantages
- Needs practice before the angle is held consistently
- Incorrect sharpening can spoil the edge
Deep knowledge
Background
In "The Complete Guide to Sharpening" Leonard Lee describes the fundamentals: abrasives, grits, angles and forming and removing the burr. In "Bushcraft" Ray Mears explains sharpening knives with a Scandinavian grind, where the bevel itself acts as the guide.
The ideal angle depends on the steel, grind and use. The manufacturer's information takes precedence; in everyday use what matters most is matching the existing angle consistently.
Variants
- Touching up in the field
- A small pocket stone or diamond file is enough to bring a slightly dull edge back into shape with a few strokes. Touching up regularly is easier than rescuing a completely dull blade.
Common mistakes
- Changing the angle during the stroke (rounds the edge)
- Too much pressure
- Grinding only one part of the edge
- Leaving the burr
- Testing by running a finger along the edge
Limits and risks
- No instructions for power grinders or serrated edges
- Angle figures only as rough guidance
Sources
Leonard Lee – The Taunton Press (1995): The Complete Guide to Sharpening
Sharpening fundamentals: grit, angle, burr
Ray Mears – Hodder & Stoughton (2002): Bushcraft
Sharpening knives with a Scandinavian grind