Safe knife handling and carving grips
Most cuts while carving happen when the blade slips and travels to where a hand, leg or another person is. Planning the cutting path in advance, keeping a safety distance, cutting away from the body and mastering a few controlled grips makes work safer and more precise.
- Basic grips in one practice session, confidence through regular practice
Explained simply
A knife is a great tool, but once it slips it has a mind of its own: it simply keeps going in the direction you were pushing. That is why you ask yourself before every cut: "Where will the blade go if it slips?" If your hand, your leg or another person is there, you change your position before you cut.
The most important rule is simple: always cut away from your body. And keep a safety circle. Stretch out your arm with the knife and turn once all the way round – that is the area where nobody may be. Some people call it the "blood circle" so that nobody forgets it.
Very important: never carve over your thigh or between your knees. Large blood vessels run there. Put a first-aid kit within reach before you start. If something bleeds heavily, press firmly on the wound and call the local emergency number (112 in the EU) straight away.
How it works
A blade cuts because a very thin edge puts a lot of pressure on a tiny area. That is exactly what makes it dangerous too: the same force that lifts a shaving from wood goes into skin without effort. A cut in wood often ends suddenly – the shaving breaks off, the blade comes free and the force of your arm keeps pushing it on. You cannot always prevent that moment, but you can decide where the blade goes next.
Controlled grips therefore use your body as a brake. In the chest lever, for example, both hands pull apart as you squeeze your shoulder blades together. The movement simply cannot go further than that. In the thumb push the thumb of your other hand pushes only a few centimetres. That keeps the blade's path short and predictable instead of depending on muscle power and luck.
The forehand grip is the most powerful but least limited grip. It suits rough work where the workpiece is held to the side of the body and the blade is allowed to travel forward into empty space.
What really matters
A sharp knife is safer than a dull one. With a dull blade you have to press much harder, it slips more easily, and then there is more force behind the mistake. The right knife matters just as much: a fixed blade or one that locks securely. A folding knife without a lock can close under pressure – straight onto your fingers.
Your workspace makes a difference too. Sit firmly, feet apart, elbows free. Hold the workpiece outside your legs, for example to the side of the knee or braced on a chopping block. The holding hand always belongs behind the edge, never in front of it. If you notice your hand is in front of the blade, stop and change your grip.
Your own condition counts as well. Tiredness, numb fingers in the cold, time pressure or alcohol make movements imprecise. Take a break instead. Never put the knife down open or stick it in the ground; put it back in its sheath.
Safety: what to watch out for
The most dangerous habit is carving over the thigh or between the knees. Large blood vessels lie on the inside of the thigh; a slip there can cause life-threatening bleeding. So the rule is: always keep the workpiece to the side or in front of you on a firm support, never over your leg.
The safety circle protects others. Whoever is working with a knife sits so that nobody comes within arm's length plus blade length – not from behind either. Nobody walks or gestures with a knife in hand. Pass it handle first, edge away from the recipient, and only let go once the other person confirms they have it.
Before working, put a first-aid kit within reach. For a small cut a clean plaster or dressing helps. For heavy bleeding, press firmly and continuously on the wound and call the local emergency number (112 in the EU) at once. Anything beyond that belongs in the hands of professionals; a first-aid course is a good addition.
How to practise it
Practise the grips slowly at first on a soft, dry piece of dead wood, for example while carving a simple point. Focus not on the result but on your posture: where is the holding hand? Which way does the edge face? Is the movement limited? At first it helps to say these questions out loud.
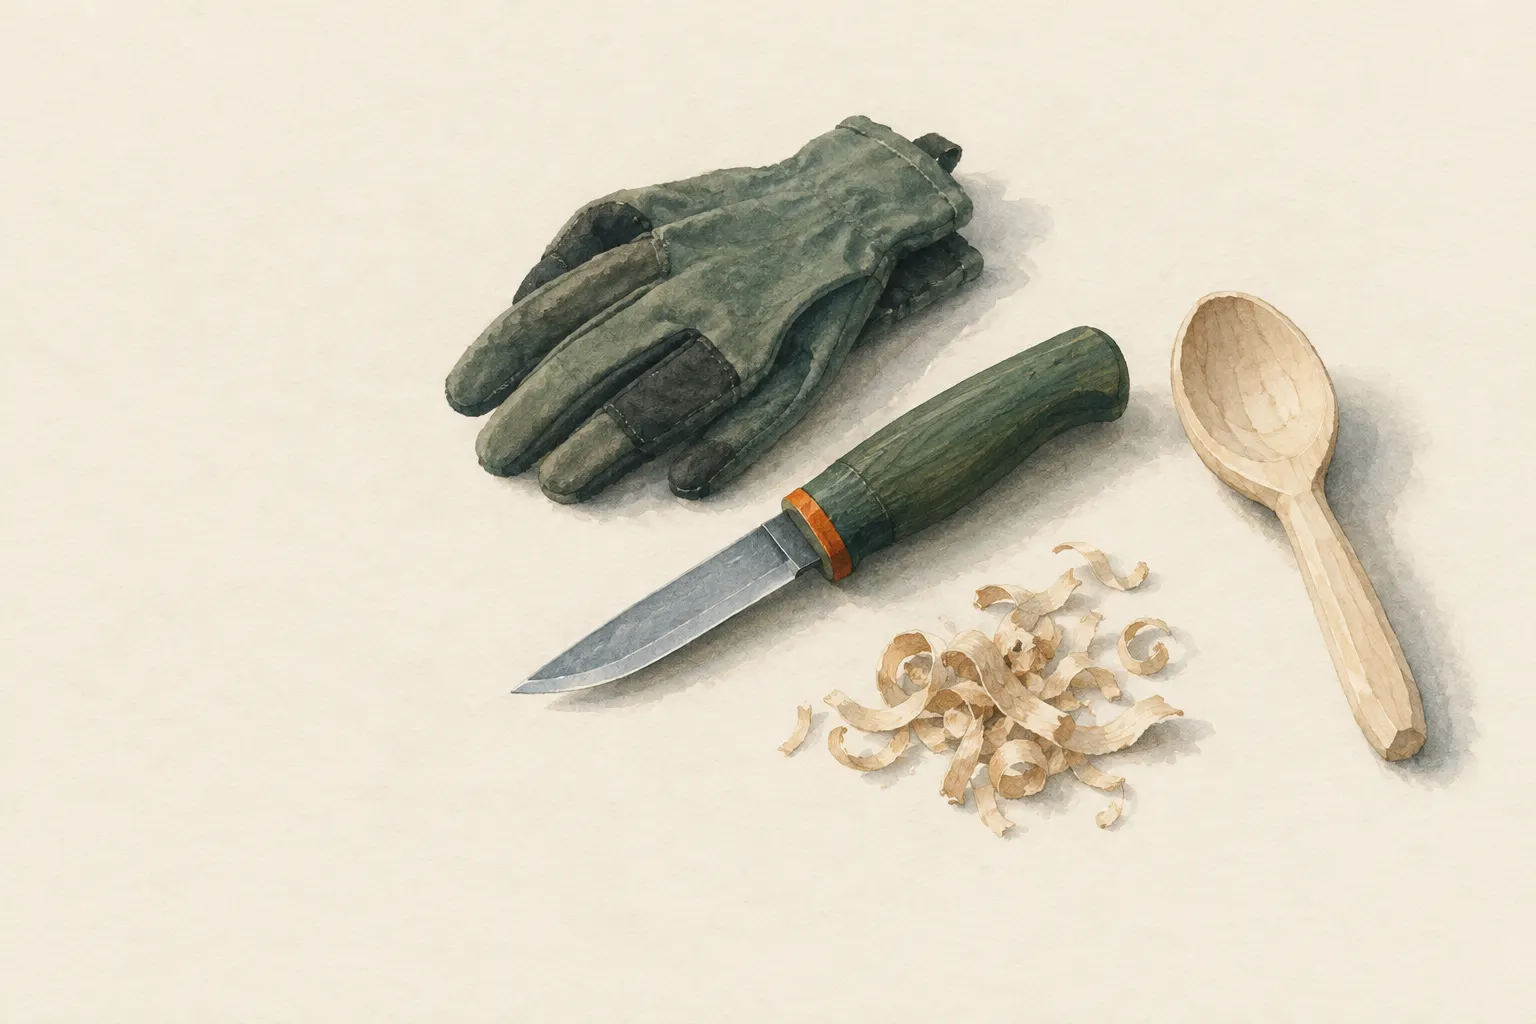
For children and young people, short, closely supervised exercises with clear rules about the safety circle work well. A cut-resistant glove on the holding hand can help as well. It does not replace the right cutting direction, though. Also follow local age and legal requirements.
Learning the grips with an instructor speeds up your progress. A hands-on course shows you mistakes you do not notice yourself. Over time the grips become habit, and you carve not only more safely but also more precisely and with less effort.
Good to know
The controlled carving grips come from the Scandinavian woodcraft tradition, in which spoons, bowls and tool handles have long been carved with a knife. Bushcraft textbooks deliberately put knife safety at the start of all woodwork.
Rules on owning and carrying knives differ greatly between countries and even between places. What is allowed in the forest may be prohibited in town, on public transport or at events. Check local rules before you take a knife along, and carry it packed away rather than ready on your belt when you do not need it.
Step by step
Set up the workspace
Sit firmly with feet apart and elbows free. Hold the workpiece outside the legs, e.g. to the side of the knee or on a chopping block. Check the safety circle.
- 1
Set up the workspace
Sit firmly with feet apart and elbows free. Hold the workpiece outside the legs, e.g. to the side of the knee or on a chopping block. Check the safety circle.
- 2
Forehand grip
Handle held firmly in the fist, edge facing away from the body. The arm pushes the blade away from the body while the workpiece is held to the side. For removing material roughly.
Never put the holding hand in front of the edge.
- 3
Thumb push
The knife hand stays steady while the thumb of the other hand presses on the spine and pushes the blade in small, controlled cuts. For fine work, e.g. notches.
- 4
Chest lever
Knife close to the chest with the edge facing outwards, workpiece also close to the body. Both hands pull apart as the shoulder blades squeeze together. The movement is short and limits itself.
- 5
Putting down and breaks
Never put the knife down open or stick it in the ground; return it to the sheath or fold it securely. Take a break when tired.
- 6
Passing a knife
Pass handle first with the edge away from the recipient; only let go when the other person says "thank you" or confirms they have it.
Common mistakes
- Cutting towards the body or towards the holding hand
- Carving on the thigh
- Using lots of force with a dull knife
- Sticking the knife in the ground or putting it down open
- Working forcefully with a folding knife that does not lock
Quick view
Materials
Knife (fixed or locking blade)
Fixed or securely locking blade, sharp
Cut away from your body.
Rules on carrying knives differ by region – check local rules.
Cut-resistant glove
For the hand holding the workpiece
Reduces cuts but does not prevent stab injuries.
First-aid kit (household)
Within reach while working
Does not replace a first-aid course; check contents and expiry dates regularly.
Suitable for
- Carving small workpieces such as pegs, spoon blanks or feather sticks
- Getting started in bushcraft
- Supervised courses with young people
Not suitable for
- Working when tired, with numb cold fingers, under alcohol or time pressure
- Carving on the thigh or between the knees towards the body
- Prying, drilling or hammering with knives not designed for it
Prerequisites
- A sharp, sound knife with a sheath
- A calm workspace with a stable seat
- Knowledge of local rules on carrying knives
Safety
- Keep a safety circle: your outstretched arm plus knife all the way around you – nobody may be inside it. Do not walk or gesture with a knife in your hand.
- A dull knife is more dangerous than a sharp one because it needs more force and slips more easily.
- Rules on owning and carrying knives differ greatly between countries and places – check local rules.
How it works
Safe carving rests on three questions before every cut: where will the blade go if it slips? Is there a body part or person there? Can I control the force? Controlled grips limit the blade's travel through body mechanics – for example by letting the arms or chest brake the movement – instead of relying on muscle power and luck.
Advantages
- Far fewer injuries
- More precise cuts with less force
- Foundation for all further carving
Disadvantages
- Requires deliberate practice until the grips become natural
- Slower than uncontrolled carving
Deep knowledge
Background
Controlled carving grips such as the chest lever come from the Scandinavian woodcraft tradition and were described by Wille Sundqvist among others. Bushcraft textbooks such as those by Ray Mears and Mors Kochanski put knife safety, the safety circle and cutting direction at the start of all woodwork.
In practice discipline and habit count for more than special equipment: a sharp knife, a calm workspace and pausing before every cut prevent most accidents.
Variants
- With children and young people
- Short, clearly supervised exercises, a cut-resistant glove for the holding hand, clear rules on the safety circle. Follow local age and legal requirements.
Common mistakes
- Cutting towards the body or towards the holding hand
- Carving on the thigh
- Using lots of force with a dull knife
- Sticking the knife in the ground or putting it down open
- Working forcefully with a folding knife that does not lock
Limits and risks
- No treatment guidance for cuts beyond basic first aid
- Does not replace a hands-on course
- No legal advice on carrying knives
Sources
Wille Sundqvist – The Taunton Press: Swedish Carving Techniques
Controlled carving grips, including chest lever and thumb push
Ray Mears – Hodder & Stoughton (2002): Bushcraft
Knife safety and basic grips in bushcraft
Mors L. Kochanski – Lone Pine Publishing: Bushcraft: Outdoor Skills and Wilderness Survival
Knife handling and safety