Glaciers: why training or a guide is needed
Glaciers are not snowfields: crevasses can be hidden under snow bridges, icefalls and moraines are unstable, meltwater streams are dangerous. Only go onto a glacier in a trained rope team with crevasse rescue skills or with a certified mountain guide. Never enter ice caves or glacier snouts.
- A multi-day glacier course
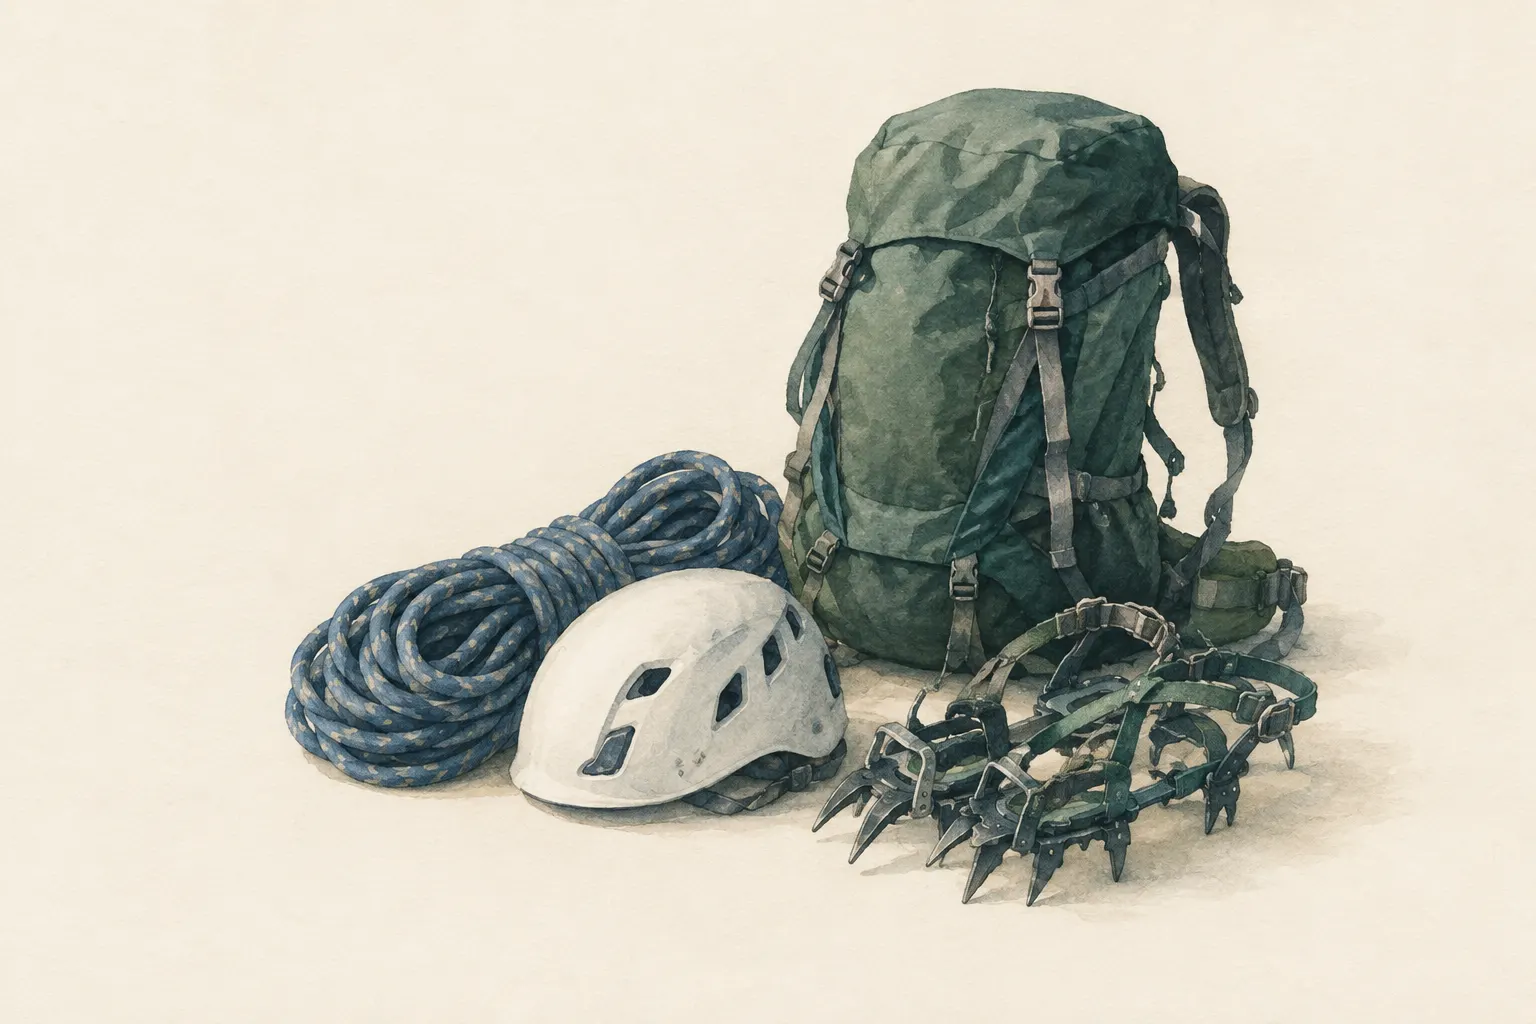
Explained simply
A glacier is a huge river of ice that flows downhill very slowly – so slowly that you cannot see it with the naked eye. Where the ice flows over a step or around a bend, it cracks open. That is how crevasses form: deep cracks in the ice that a person can fall into.
The treacherous part is that snow can cover these crevasses, like a thin blanket over a hole. This is called a snow bridge. From above everything looks smooth and harmless, but a deep crevasse can lie beneath. That is why mountaineers on glaciers travel in a rope team: they are tied together, and if one falls in, the others hold them. But that only works if everyone has learned the technique.
The most important safety point: you only go onto a glacier with training in a rope team or with a certified mountain guide. You never go into ice caves or under ice walls – ice can come crashing down there.
How it works
Glaciers form where, over many years, more snow falls than melts in summer. The snow is pressed into ice under its own weight, and this ice begins to flow slowly downhill under gravity. In the upper area snow often stays lying and covers crevasses; in the lower area the snow melts away in summer and the bare ice with its crevasses becomes visible. That is why the snow-covered upper part is so deceptive.
Crevasses form where the ice stretches: over steps in the terrain, at bends and along the edges. Snow bridges covering crevasses are usually firmer in the cold of night and early morning and weaken as the day warms. Where the glacier flows over a steep step, an icefall forms, with towers of ice that can collapse unpredictably.
The surroundings are dangerous too. Moraines – ridges of debris left behind by the glacier – are often loose and slippery. Meltwater streams can be fast and ice-cold and swell strongly during the day. At the glacier snout, where the stream emerges from under the ice, and in ice caves, large pieces of ice can fall without warning.
Why training or a guide is needed
A rope team only protects you if everyone in it knows what they are doing. If someone falls into a crevasse, the others must hold the fall, anchor themselves and haul the person out with a pulley system. That is physically and technically demanding and only works if it has been practised beforehand under supervision. A rope in the pack without this skill does not help – in the worst case it pulls others in too.
Glacier courses run by alpine clubs and mountain schools teach walking on crampons, roping up correctly, holding a fall and crevasse rescue. These techniques are deliberately not described here, because they cannot be learned safely from a text. Anyone without training hires a certified mountain guide.
Local knowledge matters too. Hut keepers, mountain guides and regional bodies know current conditions, such as where crevasse zones have shifted or whether an approach is still passable. Glaciers change from year to year, and older descriptions in books or online may be out of date.
Safety: what to watch out for
Even a harmless-looking, snow-covered glacier surface can hide crevasses. Other people's tracks are no guarantee: a snow bridge that held in the morning can give way in the afternoon. Anyone who goes onto a glacier without training and a rope team or a guide exposes themselves to a danger they can neither see nor control.
Glacier snouts, ice caves and overhanging ice walls are off-limits – even for a quick photo. Ice can break off there at any time, and the weight of even small chunks is enormous. Also keep away from glacial streams and moraine slopes, especially on warm afternoons when meltwater and rockfall increase.
In a crevasse fall or accident, call the local emergency number at once (112 in the EU). If you have no signal, use the alpine distress signal: six signals a minute, then a minute's pause. Mountain rescue teams and helicopters are trained and equipped for such operations.
Experiencing glaciers safely
If you simply want to see a glacier up close, you do not need an alpine tour. Many mountain regions have marked, secured paths to viewpoints at the glacier's edge, as well as guided glacier walks in which a mountain guide protects the group. Barriers and notices there are to be taken seriously.
With glacier retreat, glaciers today are changing faster than before. Approaches become steeper and looser, moraines unstable, and new lakes appear. That makes on-site information even more important than it used to be.
Anyone who wants to do glacier tours later begins with sure-footed walking in the mountains, gains experience on crampons and then takes a glacier course. After that come tours with experienced people. This path takes time, but it is the only one that truly holds on glaciers.
Step by step
Training or a guide
Complete a glacier course with an alpine club or a mountain school, or hire a certified mountain guide.
- 1
Training or a guide
Complete a glacier course with an alpine club or a mountain school, or hire a certified mountain guide.
- 2
Ask about conditions
Hut keepers, guides and regional bodies know the current conditions; glaciers change from year to year.
- 3
Use secured attractions
If you only want to experience a glacier: use guided walks or marked, secured paths and respect barriers.
- 4
Mind the time of day
Snow bridges are usually stronger in the cold of early morning; meltwater and rockfall increase as the day warms.
Common mistakes
- Treating a glacier like a snowfield
- Carrying a rope without rescue technique
- Taking photos inside a glacier snout
- Blindly following other people's tracks
Quick view
Materials
Rope
Only as part of a trained rope team
Never use unknown or damaged rope for life-safety purposes.
Suitable for
- Understanding before planning a glacier tour
- Making sense of warnings in glacier areas
Not suitable for
- Self-study of rope technique
- Glacier travel without a guide or training
Prerequisites
- A glacier course including crevasse rescue
- Experience on crampons
How it works
A glacier is flowing ice. Where it flows over steps in the terrain or bends, it cracks open and forms crevasses. New snow and wind can cover crevasses with snow bridges that weaken in warm conditions. A rope team spreads the risk: if one person falls into a crevasse, the others hold them – provided everyone has mastered holding and rescue technique.
Advantages
- Guided options make glaciers safe to experience
Disadvantages
- Hazards often invisible
- Crevasse rescue is demanding
Deep knowledge
Background
"Mountaineering: The Freedom of the Hills" has dedicated chapters on glacier travel and crevasse rescue. Alpine clubs offer glacier courses in which these techniques are practised under supervision.
With glacier retreat, approaches, moraines and crevasse zones change faster than before; older descriptions may be out of date.
Common mistakes
- Treating a glacier like a snowfield
- Carrying a rope without rescue technique
- Taking photos inside a glacier snout
- Blindly following other people's tracks
Limits and risks
- No rope or rescue technique
- No route information
Material alternatives
Derived from material properties: a substitute must have all relevant properties. Observe the notes on the substitute.
- Rope
- Paracord (Not a climbing or safety rope.)
Results come exclusively from structured entries. No improvised instructions are generated.
Sources
The Mountaineers Books (2017): Mountaineering: The Freedom of the Hills, 9th edition
Glacier travel and crevasse rescue
ICAR – International Commission for Alpine Rescue: International Commission for Alpine Rescue (ICAR) – recommendations and information (organisation website)
Alpine rescue recommendations
European Commission: 112 – the European emergency number
European emergency number 112