Avalanche terrain: basics and limits
Anyone in winter terrain away from secured pistes and cleared paths may be in avalanche terrain. Read the avalanche bulletin, avoid terrain you cannot assess, and get training before entering such terrain. Emergency equipment only helps if you can use it – and it does not prevent avalanches.
- Training courses over several days, daily planning in winter
Explained simply
A snowpack on a mountain is not one single block but is made up of many layers, like a stack of pancakes. Every snowfall and every windy day adds a new layer on top. Some layers hold together well, others are loose and brittle. If a firm layer lies on a weak one, it can slide off on a steep slope – that is an avalanche.
Often a small push is enough, for example the weight of a person on skis or snowshoes. Many avalanches are triggered by exactly the people who are then caught in them. And the dangerous part is: you can hardly tell from the outside whether the snowpack will hold.
The most important safety point: without an avalanche course, emergency equipment and the current avalanche bulletin, you do not go into terrain where avalanches are possible. Stay on cleared paths and secured pistes, or go with a certified mountain guide.
How it works
The most dangerous kind for winter sports is the slab avalanche. A cohesive, bonded layer of snow – the “slab” – breaks loose on a weak layer beneath it and slides off as a whole. Such weak layers can persist in the snowpack for weeks, for example when loose, angular crystals form in cold weather. A lot of seemingly firm snow can then lie on top.
Most slabs release on slopes of about 30 degrees and steeper. That is steeper than it feels, yet considerably less steep than a ski jump, and many popular winter slopes lie in exactly this range. New snow, wind that moves snow and deposits it on lee slopes, and rapid warming raise the danger. Avalanches can also run out a long way into the flatter terrain below.
Besides slabs there are loose-snow avalanches, which start at a single point and spread out in a pear shape, as well as wet-snow and gliding avalanches, which occur mainly in warm weather and rain. The European avalanche warning services describe typical “avalanche problems” in their bulletins, such as new snow, wind-drifted snow, persistent weak layers, wet snow and gliding snow, because each one has to be judged differently.
What really matters
The avalanche bulletin is the most important tool anyone can use. In Europe it is based on a common five-level scale: low, moderate, considerable, high and very high. It matters not to read only the number. The bulletin also says which avalanche problems exist, at which elevations and on which slope aspects the danger is greatest and which danger signs to expect. The middle levels in particular are often underestimated.
Training is the second building block. Alpine clubs, mountain schools and comparable organisations offer avalanche courses in which you learn to assess terrain, make decisions and search and dig out people in an emergency. These courses should be refreshed regularly. This text deliberately does not explain slope and route assessment, because without training and experience it is dangerously misjudged.
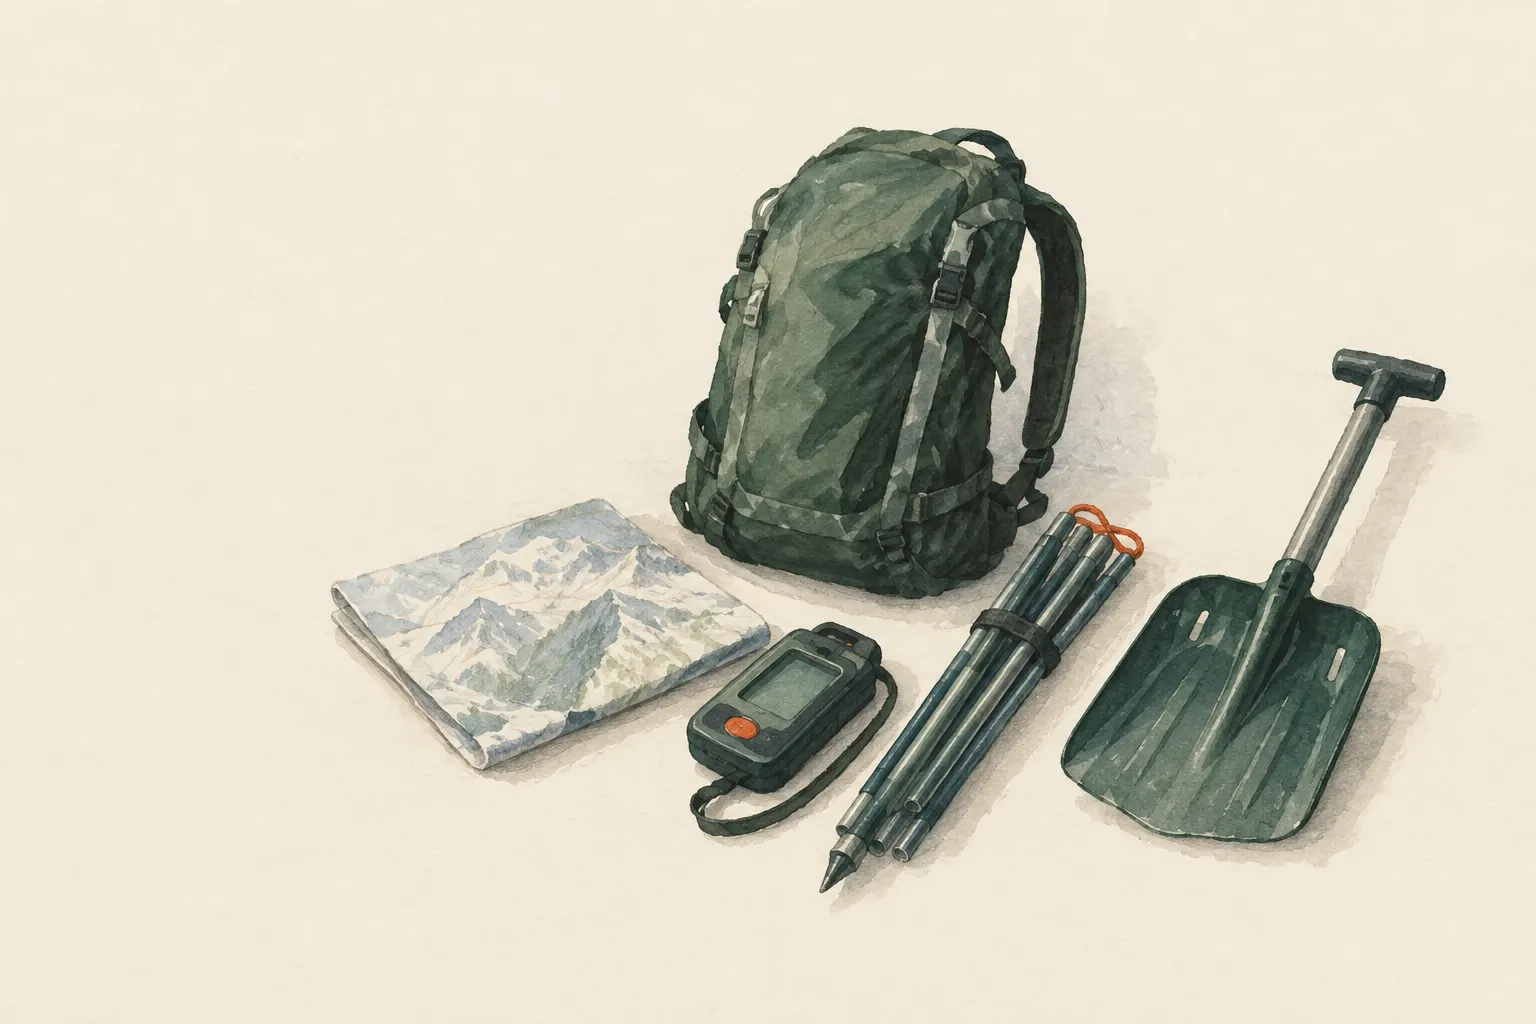
Emergency equipment consists of three parts that belong together: avalanche transceiver, probe and shovel. It only helps if everyone in the group carries it and practises with it regularly. And it does not prevent avalanches. Anyone who buys equipment but does not get trained feels safer without being safer.
Safety: what to watch out for
Without training, stay on cleared winter trails and secured pistes. Closures and warning signs exist for a reason – even if others ignore them. Tracks on a slope are no proof that it is safe; the snowpack may give way under the tenth person, not the first. Do not rest at the foot of steep slopes, because flat ground below can also be reached by avalanches.
There are alarm signs that laypeople can recognise too: fresh avalanches nearby, a dull “whumpf” sound as the snowpack settles beneath you, and cracks that shoot out across the snow. Lots of new snow, strong wind and rapid warming also belong on the list. Each of these signs is a reason to turn back and avoid steep terrain.
When someone is buried, the first minutes count. Immediately call the local emergency number (112 in the EU) and, if you are trained and have the equipment, start companion rescue at once. Do not leave to fetch help while the group can still search itself. The technique for this is learned and practised in a course, not from a text.
How to learn it properly
Getting started is easier than many people think. In winter, read your region's avalanche bulletin regularly, even on days when you are not going into the mountains. That way you learn the language of the bulletins and notice how conditions change over the season.
Then comes a basic course with an alpine club, a mountain school or a comparable organisation. After that it is best to go out with experienced, trained people or with a certified mountain guide and have the decisions explained to you. Experience grows slowly, and even experienced people stay cautious.
Even with training a residual risk remains. That is why turning back is part of the normal repertoire of every good ski tourer and winter hiker. A day on which you gave up a tour is not a lost day – the mountains will still be there next week.
Step by step
Get trained
Take an avalanche course with an alpine club, a mountain school or a comparable organisation and refresh it regularly.
- 1
Get trained
Take an avalanche course with an alpine club, a mountain school or a comparable organisation and refresh it regularly.
- 2
Read the bulletin
Before every winter trip read the current regional avalanche bulletin: danger level, avalanche problems, affected elevations and aspects.
- 3
Avoid unclear terrain
Without training stay on cleared winter trails and secured pistes. Respect closures and warning signs.
- 4
Practise with emergency kit
Avalanche transceiver, probe and shovel belong together and must be practised regularly.
- 5
Turning back as an option
Warning signs such as fresh avalanches, whumpfing sounds or shooting cracks in the snow are reasons to turn back.
Common mistakes
- Buying equipment instead of getting training
- Taking other people's tracks as proof of safety
- Reading only the danger level of the bulletin
- Resting below steep slopes
Quick view
Materials
Snow shovel
Part of the emergency kit – only useful with training
Always take it inside when digging a snow shelter.
Suitable for
- Understanding before winter hikes, ski tours or snowshoe trips
- Making sense of the avalanche bulletin
Not suitable for
- Replacing training or a mountain guide
- Assessing routes or slopes
Prerequisites
- An avalanche course from a recognised organisation
- The current avalanche bulletin
Safety
- Flat ground below steep slopes can also be reached by avalanches.
How it works
Slab avalanches form when a cohesive layer of snow slides on a weak layer. Most slabs release on slopes of about 30 degrees and steeper, and many are triggered by the people caught in them. New snow, wind that drifts snow and rapid warming raise the danger. The avalanche bulletin summarises these factors on a five-level European danger scale.
Advantages
- Bulletins are available daily in many mountain regions
- Training is widely available
Disadvantages
- The danger is hard to recognise
- A residual risk remains even with training
Deep knowledge
Background
The European avalanche warning services (EAWS) use a common five-level danger scale. Mountaineering handbooks such as "Mountaineering: The Freedom of the Hills" explain snowpack, avalanche types and companion rescue; the International Commission for Alpine Rescue (ICAR) issues recommendations on avalanche rescue.
Route and slope assessment is deliberately not described here because without training and experience it is dangerously misjudged.
Common mistakes
- Buying equipment instead of getting training
- Taking other people's tracks as proof of safety
- Reading only the danger level of the bulletin
- Resting below steep slopes
Limits and risks
- No route or slope assessment
- No instructions for searching for buried people
Sources
European Avalanche Warning Services (EAWS): European Avalanche Danger Scale
Five-level European avalanche danger scale
The Mountaineers Books (2017): Mountaineering: The Freedom of the Hills, 9th edition
Snowpack, avalanche formation, companion rescue
ICAR – International Commission for Alpine Rescue: International Commission for Alpine Rescue (ICAR) – recommendations and information (organisation website)
Recommendations on avalanche rescue
European Commission: 112 – the European emergency number
European emergency number 112