Snow as shelter: basics and limits
Snow insulates well, and a snow cave or trench can protect against wind and cold. But building one requires practice, a shovel, plenty of time and energy – and carries risks such as collapse, getting soaked, suffocation and carbon monoxide. This entry covers only basic principles; avalanche terrain is expressly excluded.
- Usually one to several hours with a shovel; barely realistic without one
Explained simply
Snow is cold – and yet it can protect you from the cold. That sounds strange, but it is because fresh snow is full of air, a bit like cotton wool. Air lets heat through only slowly. Above all, though, a wall of snow keeps out the icy wind.
That is why it often stays around freezing inside a snow cave or covered snow trench, even when it is much colder and stormy outside. But it is not warm inside: you still need a sleeping pad, dry clothing and a sleeping bag.
Building with snow is hard work, needs a shovel, plenty of time and practice, and has real dangers: the roof can collapse, you get wet while digging, and a stove or candle must never burn inside. Only practise this with experienced people, on flat, safe ground – and never on slopes where avalanches can occur.
How it works
Snow consists of ice crystals with a great deal of air between them. This trapped air makes it a fairly good insulator. The looser and fresher the snow, the more air it contains; wet, heavy snow insulates less well and makes everything wet.
The biggest gain from a snow shelter is wind protection. Outside, the wind constantly carries heat away from the body. Inside, the air is still. Together with body heat and the insulating snow wall, the temperature inside often stays near freezing even when it is much colder outside.
Because the walls are tight, fresh air does not get in by itself. It has to be supplied deliberately through an opening. A ventilation hole in the roof that is kept clear regularly is therefore not an extra but a must.
When it makes sense – and when not
Before you start digging, check the alternatives: turning back, a hut, a vehicle or an emergency bivouac in the lee. A snow shelter is only worthwhile if you have a shovel, practice, enough time and energy, and dry clothing.
In practice, snow shelters often fail not because of the structure but because people become exhausted and soaked while building. Without a shovel, a snow shelter is barely realistic. In wet snow and thaw conditions it is unsuitable, because the roof weakens and everything gets wet.
The simplest form is usually the best: a body-length trench covered with a tarp, sheet or snow blocks. It is quicker to build and less prone to collapse than a dug cave. A snow cave in a deep drift insulates better but needs a lot of time, experience and deep enough snow – it belongs in supervised practice.
Safety: what to watch out for
Avalanche terrain is expressly not covered by this text. Never build on or below slopes, under cornices (overhanging edges of snow) or in gullies. Anyone travelling in steep snowy terrain needs avalanche training and the current avalanche forecast.
Snow roofs can collapse and bury people. Never dig into a snow cave alone, always take the shovel inside with you and mark the entrance and roof clearly on the outside so nobody steps on it and the shelter can be found. Let someone know where you are.
Stoves, candles and burners in a snow shelter can produce lethal amounts of carbon monoxide and use up oxygen. The ventilation hole stays clear, the entrance is never sealed completely, and stoves are run outdoors as a rule. Digging also makes you wet and sweaty: take off insulating layers beforehand, work slowly and call the local emergency number (112 in the EU) at signs of hypothermia.
What really matters
Staying dry is half the battle when building with snow. Take off insulating layers such as fleece or a down jacket before digging and stow them dry. The waterproof outer layer stays on. Work steadily and rather slowly so you sweat as little as possible. After building, put the dry layers back on.
Choose only flat or very gently sloping terrain with no slopes, cornices or gullies above, with sufficiently deep, firm snow – away from paths, ski runs and tracks where vehicles or piste groomers might be moving.
Inside, you never lie directly on snow but on a sleeping pad, backpack or other insulation. Take the shovel and equipment inside with you so you can dig yourself out in an emergency.
Good to know
Snow shelters are described in military survival manuals – always with explicit emphasis on ventilation and the danger of carbon monoxide. People in cold regions have used snow as a building material for a long time; but that knowledge rests on a great deal of experience and practice.
This text deliberately gives no measurements for wall or roof thickness and no building instructions for snow caves or igloos. Such details depend heavily on the type of snow and conditions and belong in a practical course.
If you are interested in snow shelters, a guided winter course is the best way in. There you learn in safe terrain how different types of snow feel and how strenuous digging really is.
Step by step
Weigh up whether building makes sense
Check alternatives first: turning back, a hut, a vehicle, an emergency bivouac in the lee. A snow shelter is only worthwhile with a shovel, practice, enough time and energy, and dry clothing.
- 1
Weigh up whether building makes sense
Check alternatives first: turning back, a hut, a vehicle, an emergency bivouac in the lee. A snow shelter is only worthwhile with a shovel, practice, enough time and energy, and dry clothing.
- 2
Choose a safe spot
Only flat or very gently sloping terrain with no slopes, cornices or gullies above. Choose sufficiently deep, firm snow; away from paths, ski runs and vehicle tracks.
- 3
Shed layers before digging
Take off insulating layers before digging and stow them dry; keep the waterproof outer layer on. Work slowly to sweat as little as possible.
- 4
Choose the simplest form
A simple trench in the snow, covered with a tarp, sheet or snow blocks, is usually quicker and less prone to collapse than a dug cave. Build more complex structures only after supervised practice.
- 5
Ensure ventilation
Make a ventilation hole in the roof and keep it clear regularly, for example with a stick. Do not seal the entrance completely.
No stove or candle in the enclosed space.
- 6
Insulate from the snow
Lie on a sleeping pad, backpack or other insulation, never directly on snow. Take the shovel and equipment inside with you.
- 7
Mark and inform
Mark the entrance and roof outside and, if possible, send your location to rescuers or contacts.
Common mistakes
- Building near slopes or under cornices
- Trying to dig a cave without a shovel or practice
- Soaking the insulating layers while digging
- Forgetting the ventilation hole or letting it drift shut
- Running a stove or candle inside
- Leaving the shovel outside
- Digging alone without anyone knowing your location
Quick view
Materials
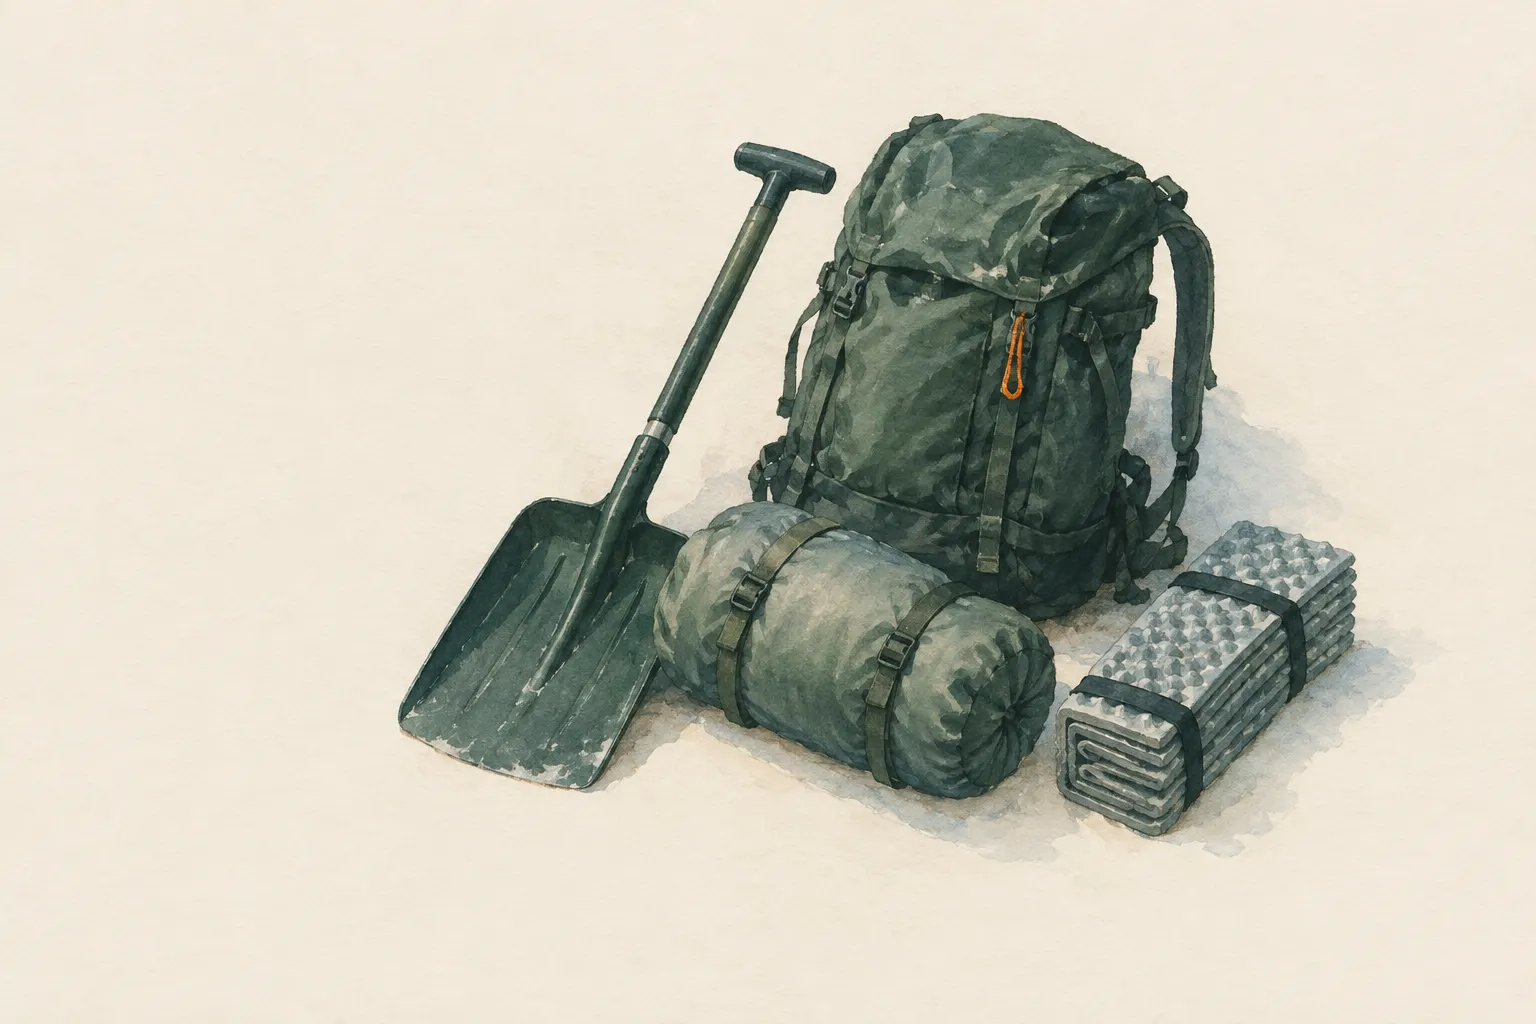
Snow shovel
Practically indispensable
Always take it inside when digging a snow shelter.
Sleeping pad
Insulation against the snow floor
Sturdy sticks / poles
To mark the entrance and as a ventilation stick
Do not cut live wood where prohibited.
Headlamp / flashlight
Suitable for
- Planned practice in safe, flat terrain with company
- Understanding why snow insulates and what the dangers are
Not suitable for
- Avalanche terrain – expressly not covered by this entry
- People without practice, without a shovel or in clothing that is already soaked
- Wet snow and thaw conditions
- Alone without anyone knowing your location
Prerequisites
- Practical training under instruction
- A shovel
- Waterproof clothing and dry spare clothing
- Avalanche training if the area includes steep terrain
Safety
- Mark the entrance and location clearly so the shelter can be found and nobody steps on the roof.
How it works
Snow contains a lot of trapped air and therefore conducts heat poorly. Inside a closed snow shelter the temperature often stays near freezing even when it is much colder and windy outside – mainly because the wind is shut out. It is still not warm inside: ground insulation, dry clothing and a sleeping bag remain essential. Because the walls are tight, fresh air must be supplied deliberately through an opening.
Advantages
- Very good wind protection
- Snow insulates
- Material is plentiful
Disadvantages
- High time and energy cost
- Risk of getting soaked while building
- Risk of collapse, suffocation and CO
- Requires practice and a shovel
Deep knowledge
Background
Snow shelters are described in military survival manuals such as FM 3-05.70, with explicit emphasis on ventilation and the danger of carbon monoxide. WHO describes carbon monoxide as an odourless gas produced by incomplete combustion that can build up dangerously in enclosed spaces.
In practice, snow shelters often fail not because of the structure but because of exhaustion and getting soaked while building. Anyone without a shovel and practice is often better served by an emergency bivouac in the lee. Avalanche knowledge is a specialist field and deliberately not covered here.
Variants
- Covered snow trench
- A body-length trench covered with a tarp or sheet weighted down with snow. Comparatively quick, but colder at the cover.
- Snow cave
- A cave dug into a deep snowdrift insulates better but takes a lot of time, experience and sufficiently deep snow. Risk of collapse if the roof is too thin or in thaw conditions.
Common mistakes
- Building near slopes or under cornices
- Trying to dig a cave without a shovel or practice
- Soaking the insulating layers while digging
- Forgetting the ventilation hole or letting it drift shut
- Running a stove or candle inside
- Leaving the shovel outside
- Digging alone without anyone knowing your location
Limits and risks
- No building instructions for snow caves or igloos – principles only
- No statements about avalanche danger
- No measurements for wall or roof thickness
Material alternatives
Derived from material properties: a substitute must have all relevant properties. Observe the notes on the substitute.
- Sleeping pad
- Dry leaves, grass or conifer boughs (Collect only where allowed; no protected plants. Check for ticks and insects.), Backpack, Dry spare clothing (Carry it in waterproof packaging – wet clothing barely insulates.), Wool blanket / duvet (Keep away from candles, stoves and heaters.), Insulated cool box (Keeps cold only for a limited time; without ice packs or ice it is not a fridge.), Sleeping bag (Do not store compressed long-term; do not pack away damp.), Newspaper and cardboard (Flammable – keep away from candles, stoves, heaters and embers.), Insulated cooking box (hay box, thermal cooker) (Never put open flame or embers inside – only the hot, closed pot.)
- Headlamp / flashlight
- Mobile phone (The battery drains quickly in cold and with continuous screen and GPS use.), Battery lantern / LED light
Results come exclusively from structured entries. No improvised instructions are generated.
Sources
Headquarters, Department of the Army (USA) (2002): FM 3-05.70 Survival
Snow shelters, ventilation and hazards in cold regions
World Health Organization, Regional Office for Europe (2010): WHO guidelines for indoor air quality: selected pollutants (carbon monoxide chapter)
Carbon monoxide as a combustion product and hazard in enclosed spaces
Wilderness & Environmental Medicine (Wilderness Medical Society) (2019): Wilderness Medical Society Clinical Practice Guidelines for the Out-of-Hospital Evaluation and Treatment of Accidental Hypothermia: 2019 Update
Wet, wind and ground contact as factors in hypothermia