Fitting and choosing a backpack
A well-fitting trekking backpack carries most of the load on the hips, not the shoulders. What matters is the right torso length, a hip belt on the hip bones and the right order for adjusting the straps. Volume and weight should match the planned trip – not the other way round.
- 10–20 minutes to adjust
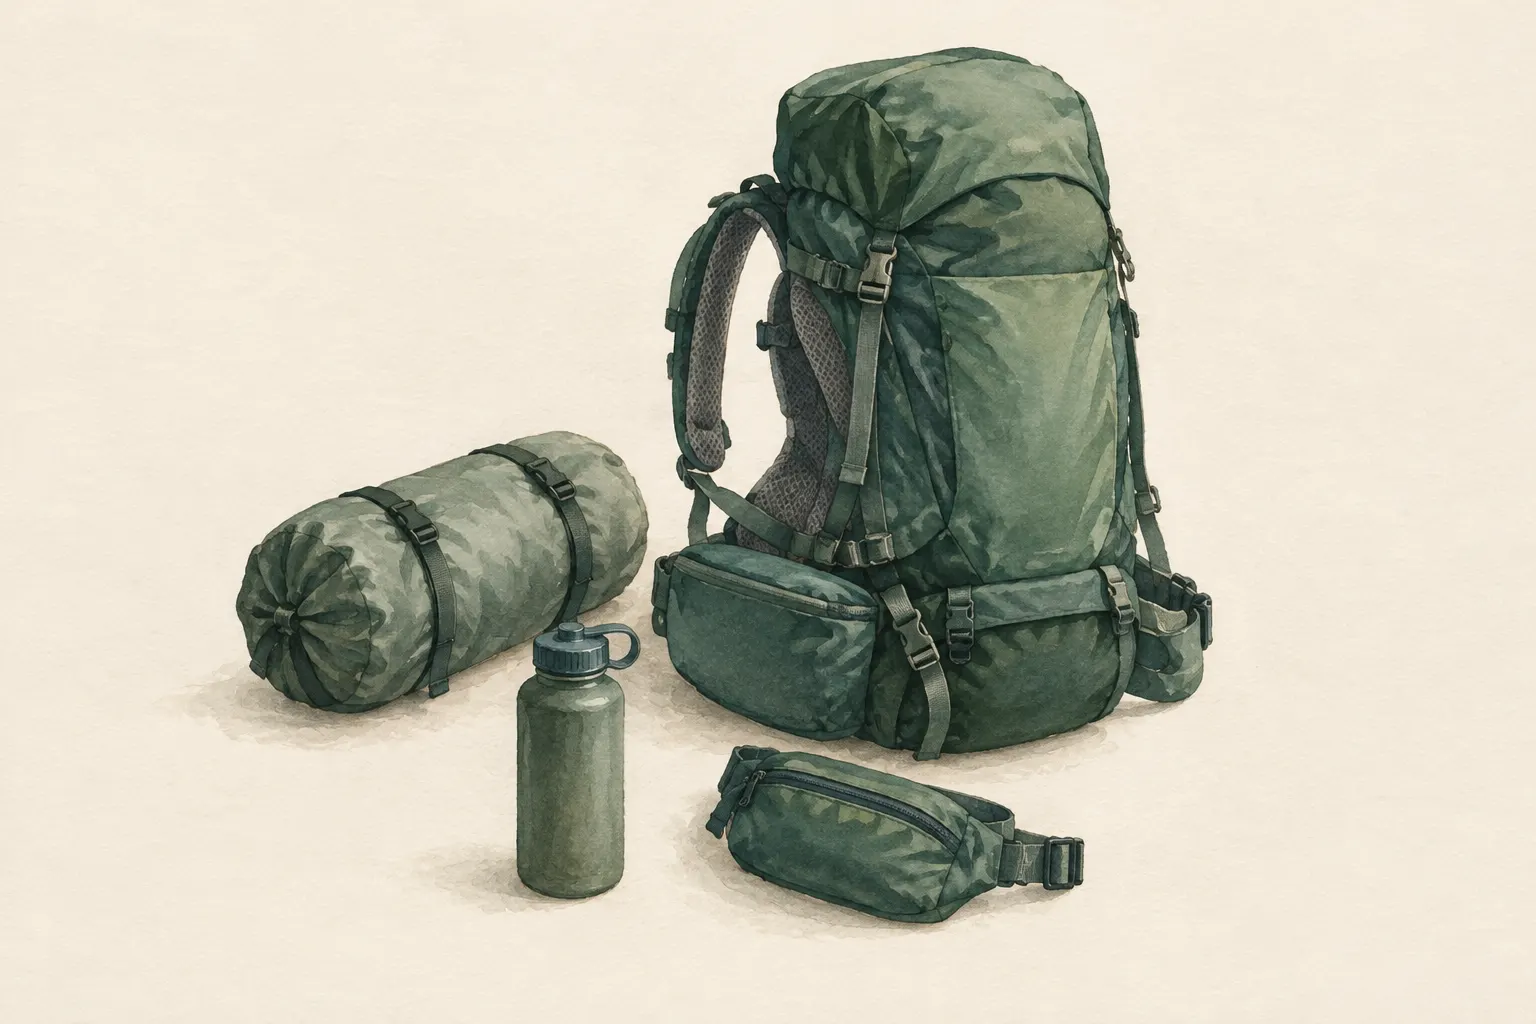
Explained simply
A heavy pack should not hang from your shoulders but sit on your hips. Your pelvis is like a strong shelf: it can carry much more weight than your shoulders. The hip belt wraps around the hip bones you can feel at the sides of your hips and passes the weight there. The shoulder straps only hold the pack in position.
How you pack matters too. Try holding a heavy box with your arms stretched out – and then hugged close to your body. Close to your body is much easier! It is the same with a backpack: heavy things belong close to your back.
A good pack fits the length of your back, just as a shoe fits the length of your foot. And: the lighter the pack, the more fun the trip. Only pack what you really need.
How it works
A trekking pack has a carrying system: a frame or a stiffened back panel that leads the weight from the pack body down to the hip belt. The hip belt sits on the hip bones and passes the load via the pelvis to the strong legs. The shoulder straps stabilise the pack so it does not tip backwards, but they are not meant to carry most of the weight.
Behind this is simple lever physics. The further a weight is from your back, the more it pulls you backwards. You compensate by leaning forward – which tires your back and neck. If the weight is close to your body, your combined centre of gravity stays over your feet, and you walk more upright and more steadily.
The load lifters – short straps running from the top of the shoulder straps to the pack – pull the upper part of the pack towards your body. The sternum strap holds the shoulder straps together so they do not slide outwards. So each strap has its own job, and only together does the pack sit properly.
Finding the right size
What matters is not your height but the length of your back (torso length). It is measured from the prominent neck vertebra – the bump you can feel at the back of your neck when you tilt your head forward – down to the level of the iliac crests, the top edge of your hip bones. It is easiest with a second person: put your hands on your hips with the thumbs pointing backwards, and measure from the line between the thumbs up to the neck vertebra.
Choose the pack size by this length, or adjust an adjustable carrying system. Many manufacturers also offer models with differently shaped shoulder straps and hip belts for different body shapes. More important than the label is how the pack feels with weight in it.
For volume: as big as necessary, as small as possible. A pack that is too big tempts you to fill it, and you feel every extra kilo at the end of a long day. Always try a pack with a realistic load, not empty.
Adjusting in the right order
The order matters because each step builds on the one before. First loosen all the straps and put on the loaded pack. Then close the hip belt so the pads wrap around the hip bones – not on the belly and not too low. Tighten it firmly. Now a large part of the weight should already be on your hips.
Next, tighten the shoulder straps until they lie over the shoulders without a gap but do not take the weight away from the hip belt. Then tighten the load lifters slightly so the top of the pack does not lean back. An angle of about 45 degrees between the lifter and the shoulder strap is a common guideline. Finally, close the sternum strap a little below the collarbone.
Then start walking – on the flat, uphill and downhill – and readjust. On the way it is normal to keep adjusting the straps a little: a bit more hold at the shoulders downhill, tightening the hip belt again on long climbs. If your arms or hands tingle, the shoulder straps are often pressing too hard; check the hip belt and loosen the shoulder straps a little.
Packing it right
Pack heavy things – food, water, stove – close to your back and at roughly shoulder-blade height. Light, soft things like the sleeping bag go at the bottom, light items on the outside. That keeps the centre of gravity close to your body and not too low.
Anything hanging on the outside of the pack swings as you walk, catches on branches and throws you off balance. So pack as much as possible inside and tighten the compression straps so nothing shifts. What you need on the way – rain jacket, map, snacks, first-aid kit – goes on top or in the lid.
For longer trips it is worth looking critically at each item: do I really need this? Is there something that can do two jobs? Less weight spares your joints, improves your balance and makes you safer on rough ground.
Safety and good to know
Heavy loads strain knees, hips and back and impair balance, especially downhill and on slippery ground. Reduce weight wherever possible, and with heavy loads use trekking poles – they can take some strain off the legs and give extra support.
If carrying keeps hurting despite a good fit, that is a reason to rethink the pack, the load or the pace. Persistent back or joint problems belong with a doctor; this entry does not replace medical advice.
For small day packs without a load-bearing hip belt, adjusting the shoulder straps is usually enough. Children carry only light loads and a pack that fits their back length – an adult pack that is too big presses and slips. The manufacturer's instructions for the specific carrying system always take precedence over general tips.
Step by step
Determine torso length
Measure from the prominent neck vertebra to the level of the top of the hip bones. Choose the pack size or adjust the frame accordingly.
- 1
Determine torso length
Measure from the prominent neck vertebra to the level of the top of the hip bones. Choose the pack size or adjust the frame accordingly.
- 2
Load
Heavy items close to the back at about shoulder-blade height, light items at the bottom and outside. Adjust with a realistic weight.
- 3
Hip belt
Loosen all straps, put the pack on and close the hip belt so the pads wrap around the hip bones. Tighten firmly.
- 4
Shoulder straps
Tighten the shoulder straps until they sit snugly without carrying weight. They should run over the shoulders without a gap.
- 5
Load lifters
Tighten slightly so the top of the pack does not lean back. An angle of about 45 degrees is a common guideline.
- 6
Sternum strap and test
Close the sternum strap a little below the collarbone. Walk with the load, uphill and downhill, and readjust.
Common mistakes
- Hip belt on the belly instead of the hip bones
- Shoulder straps carry the load
- Heavy items at the bottom or outside
- A pack too large that tempts overpacking
Quick view
Materials
Backpack
Suitable for
- Multi-day trips
- Buying a new backpack
- Back or shoulder pain while carrying
Not suitable for
- Small daypacks without a load-bearing hip belt – adjusting the shoulder straps is usually enough there
Prerequisites
- Backpack with a realistic load
- A helper or a mirror
Safety
- Heavy loads strain joints and balance. Reduce weight where possible; trekking poles can help.
How it works
The pelvis carries load better than the shoulders. A hip belt on the hip bones transfers the weight there through the frame; the shoulder straps only stabilise. Load lifters pull the top of the pack towards the body so the centre of gravity stays close to the back.
Advantages
- Less pain and fatigue
- Better balance on rough ground
Disadvantages
- Takes time when buying and adjusting
Deep knowledge
Background
Mountaineering handbooks such as "Mountaineering: The Freedom of the Hills" describe choosing, packing and adjusting a backpack as a basis for longer trips.
The steps described are general; manufacturer instructions for the specific harness take precedence.
Variants
- Different body shapes
- Many manufacturers offer models with differently shaped shoulder straps and hip belts. Trying them with a load matters more than the label.
Common mistakes
- Hip belt on the belly instead of the hip bones
- Shoulder straps carry the load
- Heavy items at the bottom or outside
- A pack too large that tempts overpacking
Limits and risks
- No product recommendations
- No medical advice for back problems
Material alternatives
Derived from material properties: a substitute must have all relevant properties. Observe the notes on the substitute.
- Backpack
- Sleeping pad, Dry leaves, grass or conifer boughs (Collect only where allowed; no protected plants. Check for ticks and insects.), Dry spare clothing (Carry it in waterproof packaging – wet clothing barely insulates.), Wool blanket / duvet (Keep away from candles, stoves and heaters.), Insulated cool box (Keeps cold only for a limited time; without ice packs or ice it is not a fridge.), Sleeping bag (Do not store compressed long-term; do not pack away damp.), Newspaper and cardboard (Flammable – keep away from candles, stoves, heaters and embers.), Insulated cooking box (hay box, thermal cooker) (Never put open flame or embers inside – only the hot, closed pot.)
Results come exclusively from structured entries. No improvised instructions are generated.
Sources
The Mountaineers Books (2017): Mountaineering: The Freedom of the Hills, 9th edition
Choosing, packing and adjusting a backpack