Adjusting and using trekking poles
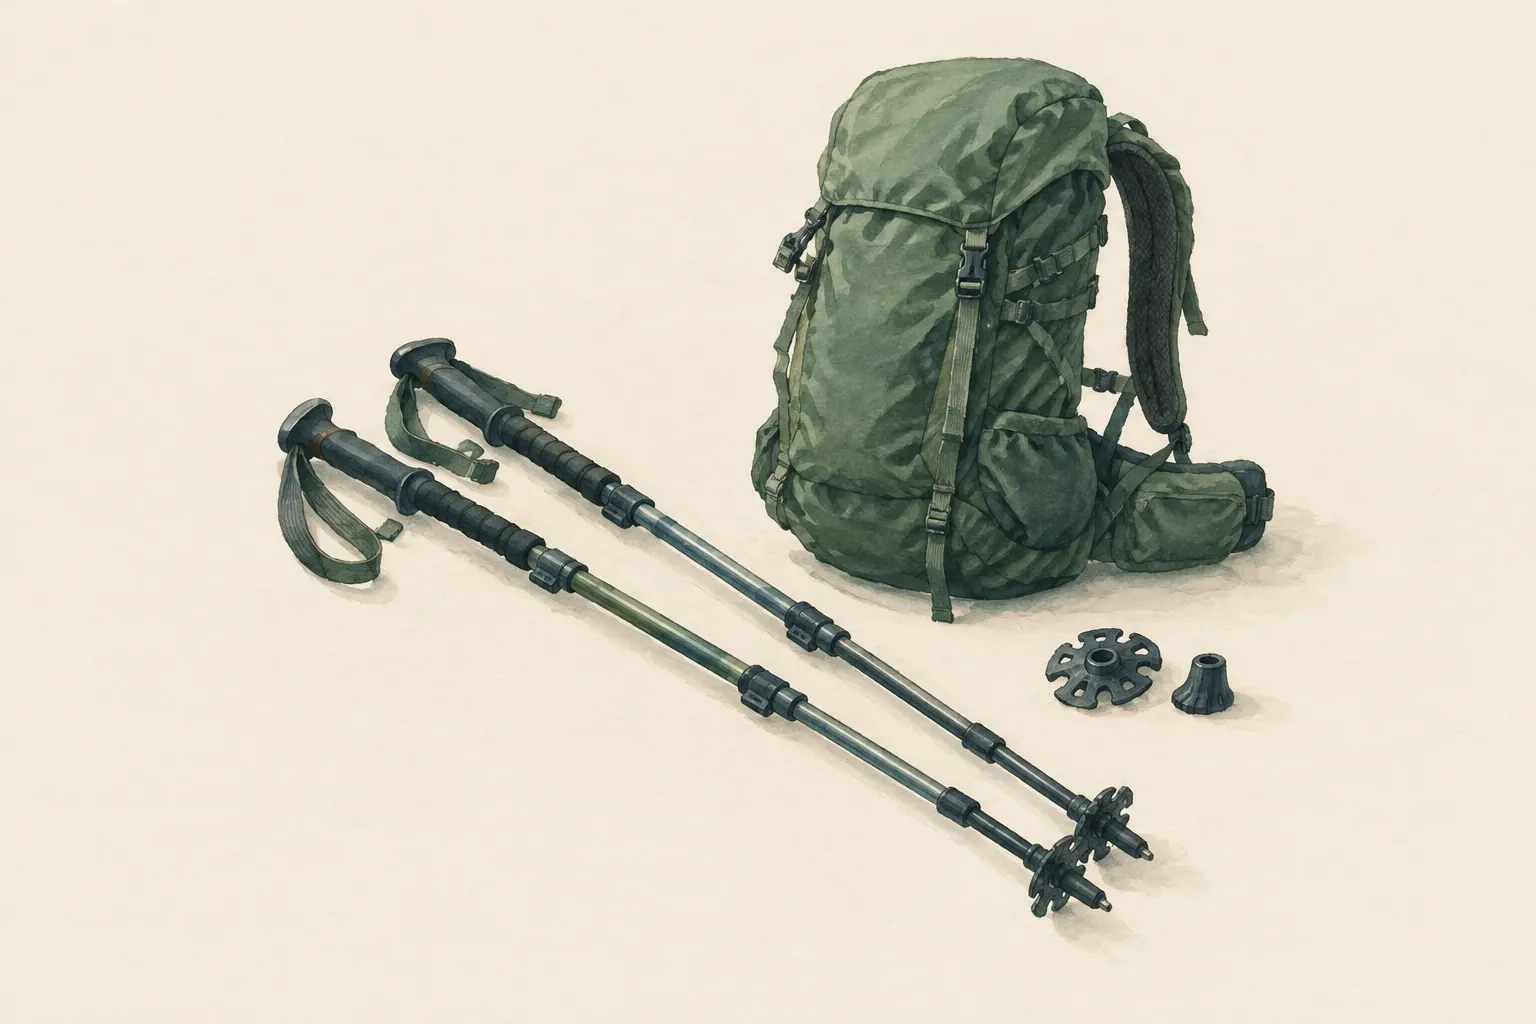
Trekking poles give support on uneven ground, take load off the knees downhill and help when crossing streams and snowfields. They only work if length and straps are set correctly: roughly a right angle at the elbow on the flat, shorter uphill and longer downhill. On scrambling terrain they belong on the pack.
- 5 minutes to adjust, a few trips to practise
Explained simply
Trekking poles are like two extra legs. With four points of support instead of two you stand much more securely – just as a table with four legs wobbles less than a stool with two. They help especially downhill: part of the load then goes onto your arms and not only onto your knees.
For poles to really help, they must be set up correctly. On a flat path you hold the grip so that your elbow forms roughly a right angle, like the corner of a book. Uphill you make the poles a bit shorter, downhill a bit longer. You grip the strap from below; then it takes part of the pressure and your hand does not have to squeeze all the time.
Important: where you could fall, for example on steep ground, do not put your hands through the straps. And where you need your hands to scramble, the poles go on the pack.
How it works
Poles transfer part of your weight and the pack's weight onto your arms. Downhill they absorb part of the impact with every step that would otherwise go entirely into knees and hips. Uphill you can push off with them and take some load off your legs. On uneven, slippery or loose ground they give you extra points of support with which you can often still catch a slip.
The strap matters more than many people think. If you put your hand up through it from below and then hold the grip and strap together, your wrist rests in the strap. The pressure then goes through the strap into the pole and your hand can stay relaxed. Anyone who doesn't use the strap has to clutch the grip tightly all the time and tires faster.
When crossing streams and on snowfields poles are especially useful: you can test the depth and firmness of the ground with them, and you always have at least two points on the ground while you move one foot.
What really matters: setting them up
For the basic length, stand the pole upright next to your foot and hold the grip. Your forearm should then be roughly horizontal, with the elbow at about a right angle. That is a guideline, not an exact measure – if something else feels more comfortable, that is fine.
Uphill you shorten the poles a little so you don't walk with hunched shoulders. Downhill you lengthen them a little so you can plant the pole further ahead without leaning forward. On long traverses across a slope, set the downhill pole longer than the uphill one. A common mistake is climbing with poles that are too long.
On flat ground you plant the poles diagonally to your stride: the right pole together with the left foot, as in a normal arm swing. On steep ground you often use both poles at the same time. For soft ground and snow there are baskets that reduce sinking in; on tarmac and rock, rubber tips protect the tip and the path.
Safety: what to watch out for
Where a fall is possible, for example on steep ground, do not put your hands through the straps. If the pole gets stuck between rocks, your hand can then come free instead of the pole twisting or holding you. Also check the clamp or twist locks before every trip. A pole that suddenly collapses when you lean on it can cause a fall.
Poles are no substitute for sure-footedness. They help, but they cannot make up for unsteady walking on difficult ground. On scrambles, ladders and chains where you need your hands, shorten the poles and fasten them securely to the pack, with the tips down or protected.
In a thunderstorm on an exposed ridge, do not hold the poles up high. The most important thing when thunderstorms threaten, though, is to leave exposed places in good time. On buses and trains, protect the tips with rubber covers so nobody gets hurt.
How to practise it
Set up the poles at home and first walk with them on an easy path with a bit of incline. Notice how your arms feel and adjust the length until it is comfortable. Deliberately try setting the poles shorter uphill and longer downhill, and remember the settings – some poles have a scale for this.
Also practise stowing them quickly on the pack so it doesn't take long at a scrambling spot. And if you have a light tarp or tent that is pitched with trekking poles, test the length needed in the garden or park before the trip.
Poles also have downsides: your hands are not free, they weigh a little, and metal tips can churn up the ground on soft paths. Rubber tips help with the last point. Anyone with knee or joint problems should get individual advice from a doctor or physiotherapist.
Step by step
Basic length
Stand the pole upright next to the foot and hold the grip: the forearm is roughly horizontal, the elbow roughly at a right angle.
- 1
Basic length
Stand the pole upright next to the foot and hold the grip: the forearm is roughly horizontal, the elbow roughly at a right angle.
- 2
Strap
Put the hand up through the strap from below and grip the handle together with the strap so the strap takes the pressure.
- 3
Uphill and downhill
Shorten a little uphill, lengthen a little downhill. On long traverses set the downhill pole longer.
- 4
Rhythm
On the flat plant the poles diagonally to the step (right pole with left foot). On steep ground use both poles together.
- 5
Stow
On scrambles, ladders and chains shorten the poles and fasten them securely to the pack, tips down or protected.
Common mistakes
- Poles too long when climbing
- Putting full weight on an unlocked adjustment
- Treating poles as a substitute for sure-footedness
- Unprotected tips on buses or trains
Quick view
Materials
Trekking poles
Suitable for
- Long descents
- Heavy packs
- Uneven or slippery ground
- Tarp pitches using poles as uprights
Not suitable for
- Scrambling where the hands are needed
- Thunderstorms on exposed ridges – do not hold poles up high
Prerequisites
- Poles with working length adjustment
- Rubber tips for tarmac and rock, baskets for soft ground and snow
Safety
- Where a fall is possible on steep ground, do not put your hands through the straps, so the hand comes free if the pole snags.
- Check clamp and twist locks before every trip. A pole that collapses can cause a fall.
How it works
Poles transfer part of the load to the arms and create extra points of contact. Downhill they absorb part of the impact, uphill they assist the push. The strap transfers force when gripped from below, so the hand does not have to squeeze constantly.
Advantages
- More stability
- Relief on descents
- Help when crossing streams
Disadvantages
- Hands are not free
- Extra weight and erosion from metal tips on soft paths
Deep knowledge
Background
Trekking poles have been common in hiking for several decades; mountaineering handbooks describe their use when walking, descending and on snow.
The settings given are guidelines. Anyone with knee or joint problems should seek individual medical or physiotherapy advice.
Variants
- Poles as tent poles
- Many light tarps and tents are pitched with trekking poles. Test the length before the trip.
Common mistakes
- Poles too long when climbing
- Putting full weight on an unlocked adjustment
- Treating poles as a substitute for sure-footedness
- Unprotected tips on buses or trains
Limits and risks
- No product figures
- No medical advice
Material alternatives
Derived from material properties: a substitute must have all relevant properties. Observe the notes on the substitute.
- Trekking poles
- Sturdy sticks / poles (Do not cut live wood where prohibited.), Tent pole repair sleeve (Temporary only – have broken sections replaced at home.)
Results come exclusively from structured entries. No improvised instructions are generated.
Sources
The Mountaineers Books (2017): Mountaineering: The Freedom of the Hills, 9th edition
Using poles when walking, descending and on snow