Putting together a small repair kit
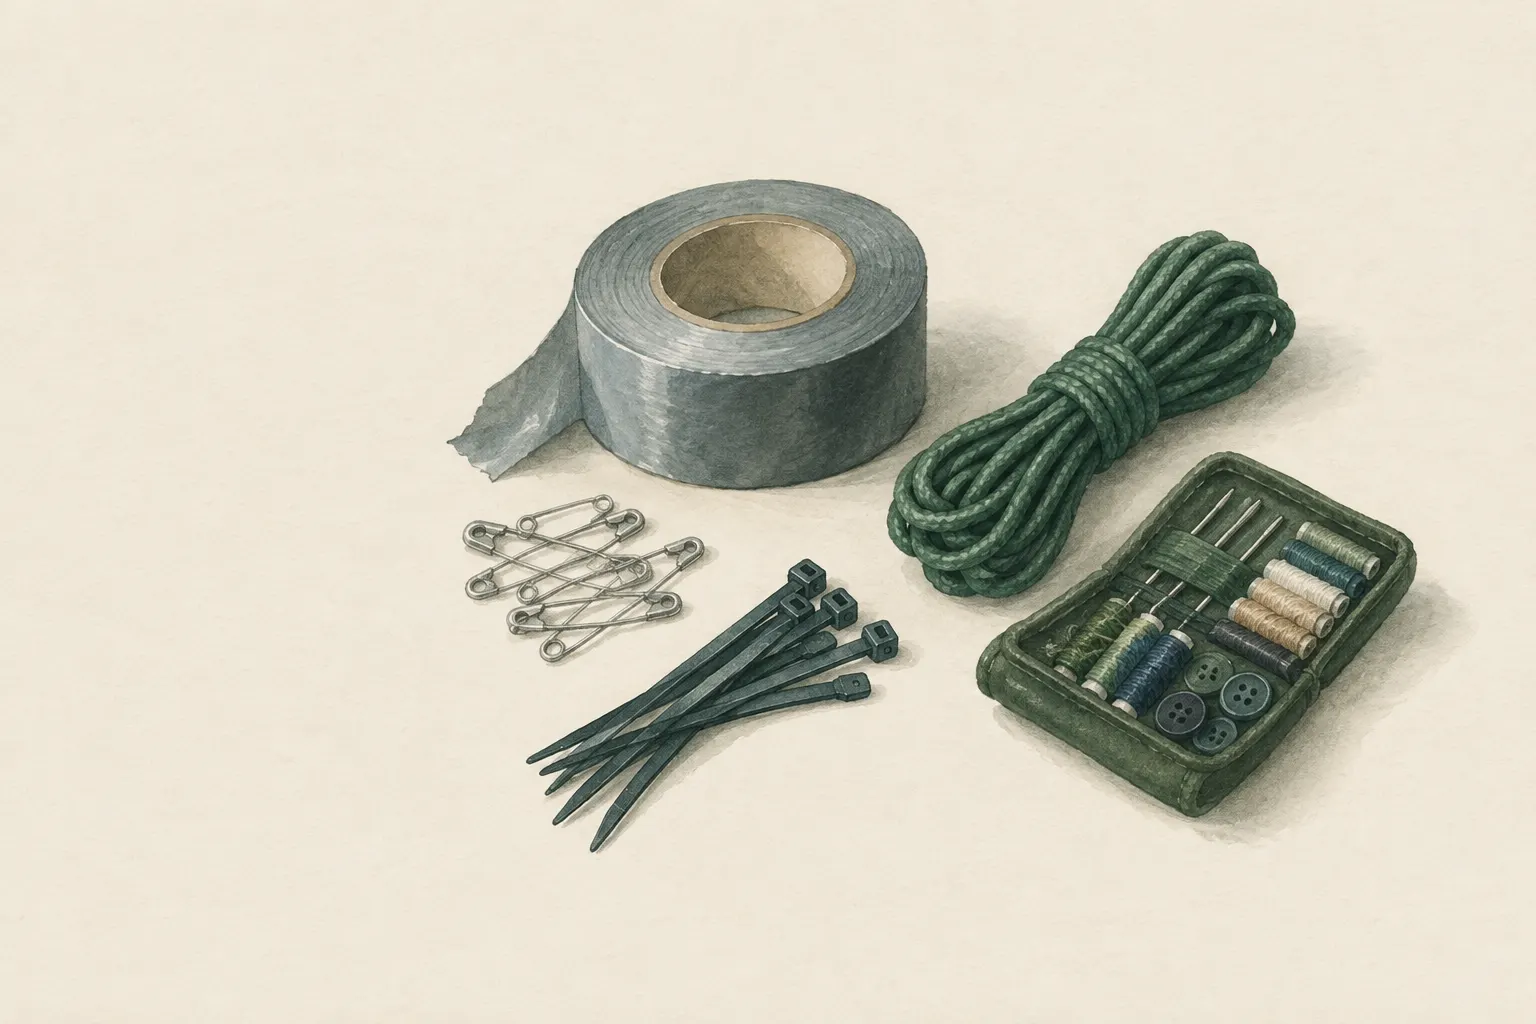
A few metres of duct tape, some cord, safety pins, cable ties and a sewing kit fit in one hand and solve a surprising number of problems: a torn backpack strap, a ripped tarp, a split zip, a loose shoe sole. The kit does not replace a proper repair, but it holds until the next opportunity.
- About 30 minutes to assemble
Explained simply
Imagine you are on a hike and the strap of your backpack tears. Without tools you now have to carry the pack in your hand for hours. With a small repair kit the fix takes ten minutes. A repair kit is like a first-aid kit – only not for people, but for gear.
The kit is small: a few metres of tape, some cord, safety pins, cable ties and a sewing kit with a strong needle. With these you can do three things: tape, tie and sew. Almost everything that breaks on the way can be secured with one of these three skills well enough to hold until you are home.
The most important point: some things are never patched. Climbing ropes, harnesses and helmets are replaced, not taped. And gas hoses, stoves and power cables get no tape at all – broken parts are simply not used any more.
How it works
Most gear damage is surprisingly uniform: fabric tears, a seam opens, a buckle breaks, a part comes loose. Behind it there is almost always too much pull, rubbing or ageing. A good kit is therefore planned not around objects but around tasks: something must be held together over an area (tape), something must be joined or lashed down (cord, cable ties), or something must be joined more permanently (needle and thread).
Duct tape is especially versatile because it contains a woven fabric. The fabric takes up the pull, the adhesive holds it to the surface. That way a strip of tape can hold a tear in a tarp or jacket together for many hours. Cord, on the other hand, holds through knots and wraps, and cable ties through a small catch that only lets the strap slide one way.
Sewing is the slowest but most durable of the three methods. Many small stitches share the load, and unlike tape a seam does not let go when it gets wet or cold. That is why a small sewing kit belongs in every kit, even if it is rarely used.
Gear and materials
Tape does not need to travel as a heavy roll. Wrap a few metres around a water bottle, a trekking pole or a piece of card. Cord – such as paracord or thin accessory cord – replaces shoelaces, ties down loose parts and becomes a washing line. Safety pins in different sizes close tears and broken zips, and cable ties replace snapped loops.
For the sewing kit, what matters is a strong needle with a large eye and sturdy thread; polyester thread is stronger than thin cotton thread and does not rot. A few spare buttons and a spare buckle sized for your backpack strap are tiny and can save the whole pack when it counts.
Then add what suits your gear: patches for the sleeping pad, a puncture kit for the bike tube, a spare shoelace, a few tent pegs. Everything goes into a small waterproof bag. At home the kit can be bigger: screwdrivers, pliers, a utility knife, a tarp and cord, for example to cover a broken window from the ground after a storm.
Safety: what to watch out for
A makeshift fix can cope with everyday loads, but not with a fall load. Damaged climbing ropes, harnesses, slings and helmets are therefore never patched but retired. Sewn or taped joins on such gear are off-limits too, however strong they look.
Gas hoses, stoves, cartridges, batteries and power cables are likewise never “repaired” with tape or cable ties. A leaking hose can release gas, a patched cable can cause an electric shock or a fire. One simple rule applies here: broken means no longer used.
Cable ties are handy, but they are hard to open again without a tool. So never put them around arms, legs, fingers or the neck – not even as a joke. And when you cut with a knife, always work away from your body.
How to practise it
The real value of the kit lies in practice. On the way it is often cold, wet or already dark, your fingers are stiff and you are tired. Anyone who tries a repair for the first time in those conditions can easily fail. Anyone who has done it once at the kitchen table knows what to do.
Set aside an evening: sew two ends of an old strap together with an overlap. Tape a tear in a piece of old tarp, once with square-cut tape and once with rounded tape, and see which strip lets go first. Replace a shoelace with cord and swap a buckle. That way you also notice what is still missing from your kit.
Check the kit briefly before every trip: does the tape still stick? Has anything been used up? Old tape can lose its stickiness over time. A kit that is never restocked is empty at the moment that matters.
Good to know
Mountaineering textbooks have long counted a knife and repair materials among the basic equipment for trips, the so-called “Ten Essentials”. Military survival manuals also stress maintaining the gear you have rather than hoping for replacements. The idea behind it is simple: gear that works keeps you warm, dry and mobile.
A repair kit does not replace a proper repair. It bridges the time until the next workshop, the cobbler, or until you are home and have time. A patched strap should afterwards be sewn properly or replaced.
Less is often more: a kit small enough that you really always carry it helps more than a big box that stays at home.
Step by step
Carry tape compactly
Wrap a few metres of duct tape around a water bottle, a trekking pole or a piece of card. That removes the heavy roll.
- 1
Carry tape compactly
Wrap a few metres of duct tape around a water bottle, a trekking pole or a piece of card. That removes the heavy roll.
- 2
Pack cord
A few metres of paracord or accessory cord replace shoelaces, secure loose parts and serve as a washing line.
- 3
Pins and cable ties
Safety pins temporarily close tears and broken zips; cable ties replace snapped loops or fix parts in place.
- 4
Sewing kit
A strong needle and sturdy thread are enough to secure seams on straps and clothing. A few spare buttons and a spare buckle matching your backpack complete the kit.
- 5
Add gear-specific items
Patches for the sleeping pad or bicycle tube, spare tent pegs, a spare shoelace – depending on what you carry.
- 6
Pack waterproof and check
Put everything in a small bag. Check briefly before each trip that the tape still sticks and nothing has been used up.
Common mistakes
- Carrying a whole heavy roll of tape
- Never restocking the kit
- Patching safety-critical parts with tape
- Not practising beforehand
Quick view
Materials
Duct tape
Wrapped around a bottle or pole to save space
Do not use on power cables, gas lines or as a wound dressing.
Adhesive can soften in heat and leave residue.
Paracord
A few metres
Not a climbing or safety rope.
Safety pins
Keep out of reach of small children.
Cable ties
Never put around body parts – they cannot be released without a tool.
Sewing kit
Suitable for
- Hikes and multi-day trips
- Go-bag and evacuation luggage
- Car, bicycle, household
Not suitable for
- Repairing life-safety equipment (climbing ropes, harnesses, helmets)
- Repairing power cables, gas hoses or stoves
Prerequisites
- Knowing what gear you carry and what can break on it
- A small waterproof bag
Safety
- Never put cable ties around arms, legs, fingers or the neck.
How it works
Most gear damage on the move consists of tears, split seams, broken buckles and loose parts. For these you mainly need three abilities: taping, tying and sewing. A kit that covers these three is small, light and versatile.
Advantages
- Small and light
- Versatile
- Inexpensive
Disadvantages
- Temporary solutions only
- Tape sticks poorly to wet or cold surfaces
Deep knowledge
Background
Mountaineering textbooks such as “Mountaineering: The Freedom of the Hills” count a knife or repair tools among the “Ten Essentials”, the basic equipment for trips. Survival manuals such as FM 3-05.70 also stress maintaining existing gear and using improvised solutions made from carried materials.
The value of the kit lies less in its contents than in practice: if you have sewn a strap or taped a tarp at home once, you will manage much better on the move in cold and wet conditions.
Variants
- Household version
- For home: additionally screwdrivers, pliers, a utility knife, a tarp and cord, for example to temporarily cover a broken window from the ground after a storm.
Common mistakes
- Carrying a whole heavy roll of tape
- Never restocking the kit
- Patching safety-critical parts with tape
- Not practising beforehand
Limits and risks
- No repair of safety-critical equipment
- No product recommendations
Material alternatives
Derived from material properties: a substitute must have all relevant properties. Observe the notes on the substitute.
- Paracord
- Rope (Never use unknown or damaged rope for life-safety purposes.)
Results come exclusively from structured entries. No improvised instructions are generated.
Sources
The Mountaineers Books (2017): Mountaineering: The Freedom of the Hills, 9th edition
Knife or repair tools as part of the Ten Essentials
Headquarters, Department of the Army (USA) (2002): FM 3-05.70 Survival
Maintaining and improvising equipment