Temporary repairs to gear
A tear in a tarp or jacket, a torn strap, a loose shoe sole or a broken zip can usually be secured with tape, cord, needle and thread so the gear works until the end of the trip. The rule: fix damage early before it grows – and have the temporary fix properly repaired afterwards.
- 5–30 minutes per repair
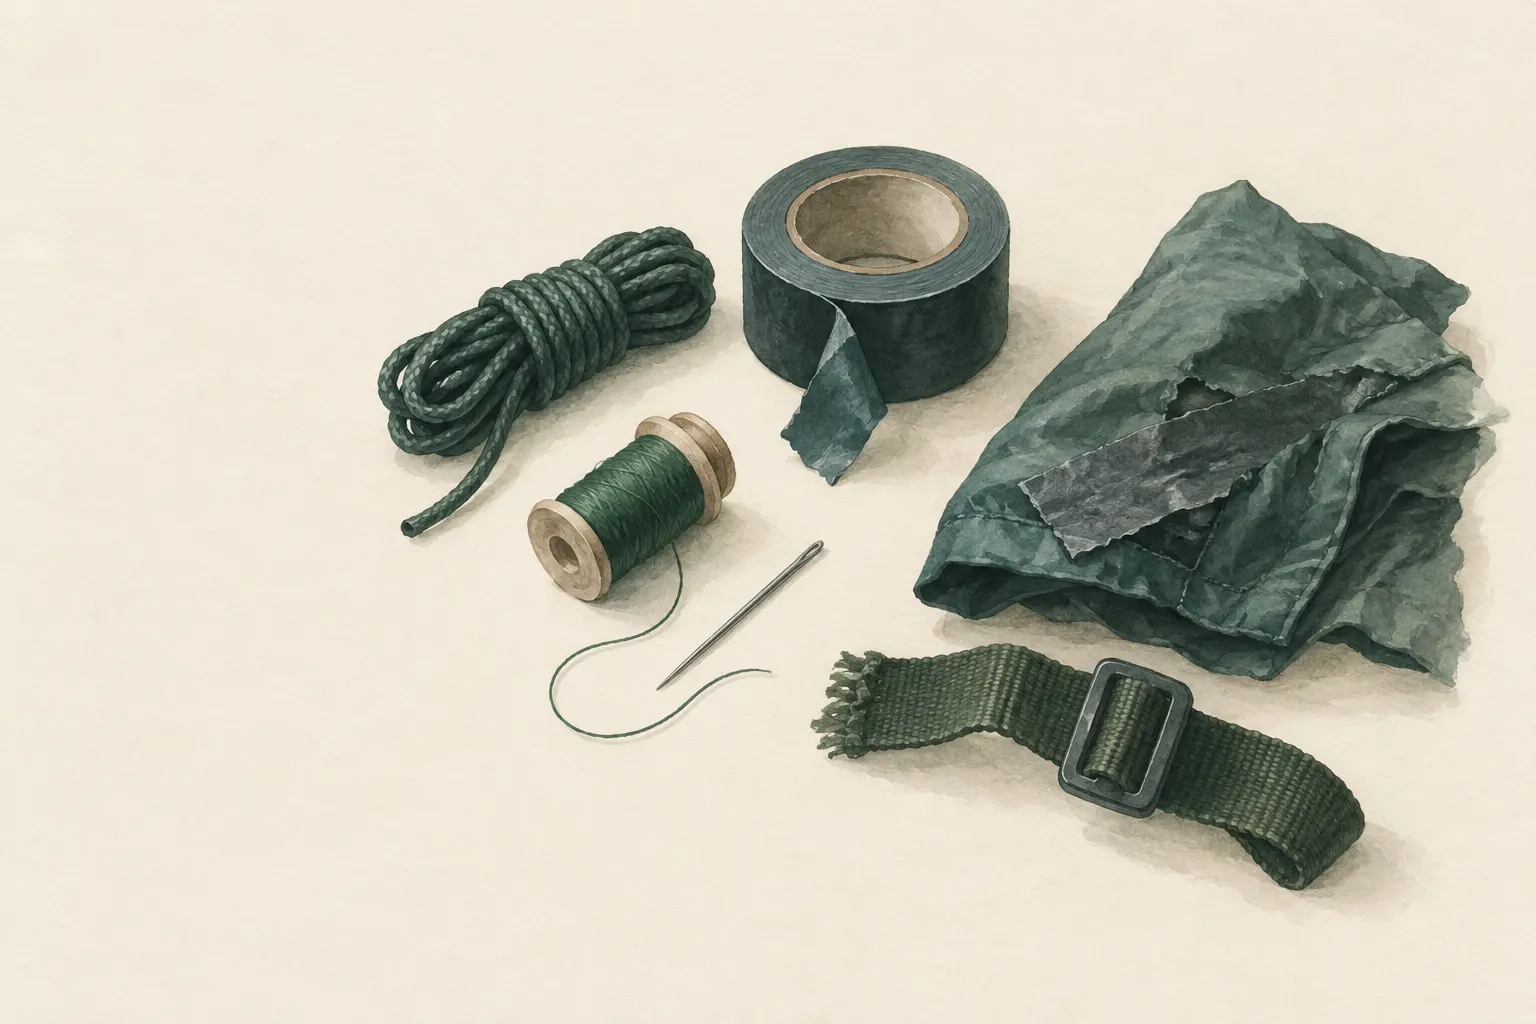
Explained simply
A small tear in a jacket is like a small hole in a sock: if you do nothing it quickly gets bigger. With every movement the fabric pulls at the ends of the tear, and that is where it keeps ripping. So the most important rule for repairs on the move is: fix early, before the damage grows.
A temporary fix is a repair “for now”. It does not need to look nice, it only needs to hold – until you are home and can repair everything properly. Tape, cord, safety pins, cable ties, needle and thread are enough. The trick is to route the force around the broken spot, for example with a large strip of tape that reaches well beyond the tear.
Very important: anything that holds people, carries gas or conducts electricity is not patched. Stoves, gas hoses, batteries, cables and climbing gear are no longer used once they are damaged.
How it works
When fabric is under tension, the force is spread across all the threads. A tear interrupts those threads. The force now has to go around the tear, and at its end it concentrates on just a few threads. Those threads are overloaded and break next – that is how a tear travels. It happens to tarps in the wind and to backpack fabric under load.
A good temporary fix takes that tension off the ends of the tear. Tape applied over a large area and well beyond the ends spreads the force onto intact fabric. A seam that runs a little past the end does the same. On straps, a long overlap joined with many stitches or several wraps of cord helps.
Tape itself also has a weak point: its corners. A sharp corner is where tape starts to peel, because the force acts on a small area there. Rounded corners therefore hold much longer. On tarps and jackets it is best to tape both sides so the fabric is sandwiched in between.
What really matters
Tape only sticks well to clean, dry surfaces. Wipe the spot, dry it with a cloth or let it dry briefly. Tape sticks poorly in the cold; warm it first in a jacket pocket or against your body. Then press it on firmly and rub your fingers over the whole area so the adhesive makes contact everywhere.
With a torn strap, let the ends overlap generously and sew them together with strong stitches. Without a sewing kit, wrap the overlap tightly with cord and knot it, or join it with two cable ties. With a broken zip, safety pins close the open sections; a loop of cord replaces a snapped zip pull.
A loose shoe sole is tied on with tape or cord wrapped around the whole shoe. Make sure no knots or thick bulges press on your foot. Then walk on slowly – and have the shoe repaired or replaced soon. Check every temporary fix at every break and touch it up before it fails.
When it makes sense – and when not
Temporary fixes make sense on tents, tarps, jackets, backpacks, bags and shoes – everything that keeps you dry, warm and mobile but does not secure your life. Here a quick repair is often the difference between an uncomfortable night and a dangerously wet one.
Safety-critical parts are not patched: stoves, gas hoses, cartridges, batteries, power cables, climbing and safety gear, and medical aids. With these parts, a failure can cause a fire, poisoning, an electric shock or a fall. The right approach is: retire the part and carry on without it, or turn back.
A temporary fix also never stays permanent. After the trip the gear goes to a professional, gets sewn properly or is replaced. Adhesive residue cannot always be removed cleanly, by the way – that is the price of quick help.
Safety: what to watch out for
The biggest hazard when repairing on the move is usually the knife. Always cut away from your body, keep your other hand out of the cutting line and fold or stow the knife immediately after the cut. When you are cold and tired, cuts happen especially easily.
When sewing thick materials such as webbing, a thimble or a piece of leather protects your finger from the needle. And with cable ties: never put them around body parts.
Also think about what happens if a fix fails. A patched shoe gives less grip on wet rock, a taped tarp can rip open again in a storm. Plan for these weaknesses: walk more slowly, adjust the route, and turn back earlier if in doubt.
Good to know
Survival manuals have described for decades how to maintain gear with materials you carry. Modern gear has become lighter and more delicate, but the principle has stayed the same: with a few basic materials most damage can be bridged until the next workshop.
A common misconception is that tape fixes “everything”. It is an excellent tool for surfaces, but weak in wet, cold and under constant pull. For straps and seams, sewing is often the better choice, and cord for loose parts. If you know all three methods, you can pick the right one for each kind of damage.
Step by step
Assess the damage
What is broken, and what force acts on it? If the part is safety-critical, it is not patched.
- 1
Assess the damage
What is broken, and what force acts on it? If the part is safety-critical, it is not patched.
- 2
Tear in a tarp or jacket
Dry and clean the area, close the tear, apply tape generously beyond the tear on both sides, round the corners and press firmly.
- 3
Torn strap
Overlap the strap ends and sew with strong stitches. Without a sewing kit: wrap the ends tightly with cord and knot them, or join them with cable ties.
- 4
Broken zip
Close open sections with safety pins. If the slider no longer runs, a loop of cord can serve as a pull tab.
- 5
Loose shoe sole
Fix the sole to the shoe with tape or cord wrapped around it, avoiding pressure points on the foot. Walk on slowly and replace or repair the shoe soon.
- 6
Check
Check temporary fixes at every break and touch up. Repair properly after the trip.
Common mistakes
- Taping wet or dirty surfaces
- Square-cut tape that peels at the corners
- Securing a tear only up to its visible end
- Leaving the temporary fix permanently
Quick view
Materials
Duct tape
Do not use on power cables, gas lines or as a wound dressing.
Adhesive can soften in heat and leave residue.
Paracord
Not a climbing or safety rope.
Safety pins
Keep out of reach of small children.
Cable ties
Never put around body parts – they cannot be released without a tool.
Sewing kit
Suitable for
- Tents, tarps, jackets, backpacks, shoes
- On the move when no workshop is within reach
Not suitable for
- Life-safety equipment
- Stoves, gas hoses, cartridges, power cables, batteries
- Medical aids
Prerequisites
- A repair kit
- A dry, clean surface for taping
Safety
- Cut away from your body and close or stow the knife immediately after use.
How it works
Tears grow from their ends under tension. A temporary fix must therefore route the load around the damage: tape over a large area with rounded corners on both sides, stitching beyond the end of the tear, straps tied with cord so the force is spread over a wide area.
Advantages
- Keeps gear working
- Needs little material
- Prevents damage from getting bigger
Disadvantages
- Not permanent
- Adhesive residue can soil materials
Deep knowledge
Background
Survival manuals such as FM 3-05.70 describe improvising equipment from carried and natural materials. The same principle applies to modern gear: with a few basic materials most damage can be bridged until the next workshop.
The key is drawing the line: anything that holds people, carries fuel or conducts electricity is not a case for a makeshift fix.
Variants
- In the cold
- Warm the tape against your body before applying it; it then sticks much better.
Common mistakes
- Taping wet or dirty surfaces
- Square-cut tape that peels at the corners
- Securing a tear only up to its visible end
- Leaving the temporary fix permanently
Limits and risks
- No repairs on safety-critical parts
- No manufacturer-specific instructions
Material alternatives
Derived from material properties: a substitute must have all relevant properties. Observe the notes on the substitute.
- Paracord
- Rope (Never use unknown or damaged rope for life-safety purposes.)
Results come exclusively from structured entries. No improvised instructions are generated.
Sources
Headquarters, Department of the Army (USA) (2002): FM 3-05.70 Survival
Improvising equipment from carried materials