Navigating with an altimeter
A barometric altimeter (also built into many outdoor watches) adds a third piece of information to direction and distance: height. Combined with the map's contour lines it narrows down your position on a slope, ridge or path. Because it responds to air pressure, it must be reset regularly at known spot heights.
- Calibrate before setting off and at every known spot height
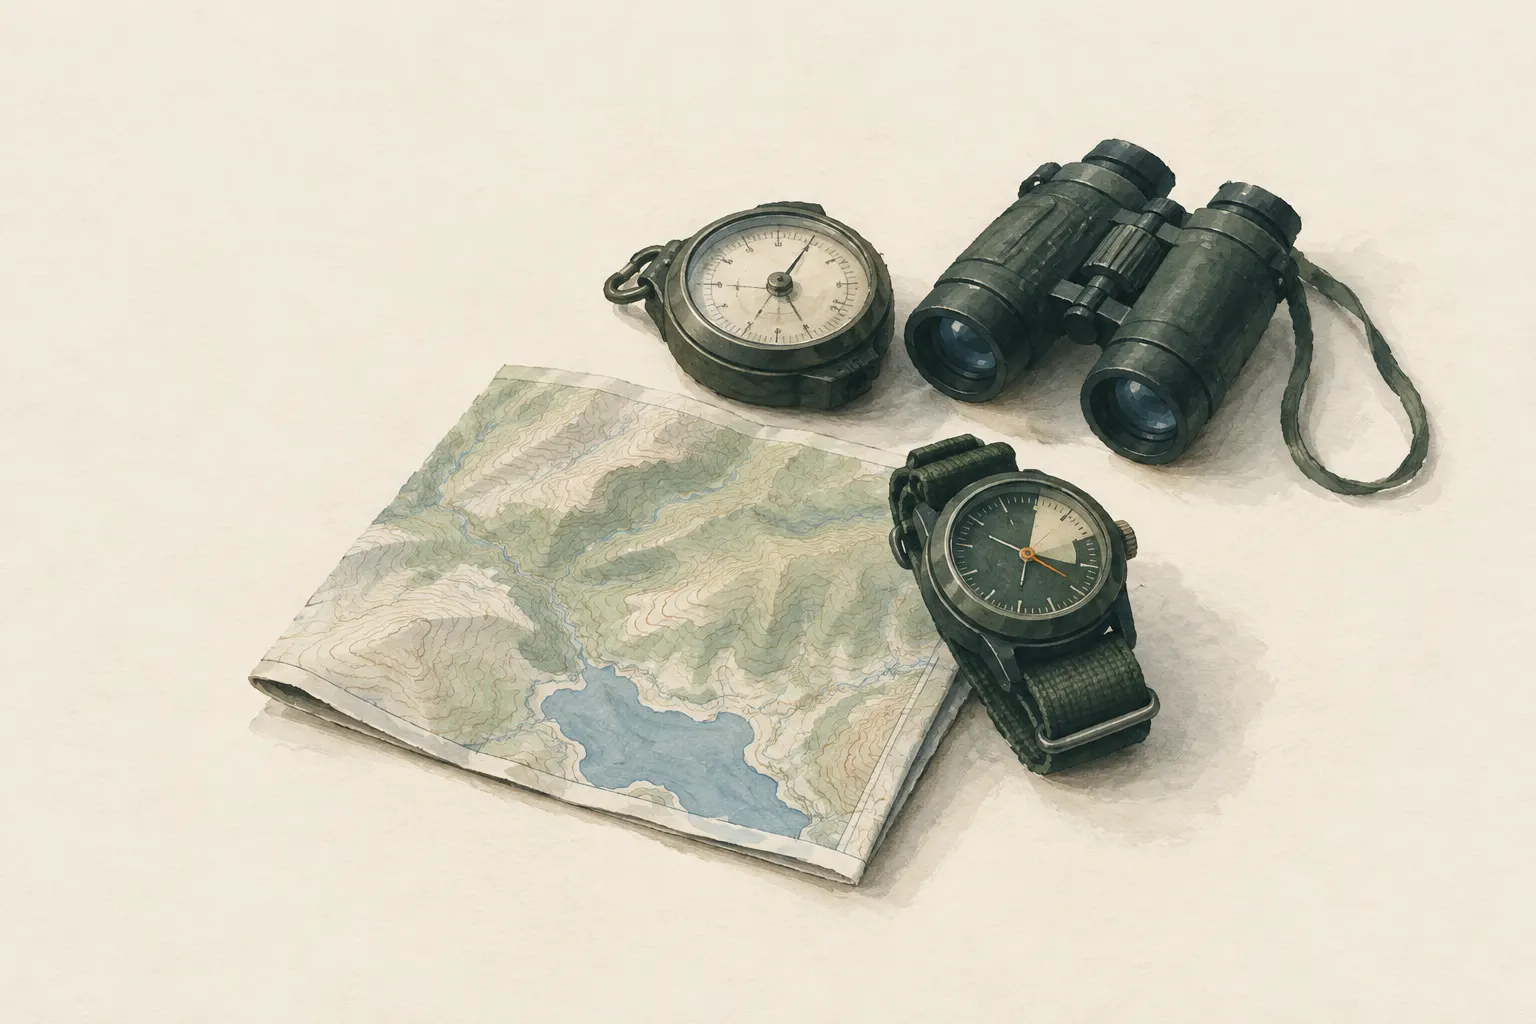
Explained simply
The air around us has weight and presses on everything – this is called air pressure. The higher you climb a mountain, the less air lies above you, and the lower this pressure becomes. An altimeter measures air pressure and converts it into a height. That way it knows roughly how high you are.
This helps with navigation. Imagine you are walking up a mountain path looking for a turn-off that, according to the map, lies at a certain height. When the altimeter shows that height, you are very close. The map shows height with contour lines – lines that join all points at the same height, like rings around a mountain.
But watch out: the weather changes air pressure too. So the altimeter can show a wrong height even if you have not moved at all. That is why you must reset it again and again at places whose height you know exactly, and never trust it alone when things get steep and dangerous.
How it works
A barometric altimeter contains a small pressure sensor. Because air pressure decreases with height, the device can calculate a height from the measured pressure. It assumes a 'standard' atmosphere. If the actual weather differs – for example with a high or a low – the reading shifts. Many outdoor watches have such an altimeter built in.
For navigation, height is a third piece of information alongside direction and distance. On its own it does not give a position, because countless points lie at the same height – a whole contour line. It becomes powerful in combination: if you know you are on a particular path, ridge or stream, the matching contour usually crosses that line at only one place. That is where you are.
Because weather changes shift air pressure, an altimeter gradually becomes less accurate if it is not reset. That is why you calibrate it at points of known height: summit, saddle, hut, or a junction with a height given on the map or on a sign. After that it is right again – until the weather changes further.
What really matters
Set the altimeter before you start at a point of known height, and in your trip plan write down the heights of key points: junctions, saddle, hut, turnaround point. On the way, compare at every confidently identified point with a spot height and reset. If the difference is large although you have only been walking a short time, that suggests a change in the weather.
Read the map's contours carefully. Every map has a fixed height step between two lines (the contour interval), for example 10 or 20 metres; it is given in the legend. If you overlook it, you can easily be out by many metres. Some devices are also sensitive to temperature changes, for example when a watch is worn on a warm wrist or outside on a cold jacket – check the instructions for your model.
A particularly useful trick in fog: if you want to traverse a slope at the same height to reach a hut or a saddle, the altimeter helps you hold that height. If you unintentionally descend or climb, the reading shows it even when you can see nothing.
Safety: what to watch out for
An altimeter measures air pressure, not height. When a low moves in, pressure falls and the device shows a greater height than you really are at – and vice versa. So never descend into steep terrain by altimeter alone, for example to get 'level with the turn-off'. Always check with map, terrain and compass too.
A known height also says nothing about whether the way there is safe. Go around drops, gullies, water, avalanche or rockfall terrain, whatever the reading says. Glacier and avalanche terrain need their own training; this entry does not replace it.
Good to know
The altimeter can also be a weather hint. If you stay in one place, for example overnight in a hut, and the displayed height rises, the air pressure has fallen – this can point to worsening weather. It is only a hint, not a forecast; it does not replace a real weather forecast.
GPS devices and phones also show an altitude. It does not depend on the weather but can vary with reception, especially in narrow valleys or in forest. The two methods complement each other well: GPS helps with setting, while the barometric altimeter gives steady readings even without satellite reception.
How to practise it
Take the altimeter on a familiar hike and set it at the start. At each junction with a spot height, read how far off the display is and note it. After a few trips you will know how quickly your device drifts in different weather.
Then practise combining: find a path on the map that climbs a slope, and try to fix your position using only height and path before you reach the signpost. This teaches you to read contours and terrain together.
Step by step
Set at the start
Set the altimeter at a point of known height (spot height on the map or a sign).
- 1
Set at the start
Set the altimeter at a point of known height (spot height on the map or a sign).
- 2
Write heights into the plan
Note the height of key route points: junctions, saddle, hut, turnaround point.
- 3
Combine height with a line
If you are on a path, ridge or stream, look for where the displayed contour crosses that line.
- 4
Recalibrate on the way
At every confidently identified point with a spot height, compare and reset. Large deviations suggest a change in the weather.
Common mistakes
- Not calibrating for hours
- Trusting the altimeter over map and terrain
- Misreading the contours (overlooking the contour interval)
- Not allowing for temperature changes (depending on model)
Quick view
Materials
Altimeter (barometric)
Shows wrong altitudes when the weather changes – recalibrate regularly at known spot heights.
Topographic map
With contour lines and spot heights
Check the publication date – paths and buildings may have changed.
Protect from wet (map case or bag).
Baseplate compass
Metal, magnets and electronics nearby deflect the needle.
Bubbles in the capsule or a sluggish needle indicate a defect.
Suitable for
- Traversing slopes in fog
- Finding a turn-off on a climb
- Fixing position on a ridge or path
Not suitable for
- Flat terrain
- Long periods without recalibration, especially when the weather changes
Prerequisites
- Able to read contour lines
- Basic compass navigation
Safety
- A line on the map says nothing about whether the terrain is safe to cross. Go around cliffs, water, avalanche and rockfall terrain, and turn back when in doubt.
- An altimeter measures air pressure. If pressure rises or falls because of the weather, it shows wrong heights even if you have not moved. Never descend into steep terrain by altimeter alone.
How it works
Air pressure falls with increasing height; the altimeter converts pressure into an altitude. If you know your height and that you are on a particular line (path, ridge, stream), the matching contour crosses that line at one point – that is your position. Weather-related pressure changes shift the reading, which is why you calibrate at known points.
Advantages
- Works with zero visibility
- Independent of satellite reception
- Very helpful on slopes
Disadvantages
- Weather-dependent
- On its own it gives only a height, not a position
Deep knowledge
Background
Barometric altimeters have long been standard equipment in mountaineering. Mountaineering textbooks describe how altimeter, map and compass together narrow down a position.
The physical relationship between air pressure and height is explained in more detail in the science section.
Variants
- As a weather hint
- If the displayed height rises while you stay in one place, air pressure is falling – this can hint at worsening weather. A hint only, not a forecast.
- GPS altitude
- GPS devices also show an altitude; it does not depend on the weather but can vary with reception.
Common mistakes
- Not calibrating for hours
- Trusting the altimeter over map and terrain
- Misreading the contours (overlooking the contour interval)
- Not allowing for temperature changes (depending on model)
Limits and risks
- No accuracy figures – depends on model and weather
- No guidance for glacier or avalanche terrain
Sources
The Mountaineers Books (2017): Mountaineering: The Freedom of the Hills, 9th edition
Altimeters in mountain navigation and calibration