Relocating yourself: systematic instead of guessing
If you are unsure where you are, do not keep walking – narrow it down systematically: last certain point, time and direction since then, landform, slope aspect and – if landmarks are visible – a resection. If that fails, return to the last known point or stay put and get help.
- 10–30 minutes of calm and map work
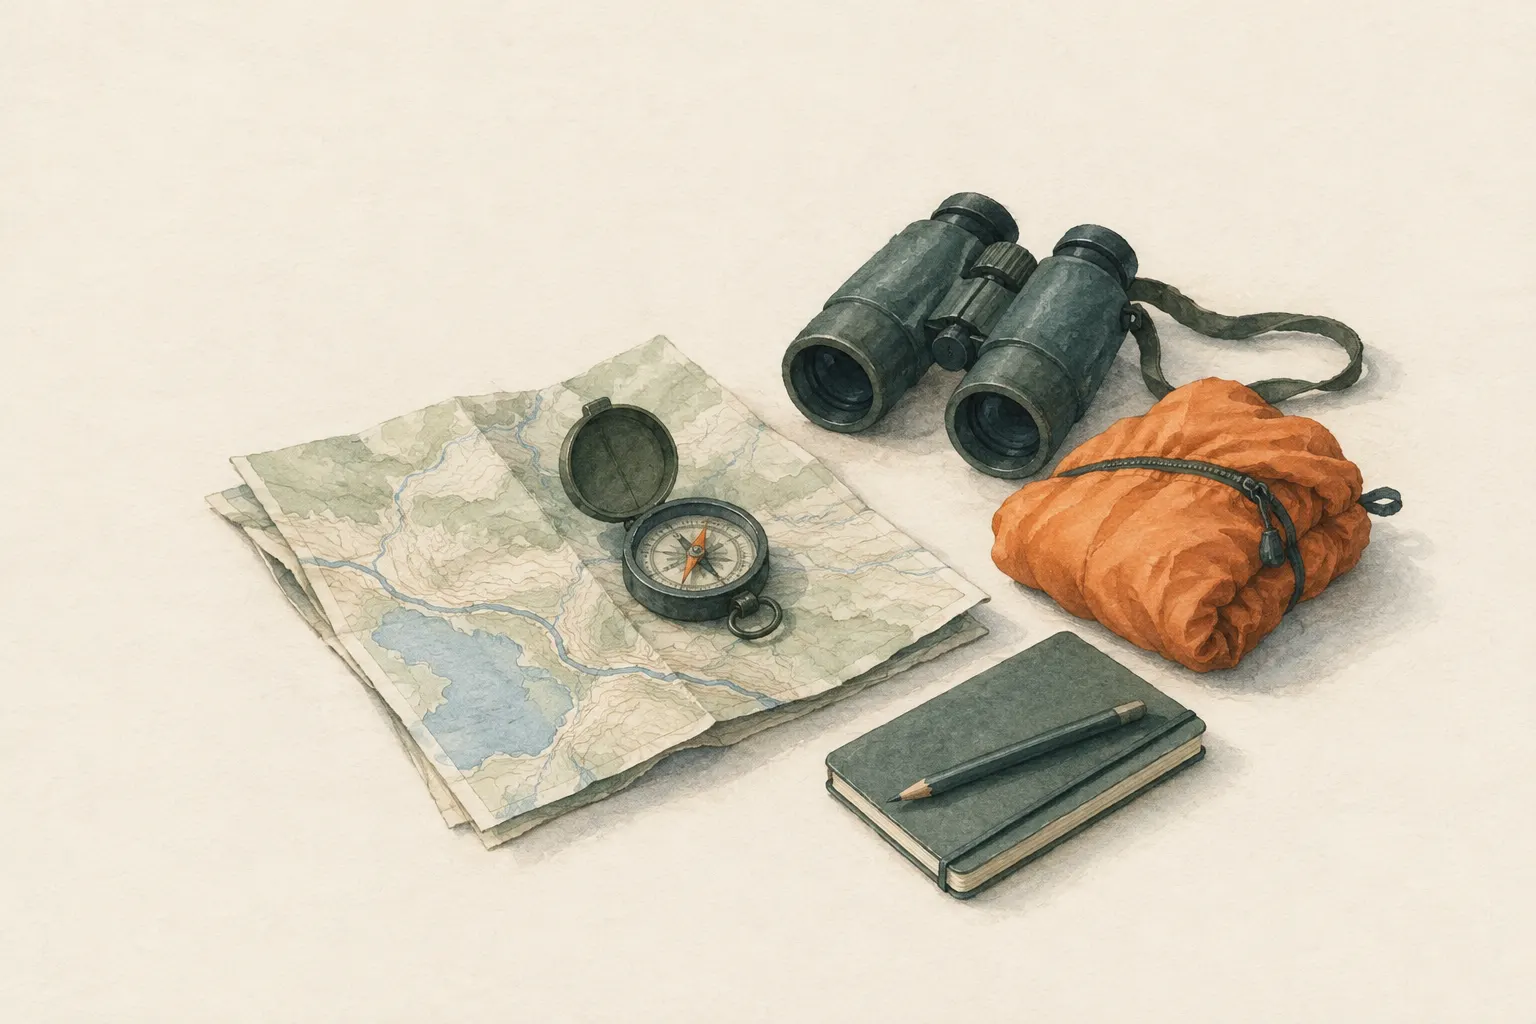
Explained simply
Imagine you are playing hide-and-seek in the woods and suddenly realise: I no longer know exactly where I am. This happens to experienced hikers too. The most important thing then is not to simply keep walking and hope it will work out. Every step into the unknown makes the area where you might be bigger – like a stain spreading on a cloth.
Instead, stop and think like a detective: where was I last completely sure? How long have I walked since then, and roughly in which direction? Does the ground go up or down here? Can I see a mountain, a tower or a lake that I can find on the map? Little by little, many small clues turn into a clear picture.
The most important safety point: if someone is injured, you are very exhausted, it is getting cold or darkness is coming, getting help comes first. Call the local emergency number (112 in the EU). You can still look for the way later.
How it works
You rarely find a position from a single clue. You combine several independent traces, each uncertain on its own, which narrow each other down. The first clue is the last certain point. If you know how long you have walked since then and roughly your pace, you get a circle on the map: you must be somewhere inside it.
Then you look at the terrain. Are you on a slope, in a hollow, on a spur or in a saddle? Which compass direction does the slope face? Roughly how high are you? Each of these questions crosses out parts of the circle. A north-facing slope at roughly a certain height may fit only two or three places.
If you can see landmarks you can positively identify on the map – a summit, a radio mast, a church – you can take a resection. You measure the bearing to the landmark with your compass and draw the opposite direction (the back bearing) on the map from the landmark. With two or three such lines you get an intersection or a small triangle, the 'triangle of error' or 'cocked hat'. You are standing roughly there.
What really matters
The hardest part is not the technique but your mind. When lost, people tend to 'bend the map': you talk yourself into believing the stream in front of you is the one you want, even if it flows the wrong way. Be honest with yourself. A feature that only half fits does not fit.
For a resection, choose only landmarks you are completely sure of. Ideally use two or three that lie in clearly different directions – then the lines cross at a good angle. If they lie in almost the same direction, the intersection becomes very imprecise. Remember to convert compass bearings to map bearings if magnetic declination matters in your area. A large triangle of error usually means a landmark is misidentified or a bearing is inaccurate.
A simple special case: if you are certainly on a known path or by a stream, a single bearing is enough. Where the bearing line crosses the path, that is where you are. Time notes along the way make all of this much easier. If you briefly note the time at every junction, you can later reconstruct much more precisely how far you can have come.
When it makes sense – and when not
Systematic relocation is always worthwhile as soon as expected features fail to appear or you doubt your position – the earlier, the better. After ten minutes of uncertainty the search circle is small; after an hour of aimless walking it is huge.
But if the situation is acutely dangerous – someone is injured, a storm is coming, you are in fall terrain or it is getting dark – orientation comes second. Then first make yourself safe, keep warm and call for help. If you cannot work out your position, there are three sensible options: walk back along the known route to the last certain point, head for a large catching feature you cannot miss such as a road or a river, or stay where you are and let yourself be found. Which one is right depends on terrain, weather, your strength and the time of day.
Safety: what to watch out for
A position on the map says nothing about whether the way there is safe. Even once you know where you are, the straight line to your destination may lead over drops, through water or through avalanche and rockfall terrain. Go around such places and turn back when in doubt.
Being lost is tiring and makes you nervous. Eat and drink something, dress warmly and make decisions calmly. If you are alone, or the group is anxious, it helps to say the steps out loud. And when you call for help, describe your last certain point and what you can see – that is very valuable for rescuers.
How to practise it
Practise resection at a viewpoint where you know your position exactly. Take bearings on two or three landmarks, draw the lines and see how close the intersection is to your real position. This gives you a feel for how big a normal triangle of error is.
A second good exercise: on a hike, let a companion lead you to a spot without you looking at the map. Then try to work out where you are using only terrain, slope direction and time. This exercise trains exactly what counts in a real situation: honest comparison instead of guessing.
Step by step
Stop
Stop as soon as doubt arises. Every further step into the unknown enlarges the search area.
- 1
Stop
Stop as soon as doubt arises. Every further step into the unknown enlarges the search area.
- 2
Identify the last certain point
Where were you last certain of your position? How long have you walked since, in roughly which direction? Draw a circle around that point.
- 3
Match the terrain
Orient the map, determine slope aspect and landform (ridge, valley, saddle) and look for matching places within the circle.
- 4
Resection
Take bearings on two or three positively identified landmarks, convert them to map bearings, and draw each back bearing from the landmark. The area where the lines cross is your approximate position.
A large triangle of error means a landmark is misidentified or a bearing is inaccurate.
- 5
Decide
If the position is clear, plan the way on. If not: go back along the known route to the last certain point, head for a large catching feature, or stay and get help.
Common mistakes
- Walking on hoping it will become clear
- 'Bending the map' (interpreting it to fit your wishes)
- Misidentifying landmarks
- Not having noted times
Quick view
Materials
Topographic map
Check the publication date – paths and buildings may have changed.
Protect from wet (map case or bag).
Baseplate compass
Metal, magnets and electronics nearby deflect the needle.
Bubbles in the capsule or a sluggish needle indicate a defect.
GPS unit
Carry spare batteries.
Can be inaccurate in narrow valleys, gorges and dense forest.
Suitable for
- Uncertainty about your position
- When expected features fail to appear
Not suitable for
- Acute danger (injury, storm, fall terrain) – then call for help and secure yourself first
Prerequisites
- A map of the area
- Compass basics
- Staying calm (see the STOP rule)
Safety
- A direction or a position on the map says nothing about whether the terrain in between is safe to cross. Go around cliffs, water, avalanche and rockfall terrain, and turn back when in doubt.
How it works
A position can be narrowed down from several independent clues. Time and speed since the last certain point give a search circle. Landform, slope aspect and altitude narrow it further. If you take bearings on two or three landmarks clearly identifiable on the map and draw the back bearings, the lines intersect near your position (resection).
Advantages
- Possible without power
- Prevents making things worse by aimless walking
- Several independent checks
Disadvantages
- Needs practice and a view of landmarks
- Time-consuming
Deep knowledge
Background
Resection is a standard technique in land navigation manuals. Mountaineering textbooks also stress the importance of time notes and the last known position.
The most common mistake when lost is psychological: you make the map fit what you want to see. Honest matching and admitting uncertainty are part of the technique.
Variants
- One line plus a bearing
- If you are on a known line feature (path, stream), one bearing on a landmark is enough: where the bearing line crosses the feature is your position.
- Confirm with GPS
- A GPS can give the position quickly; still sanity-check it with map and terrain.
Common mistakes
- Walking on hoping it will become clear
- 'Bending the map' (interpreting it to fit your wishes)
- Misidentifying landmarks
- Not having noted times
Limits and risks
- Without visible landmarks only rough narrowing down
- No guarantee – get help when in doubt
Sources
Headquarters, Department of the Army (USA) (2001): FM 3-25.26 Map Reading and Land Navigation
Resection and position finding
The Mountaineers Books (2017): Mountaineering: The Freedom of the Hills, 9th edition
Procedure when disoriented
European Commission: 112 – the European emergency number
Europe-wide emergency number 112