Making a route card (leg plan)
A route card breaks the route into short legs between unambiguous points and notes for each: direction, distance, height gain, estimated time and an escape option. It forces preparation at home, helps on the way in poor visibility and can serve trusted contacts as part of the trip plan.
- About half an hour to an hour of preparation per day trip
Explained simply
A route card is like a treasure map in small pieces. Instead of remembering the whole long route at once, you split it into short sections: from the bridge to the hut, from the hut to the saddle, from the saddle to the lake. For each section you write down which direction to go, how far it is, how much it climbs or descends and roughly how long it will take you.
You do this calmly at home with a map and compass. On the way you then just look at your card: 'Now comes section three, about 20 minutes, slightly uphill, to the path junction.' This is especially helpful when fog comes in or it gets dark and you can no longer see far.
Very important is a turnaround time: a time by which you turn back at the latest, even if you have not reached your goal yet. That way you get back safely before dark.
How it works
Short legs limit errors. Each section ends at an unambiguous point you can recognise even in poor visibility – a path junction, a saddle, a stream confluence, a hut. There you confirm your position before starting the next leg. This way an error can affect at most one leg, not the whole trip.
For each leg you note: the direction (the map bearing and, if needed, converted to a compass bearing), the length, the height gained and lost, the estimated time and – for critical sections – a safe way out. Added together, the times show whether the trip fits into daylight. From this you get the turnaround time.
For estimating time there are rules of thumb that combine distance and height gain. The best known is Naismith's rule from the 19th century: a base time for the distance on the flat plus an allowance for every climb. Such rules are a start but not fixed values. Load, fitness, ground, weather and group size change the time considerably. It is best to measure your own times on trips and use them as your basis.
What really matters
Choose legs short enough that you are sure to find the end of each one. In confusing terrain or with a risk of fog, prefer more, shorter sections. The leg target should be large and unambiguous; 'a small clump of trees somewhere on the slope' is hard to find in poor visibility.
Do not forget height gain – it often costs more time than distance. Always plan a buffer, because breaks, photo stops and small detours add up. A common mistake is magnetic declination: the difference between map north and magnetic north. If it is applied twice or not at all, the compass bearing will be off. Write on your card whether the values are map or compass bearings.
Most important of all is actually using the card on the way. Note the time at each leg point and compare it with the plan. If you are clearly slower than planned, that is an early warning – the turnaround time is getting closer, or something is wrong with the route.
When it makes sense – and when not
A route card is especially worthwhile on trips where fog or darkness threaten, on off-trail sections and in groups where different people take turns navigating. It forces you to study the route at home – and many problems show up before you even set off.
You can give a copy of the card to a trusted person, together with your planned return time. Then, in an emergency, they know where you were going. The card's weakness is spontaneous route changes: if you change route on the way, you need to think through the new legs briefly, otherwise the card is no longer any use.
Safety: what to watch out for
A line on the map says nothing about whether the terrain is safe to walk. Plan legs so that they avoid drops, water, avalanche and rockfall terrain, and turn back on the way when in doubt. A route card does not replace a weather and avalanche assessment, nor appropriate training in alpine terrain.
Stick to your turnaround time, even when the goal seems 'just there'. Many difficult situations arise because people overrun a turnaround time and then get caught by darkness, fatigue or bad weather. Better to miss a summit than spend a night outdoors without the right gear.
Gear and materials
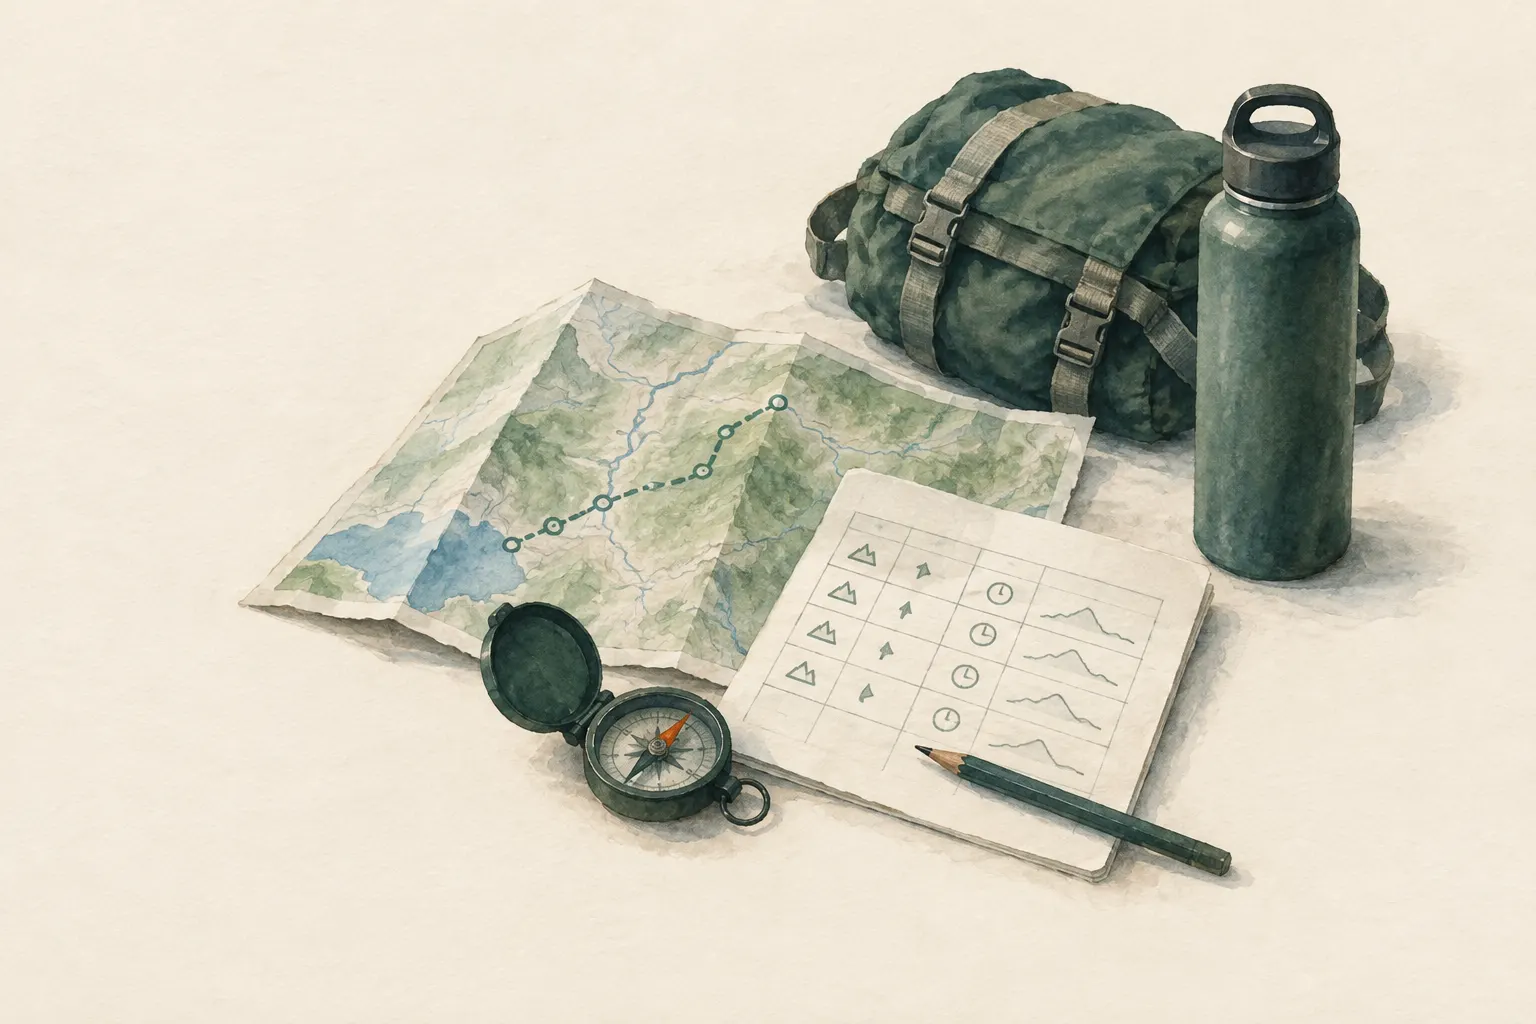
You need a topographic map, a compass with a ruler, a pen and paper – ideally an index card in a waterproof sleeve or a small notebook. Many people draw a simple table with columns for leg, direction, distance, height up and down, time and remarks.
Map apps calculate distance and height gain very conveniently. That is a good help when planning. Still take the key values on paper: a card needs no battery and works even when the phone is cold, wet or flat.
Step by step
Choose leg points
Divide the route into sections between unambiguous points that are recognisable even in poor visibility.
- 1
Choose leg points
Divide the route into sections between unambiguous points that are recognisable even in poor visibility.
- 2
Measure direction, distance, height
For each leg, note the map bearing (converted to a magnetic bearing if needed), length and height gained and lost.
- 3
Estimate time
Estimate the time per leg from your own experience or a rule of thumb (e.g. Naismith) and add a buffer.
- 4
Escape routes and turnaround time
Note a safe way out for critical legs and set a turnaround time.
- 5
Use and compare on the way
Note the start time of each leg and compare it with the plan. Treat large deviations as an early warning.
Common mistakes
- Legs chosen too long
- Forgetting height gain
- No buffer
- Plan made but not used on the way
- Declination applied twice or not at all
Quick view
Materials
Topographic map
Check the publication date – paths and buildings may have changed.
Protect from wet (map case or bag).
Baseplate compass
Metal, magnets and electronics nearby deflect the needle.
Bubbles in the capsule or a sluggish needle indicate a defect.
Field notebook and pencil
Or an index card in a waterproof sleeve
Suitable for
- Trips with risk of fog or darkness
- Off-trail sections
- Groups with changing leaders
Not suitable for
- Spontaneous route changes without new planning
- As the only safety measure in alpine terrain
Prerequisites
- Able to measure a bearing on the map
- Roughly know your own walking speed
Safety
- A line on the map says nothing about whether the terrain is safe to cross. Go around cliffs, water, avalanche and rockfall terrain, and turn back when in doubt.
- Time rules such as Naismith's rule are only rules of thumb. Your own experience, load, group, surface and weather change the time considerably – plan a buffer.
How it works
Short legs with an unambiguous target (junction, saddle, stream confluence) limit errors: after each leg the position is confirmed. Distance and height gain give a time estimate with a rule of thumb; the total shows whether the trip fits into daylight and where the turnaround point lies.
Advantages
- Structures preparation
- Helps in fog and at night
- Can be shared with trusted contacts
Disadvantages
- Time-consuming
- Quickly becomes invalid if the route changes
Deep knowledge
Background
Route cards are common in mountaineering and navigation training. Naismith's rule dates from the 19th century and gives a rough walking time from distance and height gain; it is often adapted.
Military manuals describe breaking a route into legs with direction and distance as the basis of compass navigation.
Variants
- Planning digitally
- Map apps calculate distance and height gain; still take a paper copy of the key values.
Common mistakes
- Legs chosen too long
- Forgetting height gain
- No buffer
- Plan made but not used on the way
- Declination applied twice or not at all
Limits and risks
- No fixed speed values
- Does not replace weather and avalanche assessment
Sources
The Mountaineers Books (2017): Mountaineering: The Freedom of the Hills, 9th edition
Trip planning, time needed and turnaround time
Headquarters, Department of the Army (USA) (2001): FM 3-25.26 Map Reading and Land Navigation
Route planning in legs with direction and distance