Carving a spoon
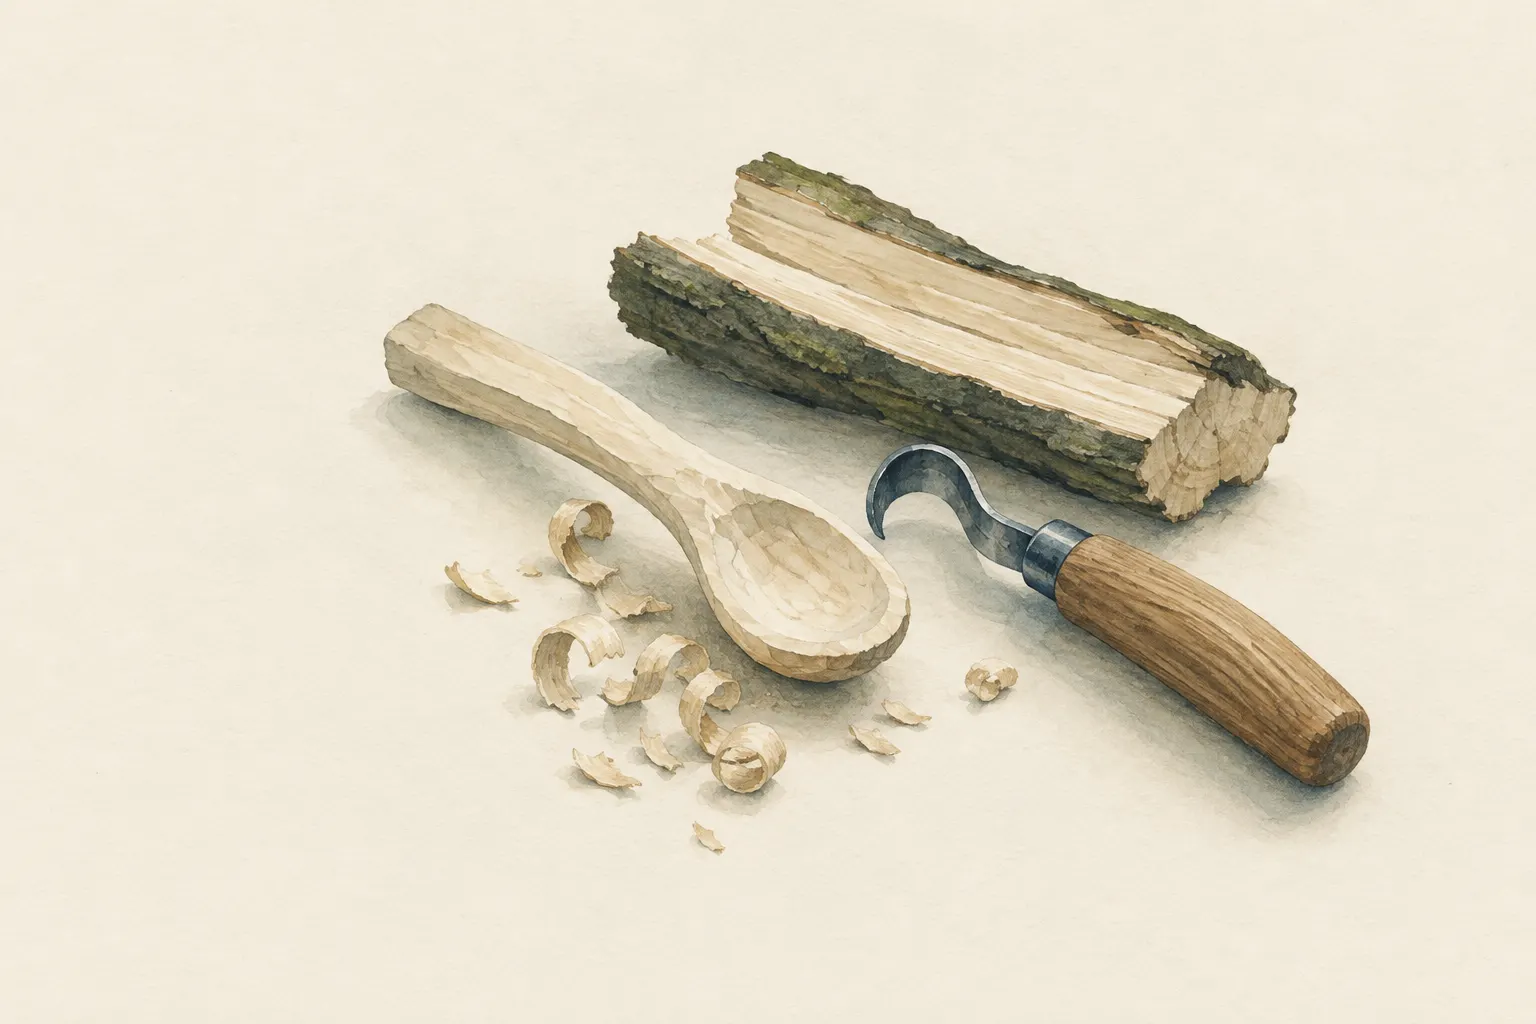
A spoon is the classic first project in green woodworking: split a blank, mark the outline, shape it with a knife and hollow the bowl with a hook knife. Work in fresh, soft wood from trees you know for certain or bought as carving stock. The hook knife needs its own safety rules.
- First spoon 3–6 hours over several sessions
Explained simply
Carving a wooden spoon is the first real carving project for many people. You usually work with fresh, "green" wood. That does not mean it looks green, but that it is still moist – which makes it soft and much easier to cut than dry wood, a bit like soft butter compared with butter straight from the freezer.
First you split a piece of wood, draw the spoon shape and carve the outer shape with a knife. You hollow the dip of the spoon, the "bowl", with a curved hook knife. Finally, you let the spoon dry slowly so that it does not crack.
For safety: the hook knife cuts along a curve and can slip towards your hand. Plan every cut so that the blade leaves the wood away from you, and never carve over your leg. Only use wood whose type you know for certain or that is sold as carving wood, and only cut fresh wood with the owner's permission.
How it works
Fresh wood still contains a lot of water. That makes the fibres softer and easy to cut with a sharp knife. You work with the grain so that the shaving lifts cleanly – carvers call it cutting "downhill", meaning not against the run of the fibres. If you cut against the grain, the wood tears and the surface becomes rough. If you notice a cut tearing, turn the workpiece and cut from the other direction.
Wood shrinks as it dries. If the surface dries much faster than the inside, it contracts while the core does not yet give way – and cracks form. The pith, the soft centre of the trunk, is especially prone to this. That is why it is always removed from the blank, and the finished spoon dries slowly in a cool, shady place.
A spoon cut cleanly with a sharp blade is often smoother than a sanded one, because the blade severs the fibres cleanly instead of roughening them. Many carvers therefore deliberately leave the small facets of the knife cuts visible.
What really matters
The choice of wood is crucial, because the spoon will later touch food. Only use wood whose type you know for certain and that is considered harmless. If you are unsure, use bought carving blanks intended for kitchen utensils. Wood from sprayed or treated trees is off limits. For a first spoon, a knot-free piece about forearm length works well.
Sharp tools are a must. A dull hook knife slips, tears the wood and needs more force. You need a carving knife with a short blade, a hook knife and a saw for relief cuts where the bowl meets the handle.
The order helps: split the blank, remove the pith, draw the outline from above and from the side, saw the relief cuts, rough out the shape with the forehand grip, chest lever and thumb push, then hollow the bowl and finally refine. If you go into detail too early, you easily lose the shape.
Safety: what to watch out for
The hook knife has a curved blade and cuts along a curve. If it slips, it can travel to the holding hand or even towards the face. So plan every cut so that the blade leaves the wood away from your thumb and body. The holding hand stays behind the edge, and you never pull towards an unprotected thumb in front of the blade. Short, controlled strokes from the rim to the centre are safer than long ones.
As with all knife work, do not carve on your thigh or between your knees, and keep a safety circle. A cut-resistant glove on the holding hand can help as well. A first-aid kit is ready; with heavy bleeding, press firmly on the wound and call the local emergency number (112 in the EU).
Children need close supervision with the hook knife. The law plays a part too: only cut fresh wood with the owner's permission, and rules on carrying knives differ between countries and places.
How to practise it
Plan several sessions for your first spoon; in total it often takes a few hours. Between sessions, keep the unfinished blank cool and covered so that it does not dry out too fast and crack.
Do not expect a perfect spoon the first time. It matters more to practise the grips safely and to feel how the wood behaves. Every spoon teaches you something about grain, tool sharpness and patience – skills that help with other woodwork in camp too. A hands-on carving course speeds up learning considerably.
Once the spoon is finished, let it dry for several days in a cool, shady place – not by the stove and not in the sun. Afterwards you can treat it with a food-safe oil.
Good to know
Green woodworking has a long tradition, especially in Scandinavia. Many of the grips taught today come from this craft tradition and have been described in detail in books on Swedish carving techniques.
Dry, soft wood can be carved too, but it needs sharper tools and more force and is therefore less suitable for beginners. Which woods suit eating utensils is deliberately not answered here – if in doubt, use bought blanks expressly intended for that purpose.
Step by step
Get a blank
Split a knot-free piece of fresh wood about forearm length in half (e.g. by batoning). The pith, the soft centre, is removed because cracks start there.
- 1
Get a blank
Split a knot-free piece of fresh wood about forearm length in half (e.g. by batoning). The pith, the soft centre, is removed because cracks start there.
- 2
Mark the outline
Draw the spoon shape from above and from the side. Make relief cuts with the saw at the transition from bowl to handle.
- 3
Rough out
Work out the outer shape with the forehand grip, chest lever and thumb push. Always cut downhill with the grain.
- 4
Hollow the bowl
Hold the spoon firmly and pull the hook knife in short, controlled strokes from the rim to the centre. Keep the holding hand outside the cutting path.
Never pull towards an unprotected thumb in front of the blade.
- 5
Finishing cuts
Make smooth, clean facets with a very sharp blade. Cleanly cut surfaces are smoother than sanded ones.
- 6
Dry slowly
Let the spoon dry for several days in a cool, shady place, not by a stove or in the sun. Then optionally treat it with food-safe oil.
Common mistakes
- Leaving the pith in the blank
- Cutting against the grain
- Dull hook knife
- Hollowing towards the thumb
- Drying the spoon by the stove
Quick view
Materials
Knife (fixed or locking blade)
Sharp carving knife with a short blade
Cut away from your body.
Rules on carrying knives differ by region – check local rules.
Hook knife (spoon knife)
Curved blade that can cut in two directions – check the cutting path before every cut; fit the blade guard when not in use.
Folding saw
Fold or cover the blade after use; saw teeth are very sharp.
Cut-resistant glove
For the holding hand
Reduces cuts but does not prevent stab injuries.
First-aid kit (household)
Does not replace a first-aid course; check contents and expiry dates regularly.
Suitable for
- Getting into green woodworking
- Quiet evenings in camp or at home
- Practising knife grips deliberately
Not suitable for
- Wood of unknown species for eating utensils
- Children without close supervision with the hook knife
- Very hard, dry wood for beginners
Prerequisites
- Safe knife handling and carving grips
- Fresh wood of known origin or a bought carving blank
- Sharp tools
Safety
- For eating utensils only use wood whose species is known for certain and considered harmless; if in doubt use bought blanks intended for kitchen utensils. No wood from sprayed or treated trees.
- Only cut fresh wood with the owner's permission.
How it works
Fresh wood is softer and cuts more easily than dry wood. You work with the grain so that the shaving lifts cleanly instead of tearing. The spoon then dries slowly; drying too fast causes cracks.
Advantages
- Practises all basic grips on one piece
- Useful, durable object
- Few tools needed
Disadvantages
- Time-consuming
- Hook knife has its own injury risk
- Cracks if dried wrongly
Deep knowledge
Background
Green woodworking has a long Scandinavian tradition. Wille Sundqvist's "Swedish Carving Techniques" describes grips, spoons and bowls in detail and is considered a foundational work.
The spoon is deliberately a slow project: it trains understanding of wood, tool sharpness and patience – skills that help with camp craft too.
Variants
- Dry wood
- Dry, soft wood can also be carved but needs sharper tools and more force. Less suitable for beginners.
Common mistakes
- Leaving the pith in the blank
- Cutting against the grain
- Dull hook knife
- Hollowing towards the thumb
- Drying the spoon by the stove
Limits and risks
- No identification of wood species
- Does not replace a carving course
- No statement on the food safety of individual woods
Sources
Wille Sundqvist – The Taunton Press: Swedish Carving Techniques
Spoon carving, grips and tools in green wood
Ray Mears – Hodder & Stoughton (2002): Bushcraft
Carving utensils