Batoning: splitting small wood with a knife and baton
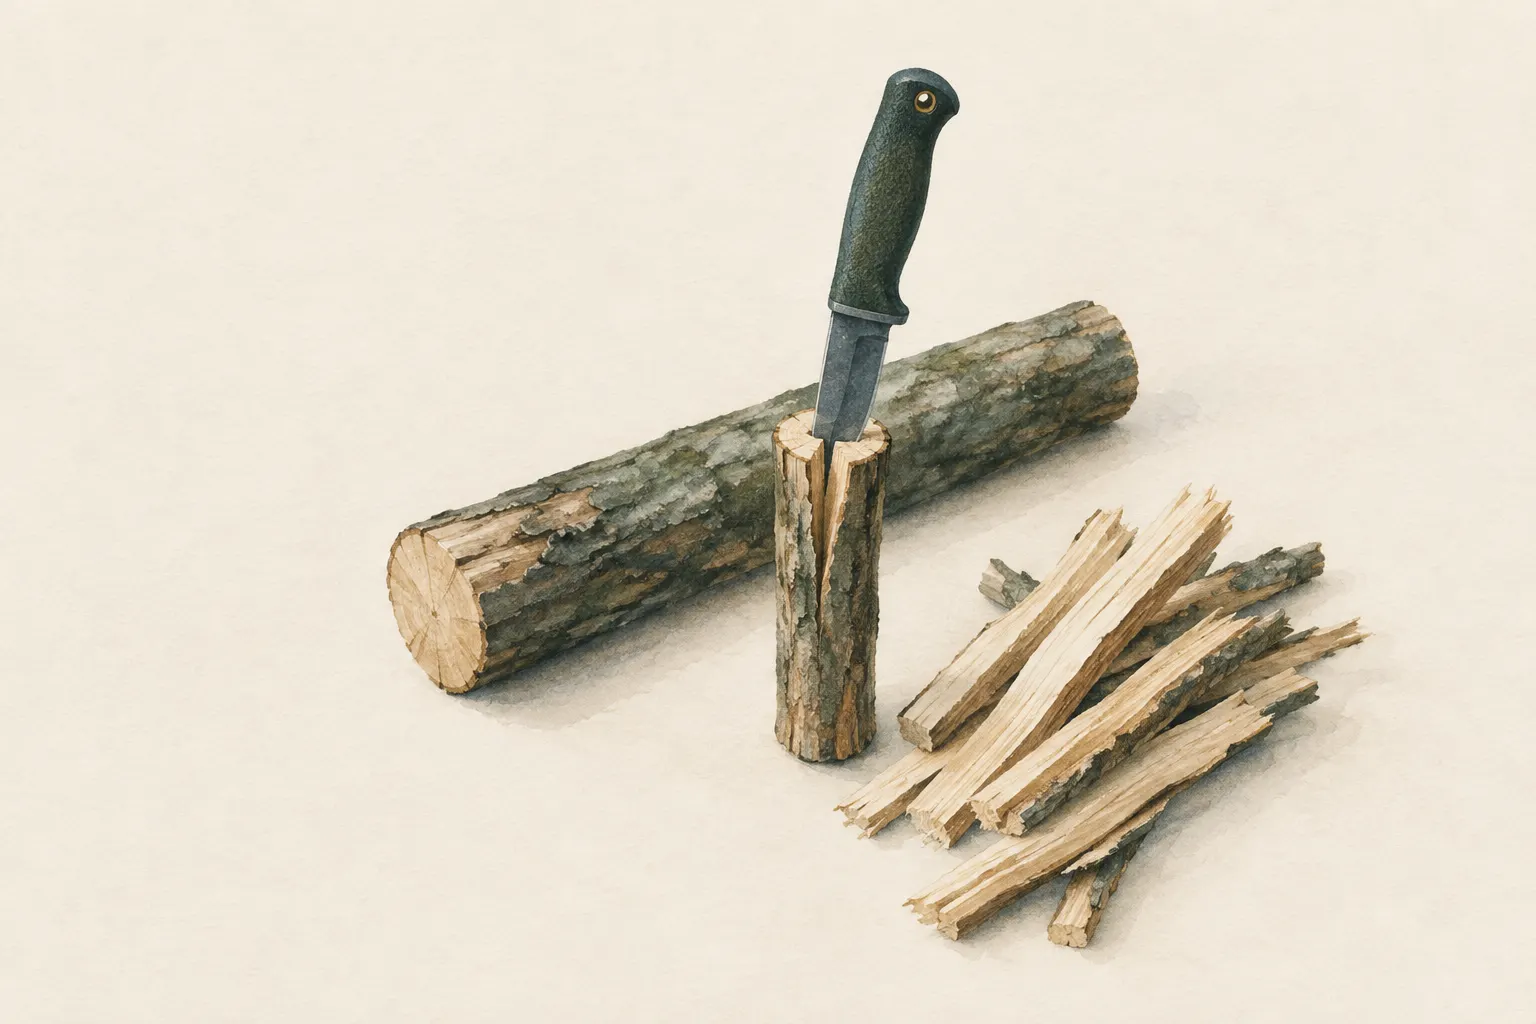
In batoning a sturdy fixed-blade knife is placed on the end grain of a short, thin piece of wood and driven through it with a wooden club (baton). This produces dry kindling from the inside of wet logs – without a hatchet. It only works with a suitable knife, knot-free wood and controlled blows.
- A few minutes per piece of wood, about an hour of practice
Explained simply
After rain, wood is wet on the outside. Inside it is often still dry – rather like a bread roll that has gone damp on the outside but not inside. In "batoning" you split a short, thin piece of wood with a sturdy knife to get at that dry inside.
To do this, you set the blade on top of the wood and tap the back of the blade with a wooden club, the "baton". The blade works like a wedge and drives the wood apart. You do not swing the knife; you tap it in bit by bit.
For safety: never stand the wood between your feet or in front of your legs. Once the blade breaks through, it travels downwards. Use only a sturdy fixed-blade knife, not a folding knife, and have a first-aid kit ready.
How it works
Wood is made of long fibres that run in the direction of growth. Across them wood is tough; along the grain it separates relatively easily. A blade entering the end grain – the cut surface at the end – from above acts as a wedge: it pushes the fibres apart until they split ahead of the edge.
The baton delivers many small, controlled blows instead of one big strike. Because you hit the protruding spine near the tip, the blade is driven down evenly. The force stays small and manageable – unlike a freely swung hatchet, which stores a lot of energy in the swing.
Wet wood dries from the outside in and also gets damp again from the outside in. A shower of rain therefore usually soaks only the outer layer. By splitting you expose the drier inside, which catches fire much more easily.
What really matters
The knife is the most important factor. It must be fixed and robust, ideally with a full tang – the part of the blade that runs into the handle. Folding knives, knives with a short tang or thin blades can break. Many manufacturers explicitly exclude batoning; follow their guidance.
The wood has to suit. It should be short, at most about forearm length, and clearly thinner than the blade is long, so that the tip sticks out on the far side and you can strike it. Avoid knots and twisted wood, because the blade jams there. An existing crack in the end grain is a good starting point.
The baton is a club of dead wood, about forearm length and easy to grip. Never strike the knife with stones or metal. The hand on the handle only keeps the blade level and does not push.
Safety: what to watch out for
The most dangerous moment is the break-through. When the wood springs apart, the blade suddenly travels downwards. That is why the wood stands on firm ground or a chopping block – never between your feet, never in front of your legs and never on your thigh. Hands, knees and feet stay to the side, out of that path.
Strike only the spine of the blade above the wood, never the handle. The knife stays level; a twisted blade can break, and broken pieces can fly. Keep other people out of your work area. A first-aid kit is at hand, and with heavy bleeding you press firmly on the wound and call the local emergency number (112 in the EU).
In many countries fixed-blade knives are subject to their own carrying rules. Check local rules before you take such a knife along.
When it makes sense – and when not
Batoning is worthwhile when you need kindling in wet weather and have no hatchet with you. It suits small amounts of wood up to about wrist thickness. You can divide the split pieces further until you have thin kindling, or carve shavings from them.
For larger amounts of firewood a saw and a splitting axe are better suited. Often you do not need batoning at all: thin dead wood that can be snapped or sawn is frequently dry enough. And think about where the wood comes from – only dead wood where allowed, or with the owner's permission.
How to practise it
Practise first with short, straight, knot-free pieces in good weather. Set the blade in the middle of the end grain and tap it in with light blows until it is seated firmly. Only then strike the protruding part near the tip.
After each practice round, check the blade for damage and clean it. Over time you learn to read wood: which pieces split willingly and which do not? If you notice a piece will not split, stop and choose another one instead of using more force.
Step by step
Choose a baton
Find a club of dead wood about forearm length that is comfortable to grip. No metal or stones as a striking tool.
- 1
Choose a baton
Find a club of dead wood about forearm length that is comfortable to grip. No metal or stones as a striking tool.
- 2
Prepare the wood
Saw the piece short and stand it on firm ground with the knot-free end up. The diameter should be clearly smaller than the blade length so that the tip sticks out on the far side.
- 3
Set the blade
Set the blade in the middle of the end grain, along an existing crack if possible. Drive it into the wood with light blows on the spine.
- 4
Drive the tip
Once the blade is seated, strike the protruding spine near the tip. The handle hand only keeps the blade level and does not push.
Keep the handle hand and body to the side of the striking line.
- 5
Finish and divide further
Split the halves again until kindling of the desired size is produced. Afterwards clean the blade and check it for damage.
Common mistakes
- Using a folding knife or thin blade
- Wood too thick for the tip to protrude
- Splitting through knots
- Striking the handle
- Resting the wood on the thighs or between the feet
Quick view
Materials
Knife (fixed or locking blade)
Fixed blade, full tang, blade clearly longer than the wood diameter
Cut away from your body.
Rules on carrying knives differ by region – check local rules.
Dry firewood
Short (forearm length or less), thin, as knot-free as possible
Collect only where permitted.
Chopping block
Must be level and stable; do not use a wobbling block.
Cut-resistant glove
Reduces cuts but does not prevent stab injuries.
Suitable for
- Getting dry inner wood out of wet wood
- Kindling and shavings without a hatchet
- Wood up to about wrist thickness
Not suitable for
- Folding knives, partial-tang knives or thin blades
- Thick, knotty or twisted pieces
- Large amounts of firewood – use a saw and splitting axe for that
Prerequisites
- Safe knife handling
- A robust fixed-blade knife – no folding knife
- Firm ground or a chopping block
Safety
- Only strike the spine of the blade above the wood, never the handle. Keep the knife level; a twisted blade can break.
- Rules on carrying fixed-blade knives differ between countries and places – check local rules.
How it works
Wood splits along the grain. The blade acts as a wedge: blows with the baton drive it deeper bit by bit until the fibres split ahead of it. Because the blows land on the protruding spine and tip, the force stays small and controllable – unlike a freely swung hatchet.
Advantages
- No hatchet needed
- Controlled, small forces
- Yields dry wood from the core of wet pieces
Disadvantages
- Puts heavy stress on knives – not every knife is suitable
- Slow for larger amounts
- Risk of injury when the blade breaks through
Deep knowledge
Background
Batoning is described in bushcraft textbooks such as those by Ray Mears and Mors Kochanski as a complement to saw and hatchet, above all to get at dry wood in the rain.
It is debated because of the stress on knives: many manufacturers exclude such use. If you have a hatchet or saw you often do not need batoning; thin dead wood that can be snapped or sawn is usually enough too.
Variants
- Mallet instead of a club
- A simple wooden mallet can be sawn from a thicker piece of dead wood and tapered into a handle with the knife. It is also useful for driving tent pegs. Do rough work on a hard surface and carve the handle smooth to avoid splinters.
- Wooden wedge for longer pieces
- For longer pieces you can open a crack with the knife and then drive a carved hardwood wedge into it to relieve the blade.
Common mistakes
- Using a folding knife or thin blade
- Wood too thick for the tip to protrude
- Splitting through knots
- Striking the handle
- Resting the wood on the thighs or between the feet
Limits and risks
- Only for small, short pieces of wood
- Knife damage possible – follow manufacturer guidance
- Does not replace hands-on instruction
Material alternatives
Derived from material properties: a substitute must have all relevant properties. Observe the notes on the substitute.
- Dry firewood
- Tinder (Carry in waterproof packaging.), Char cloth (charred cotton) (Store dry in a tin.), Finest-grade steel wool (Store separately from batteries – fire risk.), Fatwood (resin-rich wood) (Collect only dead wood where permitted.), Stove fuel (canister, liquid fuel, alcohol) (Store fuels apart from food and in original containers or bottles intended for them.), Petroleum jelly cotton balls (Use only pure cotton.)
Results come exclusively from structured entries. No improvised instructions are generated.
Sources
Ray Mears – Hodder & Stoughton (2002): Bushcraft
Splitting wood with knife and baton, preparing wood for fire
Mors L. Kochanski – Lone Pine Publishing: Bushcraft: Outdoor Skills and Wilderness Survival
Knife work and wood preparation in camp