Tool care: cleaning, oiling, preventing rust, checking handles
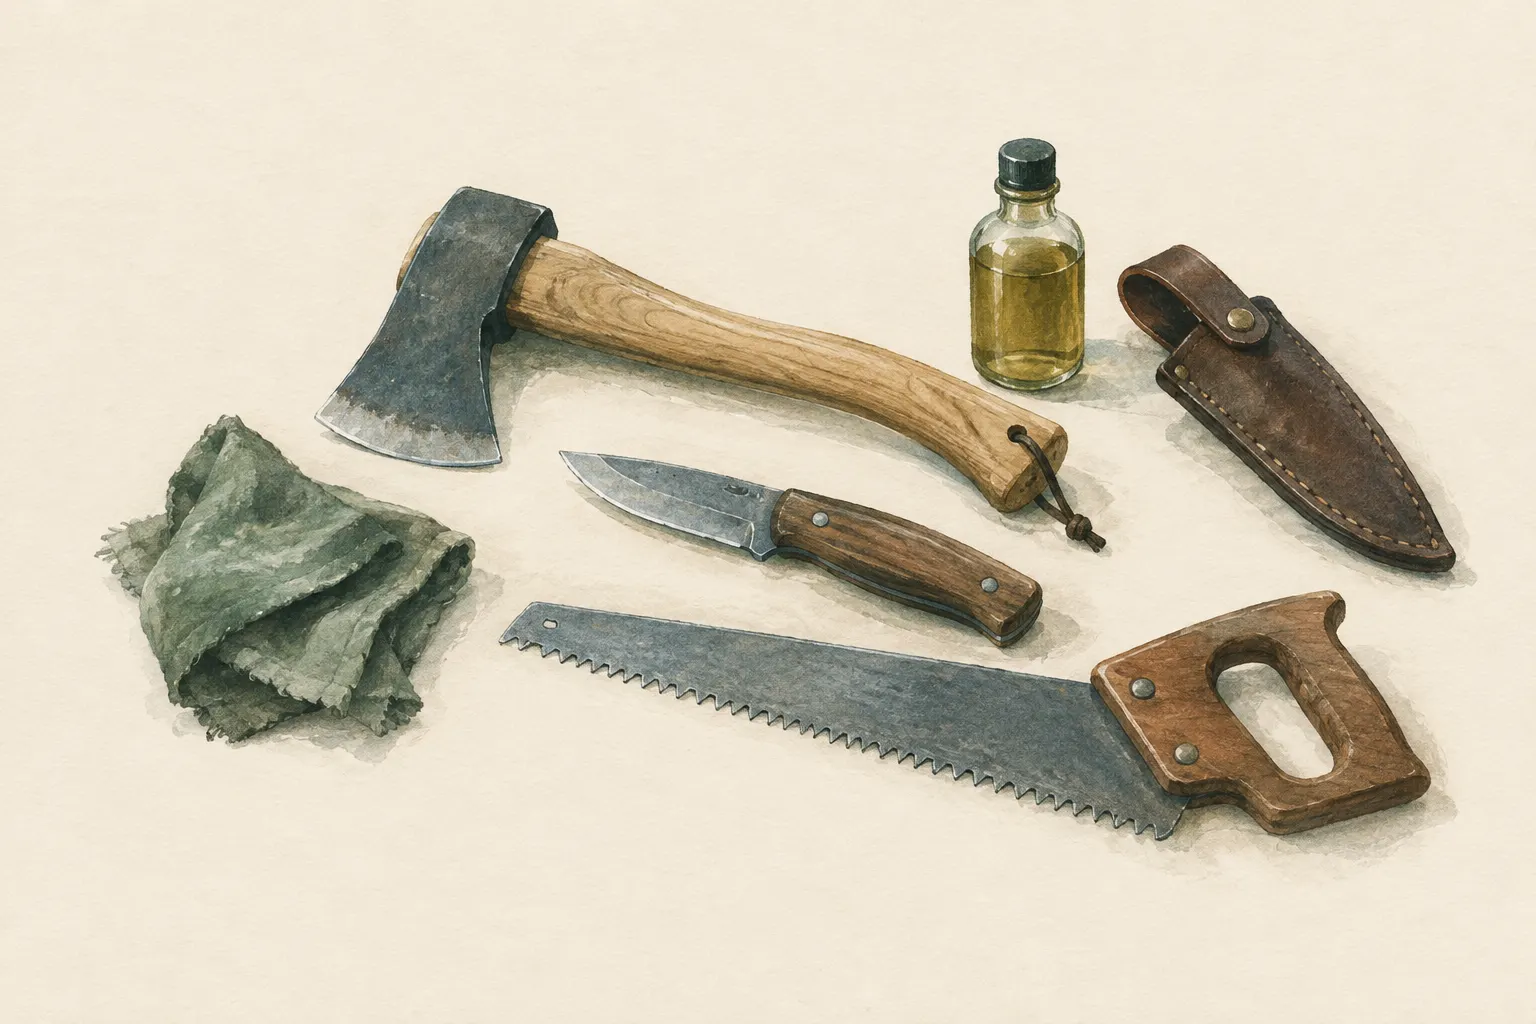
Knife, hatchet and saw stay safe if they are cleaned, dried and lightly oiled after every use. Carbon steel rusts quickly, wooden handles dry out or swell and leather sheaths hold moisture. A short care routine prevents damage that only becomes dangerous the next time you use the tool.
- 5–10 minutes after each use
Explained simply
A tool is like a bicycle: if you put it in the corner wet and dirty, it gets rusty and squeaks. A steel knife, hatchet or saw can rust when water and air act on it for a long time. Rust eats into the metal and makes the edge dull and weak.
Luckily, care is simple and takes only a few minutes: clean it, dry it well and wipe on a very thin layer of oil. The oil is like an invisible rain jacket for the metal. Then you check the wooden handle: is it firm, does it have cracks? A hatchet with a loose head is dangerous because the head can fly off.
One thing is especially important: rags with certain oils such as linseed oil can catch fire by themselves if they lie around crumpled up. So spread them out flat outdoors to dry. And when wiping a blade, never run your fingers along the edge.
How it works
Rust forms when iron reacts with water and oxygen. This creates a reddish-brown, flaky layer that does not protect the metal but keeps growing deeper into it. Salt – for example from sea air or sweat – and acids from food or plant sap speed this process up considerably. That is why a knife used to cut fruit and then left unwashed often rusts overnight.
A thin film of oil breaks the contact between water and metal. It does not need a thick layer – a few drops on a cloth are enough for a whole blade. Too much oil tends to attract dust and dirt. For knives that touch food, use a food-safe oil.
Wood behaves differently from metal: it takes up moisture from the air and releases it again, swelling and shrinking as it does. If an axe handle dries out a lot, for example in a warm room, it becomes slightly thinner and the head can loosen. Leather holds moisture for a long time and contains tanning agents that can attack steel – one reason not to store blades permanently in leather sheaths.
What really matters
The most important step is drying at once. A tool that goes wet into a sheath, bag or box keeps rusting there out of sight. Also think of hidden places such as the joint of a folding saw or the gap between blade and handle. Resin and plant sap often come off better with a little oil than with water.
Light surface rust – a thin orange haze – can be removed with oil and a fine abrasive pad or a blade eraser. Then oil again. Deep rust pits, on the other hand, are small holes in the steel and permanently weaken the edge. Carbon steel often develops an even, dark grey colouring over time, called a patina. It is something different from red rust and no cause for concern.
Each time you care for the tool, also check the handle: cracks, splinters, a wobbling head? You can occasionally treat dry wooden handles with linseed oil. Let leather sheaths dry in the air, not by the fire, and treat them now and then with leather care. Stainless steel needs less attention but is not rust-proof – it is also dried and oiled occasionally.
Safety: what to watch out for
Linseed oil and other drying oils harden by reacting with oxygen from the air. This produces heat. In a crumpled rag that heat can build up until the cloth catches fire by itself – a known cause of workshop fires. So let rags dry laid out flat outdoors, or dispose of them in water in a closed metal container.
When cleaning and oiling, your hand is close to the edge. Always wipe from the spine towards the edge, or lay the cloth over the spine and pull it outwards – never run your fingers along the edge. Work seated on a firm surface and do not let yourself be distracted.
A loose hatchet head or a cracked handle is not a cosmetic flaw but a hazard: the head can fly off when you strike. Soaking the head in water so the wood swells helps only briefly and damages the handle in the long run. Such a tool is repaired properly or replaced. Everything is stored dry, with a blade guard and out of children's reach.
How to practise it
Make care a fixed routine, like brushing your teeth: after every use, before the tool is put away. A small bag with a cotton cloth and a small bottle of oil belongs in your kit for this. After rain or use at the coast, a second look the next day is worthwhile.
Before longer storage, for example over winter, everything is cleaned, dried and oiled especially thoroughly. Blades go into a dry blade guard, not into damp leather sheaths. Have a quick look at the tools every few weeks. And read the manufacturer's information – it takes precedence over this general guide.
Good to know
The US Forest Service axe manual treats care, storage and handle inspection as an integral part of safe work. Books on sharpening also stress that a clean, rust-free edge is the precondition for good sharpening. So care and sharpening go together.
Blades do not belong in the dishwasher: heat, moisture and harsh detergents are hard on steel, wooden handles and glued joints. Chainsaws and power tools have their own maintenance instructions and are not the subject of this entry. For hand tools: a few minutes of care add many years to the life of a good knife or hatchet.
Step by step
Clean
Remove resin, soil and food residue with warm water or a little washing-up liquid. Resin often comes off with a little oil.
- 1
Clean
Remove resin, soil and food residue with warm water or a little washing-up liquid. Resin often comes off with a little oil.
- 2
Dry
Dry the blade at once, including folding-saw joints. Do not put tools away wet in a sheath or bag.
- 3
Oil lightly
Put a few drops of oil on a cloth and wipe a very thin film over the metal parts. Use food-safe oil for kitchen knives.
- 4
Remove surface rust
Rub off light rust with oil and a fine abrasive pad or a blade eraser, then oil again. Deep pitting weakens the edge.
- 5
Check handle and sheath
Check the handle for cracks and a loose fit; treat dry wooden handles occasionally with linseed oil. Let leather sheaths dry and occasionally treat them with leather care.
- 6
Store
Store dry, with a blade guard and out of children's reach. Not permanently in leather sheaths – leather can pass moisture and tanning agents to the steel.
Common mistakes
- Putting tools away wet
- Blades in the dishwasher
- Leaving oily rags crumpled up
- "Swelling" loose heads with water instead of repairing them
Quick view
Materials
Tool oil / care oil
Rags soaked in drying oils (e.g. linseed oil) can self-ignite – lay them out flat to dry or dispose of them in water in a closed metal container.
For blades that touch food, use a food-safe oil.
Cotton cloth / T-shirt
Removes coarse particles only – no disinfection.
Sharpening stone (combination coarse/fine)
Follow the manufacturer's instructions on water or oil.
Suitable for
- Knives, hatchets, saws, garden tools
- Storage over winter
- After use in rain or at the coast
Not suitable for
- Chainsaws and power tools – they have their own maintenance instructions
Prerequisites
- Manufacturer information for the tool
- Safe handling of blades
Safety
- Always wipe blades from the spine towards the edge or with the cloth on the spine – never run your fingers along the edge.
- Do not keep using loose heads or cracked handles with makeshift fixes – repair them properly or replace them.
How it works
Rust forms when iron reacts with water and oxygen; salt and acids from food or plant sap speed this up. A thin film of oil keeps moisture away. Wood moves with humidity – if a handle dries out badly, the head can loosen.
Advantages
- Longer life
- Safer tools
- Little effort
Disadvantages
- Needs regularity
- Oils can leave smells or stains
Deep knowledge
Background
The US Forest Service axe manual treats care, storage and handle inspection as an integral part of safe tool use. Sharpening books such as Leonard Lee's stress that clean, rust-free edges are a prerequisite for good sharpening.
Spontaneous combustion of oil-soaked rags is a known cause of workshop fires.
Variants
- Stainless steel
- Stainless steels need less care but are not rust-proof – dry them and oil them occasionally too.
Common mistakes
- Putting tools away wet
- Blades in the dishwasher
- Leaving oily rags crumpled up
- "Swelling" loose heads with water instead of repairing them
Limits and risks
- No substitute for manufacturer instructions
- No guide to replacing handles
Sources
USDA Forest Service, Missoula Technology and Development Center (Bernie Weisgerber, Bob Beckley) (1999): An Ax to Grind: A Practical Ax Manual
Care, storage and handle inspection of axes
Leonard Lee – The Taunton Press (1995): The Complete Guide to Sharpening
Condition of edges and care of cutting tools