Caring for gear and repairing it on the way
Most gear failures announce themselves: a loose thread, a sticking zip, a frayed line. Cleaning, drying and checking gear after every trip and carrying a small repair kit prevents a small defect from becoming a problem on the way. Manufacturer care and repair instructions take precedence.
- 15–30 minutes after each trip; repairs as needed
Explained simply
Gear is a bit like a bicycle: if you look after it, it lasts a long time and does not let you down. It has three main enemies: dirt, wet and sun. Sand rubs like sandpaper, moisture lets mould grow, and sunlight makes plastics brittle over time.
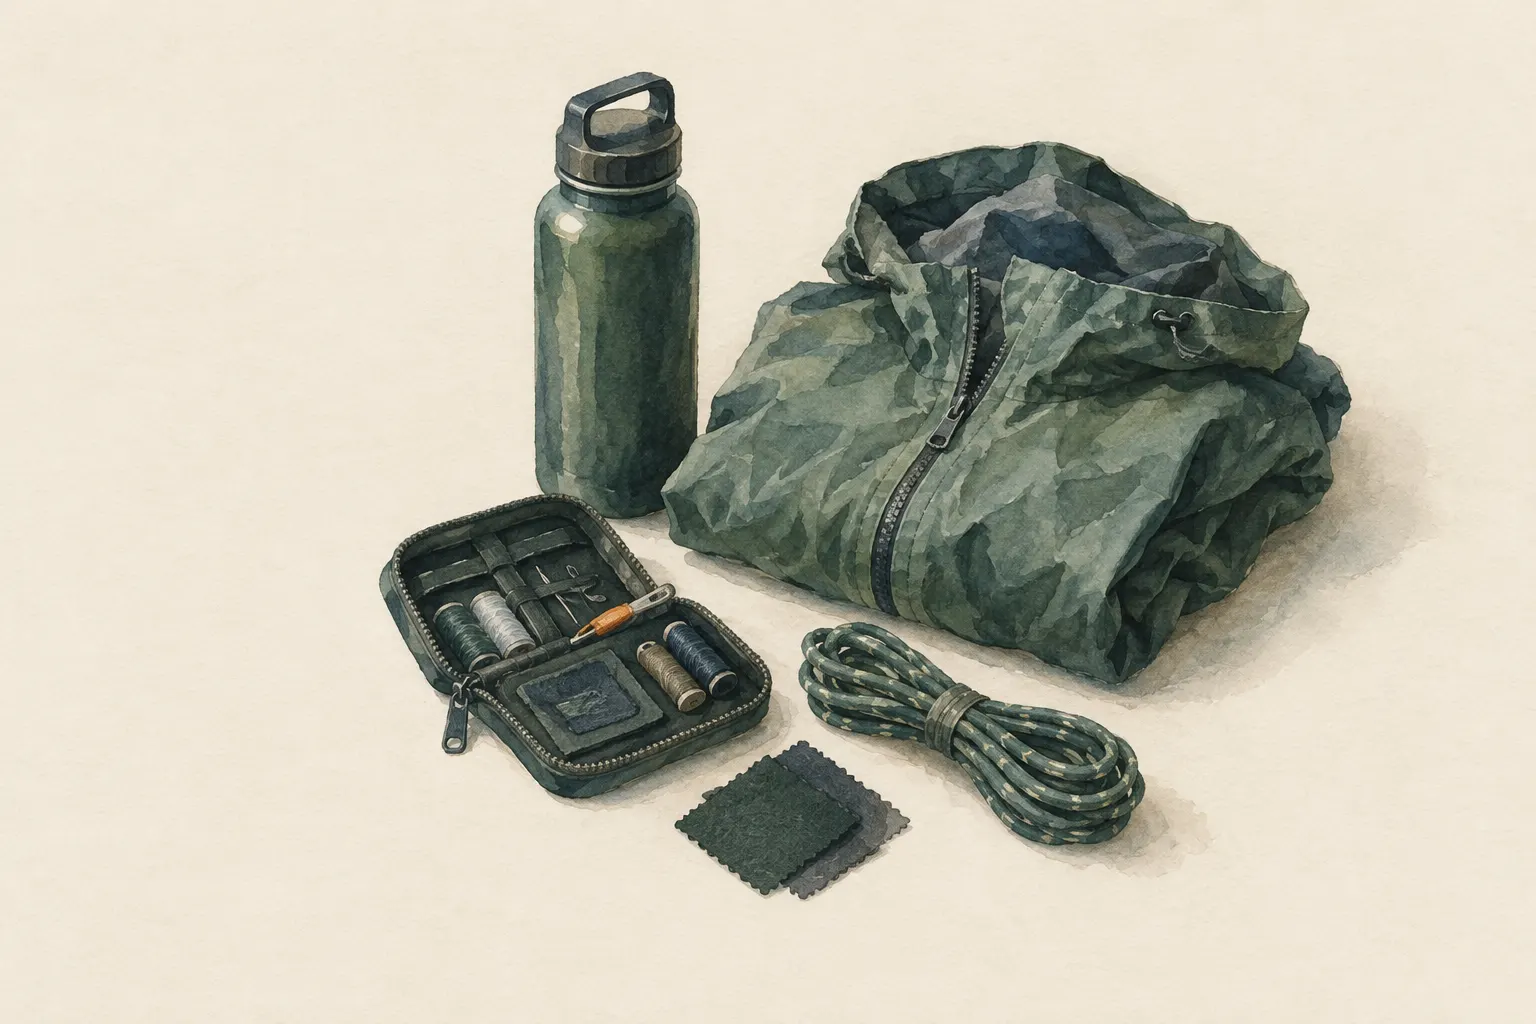
So after every trip: clean it, let it dry completely and check whether anything is broken. A small hole or a loose seam is easy to repair at home. On the way a small repair kit with tape, patches, needle and thread helps.
Some things you never repair yourself, though: climbing ropes, harnesses and carabiners that protect people, and leaking stoves or gas parts. Those are replaced or put right by professionals.
How gear wears out
Dirt and sand act like fine sandpaper. They rub against fibres, seams and coatings and lodge in zips, whose teeth and sliders then wear faster. A zip that sticks is often not broken but simply dirty.
Moisture is the second big enemy. A tent packed away wet can smell musty and develop mildew spots after a short time. Coatings on the inside of tent fabrics or rain jackets can become sticky and peel over time when stored damp and warm. Metal parts also rust faster if they stay wet.
The third problem is UV light. The sun weakens many of the synthetic fibres that tents, tarps, lines and straps are made of. Often you cannot see this for a long time – until the fabric suddenly tears easily. That is why it is better to dry gear in the shade or indoors and not leave tents standing in full sun for weeks unnecessarily.
After every trip: clean, dry, inspect
Shake out sand and soil, brush off dirt and, where needed, clean with water and a mild agent – as the manufacturer specifies. For zips it is worth washing the sand out with an old toothbrush and water.
Then everything is dried completely before it is packed away: tents and tarps hung up or pitched, sleeping bags spread out, clothes on a hanger. A tent packed “almost dry” is often damp and musty the next time you open it. This quarter of an hour after the trip is the best investment in the life of your gear.
While things dry, look at everything closely: seams, tie-outs, zips, buckles, lines and coatings. Inflate air pads and leave them for a while to see whether they lose air. Write down what you notice. That way you discover damage at home – not on the evening before the next trip or outside in the rain.
Repairing: at home and on the way
At home you have time and calm. Close small tears with suitable patches or repair tape, re-stitch loose seams and replace frayed lines. Use adhesives and seam sealers according to the manufacturer's instructions and in a well-ventilated room. Larger damage, or a zip that keeps splitting open behind the slider, is often a job for a specialist workshop or the manufacturer's repair service.
On the way it is about temporary fixes that last until you get home. Usually these are enough: repair tape, patches for the sleeping pad and fabric, a needle with strong thread, some spare cord, a few cable ties and safety pins. Tape only sticks to clean, dry fabric. If possible, tape a tear from both sides and cut the corners of the tape round – square corners peel off quickly.
A sticking zip is never forced closed. Clean it, straighten the fabric and move the slider slowly. Using force bends teeth or the slider and turns a small problem into a big one. Replace every temporary fix with a permanent repair at home.
Safety: the limits of repair
Equipment that protects people – climbing ropes, harnesses, carabiners, helmets – you never repair yourself. Its strength can no longer be judged after a home-made fix. After a fall load, with visible damage or once the service life stated by the manufacturer is over, it is retired and replaced.
The same applies to stoves, valves and fuel lines. A leaking connection is not sealed with tape or other makeshift fixes – there is a risk of fire and explosion. Take the stove out of use and have it properly repaired or replace it.
Adhesives, seam sealers and proofing agents can give off fumes. Use them only with good ventilation, keep them away from children and read the instructions on the packaging first.
Storing it properly
Store things dry, dark and loose. Keep insulating items such as sleeping bags and down jackets loose rather than permanently compressed. Lines, straps and coated fabrics do not belong in the sun or next to the radiator. A dry cupboard is better than a damp cellar or a hot attic.
Emergency gear that sits in a cupboard for a long time needs special attention, because you rarely see it. Unpack the go bag and stored gear at least once a year, check everything, air it and replace consumables such as batteries, plasters or out-of-date supplies.
Good to know: many manufacturers and specialist workshops offer repairs. A proper repair often lasts longer than a temporary fix, usually costs less than buying new and saves resources.
Step by step
Clean
After the trip shake out or brush off dirt and sand, clean with water and a mild agent as specified by the manufacturer. Clear sand from zips.
- 1
Clean
After the trip shake out or brush off dirt and sand, clean with water and a mild agent as specified by the manufacturer. Clear sand from zips.
- 2
Dry completely
Dry tents, tarps, sleeping bags and clothing completely before packing them away – in the shade or indoors to limit UV exposure.
- 3
Inspect
Look at seams, tie-outs, zips, buckles, lines and coatings; check air pads for leaks. Note any damage.
- 4
Repair at home
Close small tears with suitable patches or repair tape, re-stitch loose seams, replace frayed lines. Have larger damage repaired professionally.
- 5
Carry a repair kit
On the way the following usually suffice: repair tape, patches for the sleeping pad and fabric, a needle and strong thread, spare cord, a few cable ties and safety pins.
- 6
Make temporary repairs on the way
Tape tears clean and dry, on both sides if possible, with rounded corners. Replace temporary fixes with a permanent repair at home.
- 7
Store correctly
Store dry, dark and loose; insulation not compressed, lines and coatings out of the sun.
Common mistakes
- Forgetting a tent packed wet in the basement
- Forcing a zip closed
- Patching climbing or safety equipment yourself
- Applying repair tape to wet, dirty fabric
- Discovering damage only the evening before the next trip
Quick view
Materials
Gear repair kit
Use and store adhesives and solvents according to the manufacturer's instructions.
Paracord
Spare cord
Not a climbing or safety rope.
Soap / detergent
Mild cleaner as specified by the manufacturer
Rinse drinking-water containers thoroughly after cleaning.
Suitable for
- Tents, tarps, backpacks, clothing, sleeping pads
- Preparation before longer trips
- Emergency gear that is stored for a long time
Not suitable for
- Repairing climbing and safety equipment (ropes, harnesses, carabiners) – replace instead of repair
- Repairing gas or fuel parts on stoves
Prerequisites
- The manufacturers' care instructions
- Space for drying
Safety
- Use adhesives, seam sealers and proofing agents only in good ventilation and per the manufacturer's instructions.
How it works
Dirt, moisture and UV light are the main causes of wear: dirt abrades fibres and zips, moisture encourages mould and degrades coatings, sun weakens synthetic fibres. Regular care slows these processes, and a check after every trip finds damage while it shows up at home rather than on the way.
Advantages
- Extends lifespan considerably
- Prevents failures on the way
- Saves money and resources
Disadvantages
- Requires time after every trip
- Not every defect can be repaired yourself
Deep knowledge
Background
“Mountaineering: The Freedom of the Hills” treats care and repair of gear as part of trip preparation and describes the limits of repairing safety equipment. Manufacturers usually specify cleaning agents, drying and service life in their instructions.
Many manufacturers and specialist workshops offer repairs. A proper repair is often more durable than a temporary fix and saves resources.
Variants
- Long-stored emergency gear
- Unpack, check and air the go bag and stored gear at least once a year and replace consumables.
Common mistakes
- Forgetting a tent packed wet in the basement
- Forcing a zip closed
- Patching climbing or safety equipment yourself
- Applying repair tape to wet, dirty fabric
- Discovering damage only the evening before the next trip
Limits and risks
- No repair of safety or gas equipment
- No product-specific instructions
Material alternatives
Derived from material properties: a substitute must have all relevant properties. Observe the notes on the substitute.
- Paracord
- Rope (Never use unknown or damaged rope for life-safety purposes.)
Results come exclusively from structured entries. No improvised instructions are generated.
Sources
The Mountaineers Books (2017): Mountaineering: The Freedom of the Hills, 9th edition
Care and repair of gear, limits with safety equipment