Dakota fire hole
The Dakota fire hole consists of a fire pit and a second air hole on the windward side, connected underground by a tunnel. It burns hot, economically and sheltered from wind, with the flame barely visible. It requires digging, is dangerous on root- or peat-rich ground and is not permitted in many places – check local rules.
- 30 minutes or more of digging, depending on the ground
Explained simply
The Dakota fire hole consists of two holes in the ground connected at the bottom by a small tunnel. The fire burns in the larger hole. The smaller hole lies beside it on the side the wind comes from and acts as an air shaft.
The fire draws air through the tunnel – as if it were sucking air through a straw. As a result it burns hot with little wood, and because it lies below ground, the wind hardly bothers it. You can rest a pot on sticks directly over the hole.
But take care: in ground with many roots or dark, peaty soil, embers can keep smouldering underground and start a fire days later. Digging and fires are also prohibited in many places – check the local rules.
How it works
Hot air rises. In the fire pit, the hot gases rise straight up and leave the hole. For that to happen, fresh air has to follow – and the easiest route for it is the tunnel from the air hole. This creates a constant flow of air that arrives right at the base of the fire. It is the same chimney effect as in a stove.
Because the air comes from below and the fire burns in a narrow shaft, combustion is intense. The wood burns hot and thoroughly, relatively little smoke forms, and the flame is barely visible from the side. The surrounding earth shields the fire from wind.
What really matters
The ground decides everything. Only firm mineral soil is suitable – that is, sand, gravel, clay or earth without many roots and without a dark, spongy, organic layer. Dig a test hole first. If you see roots or peaty, dark soil, find another spot or do without the Dakota hole.
Lift the turf in pieces and put it aside so you can replace it later. The fire pit should be about a forearm deep and slightly narrower at the top than at the bottom. The air hole goes on the windward side, a short distance away. If the holes are too close together, the tunnel easily collapses.
Feed the wood in fairly upright so it slides down well. Rest the pot on two green sticks or stones across the opening so that there is still room for air and flames underneath.
Safety: what to watch out for
The biggest danger is invisible: embers that lodge in roots or peaty soil can smoulder underground for days and eventually start a fire somewhere else entirely. So dig only in pure mineral soil and never in bog, humus or among the roots of trees.
Put the fire out completely before you refill the hole: pour in plenty of water, stir, add water again until nothing hisses any more. Then carefully check with your hand whether any warmth can still be felt. Only when everything is cold do you put the soil back and replace the turf. Buried embers do not reliably go out – they can keep glowing underground.
Before digging, check whether digging and fire are allowed at all; in protected areas and at times of increased wildfire danger both are usually prohibited. An open hole is also a trip hazard – mark it while it is open. Cool burns immediately with cool running water; for serious burns, call the local emergency number (112 in the EU).
When it makes sense – and when not
The Dakota hole is useful in strong wind, when an open fire would be hard to control, and for wood-saving cooking. It is described in military survival manuals, including as a way to make a low-profile fire.
It is hardly suitable for warming a group, because the heat rises and radiates only a little to the side. On stony, frozen, peaty or root-laced ground it is not possible or too dangerous. And it costs time and effort – half an hour of digging or more, depending on the ground.
Leave No Trace principles generally advise against digging new fire pits where existing ones can be used. A small stove is the simpler and gentler alternative in many situations.
Step by step
Check ground and rules
Find out whether digging and fire are allowed. Dig a test hole: if roots or dark, peaty soil appear, choose another spot.
- 1
Check ground and rules
Find out whether digging and fire are allowed. Dig a test hole: if roots or dark, peaty soil appear, choose another spot.
- 2
Lift the turf
Lift the turf in pieces and set it aside to replace later.
- 3
Dig the fire pit
Dig a hole about a forearm deep, slightly narrower at the top than at the bottom.
- 4
Air hole and tunnel
On the windward side, a short distance away, dig a smaller hole and push through at an angle to the bottom of the fire pit.
- 5
Light the fire
Light tinder and kindling in the fire pit; add wood upright. Rest a pot on sticks over the hole.
- 6
Extinguish and refill
Extinguish with plenty of water, stir, check with your hand. Only when everything is cold, refill and replace the turf.
Common mistakes
- Digging in root-laced or peaty ground
- Holes too close together so the tunnel collapses
- Refilling before the embers are truly out
Quick view
Materials
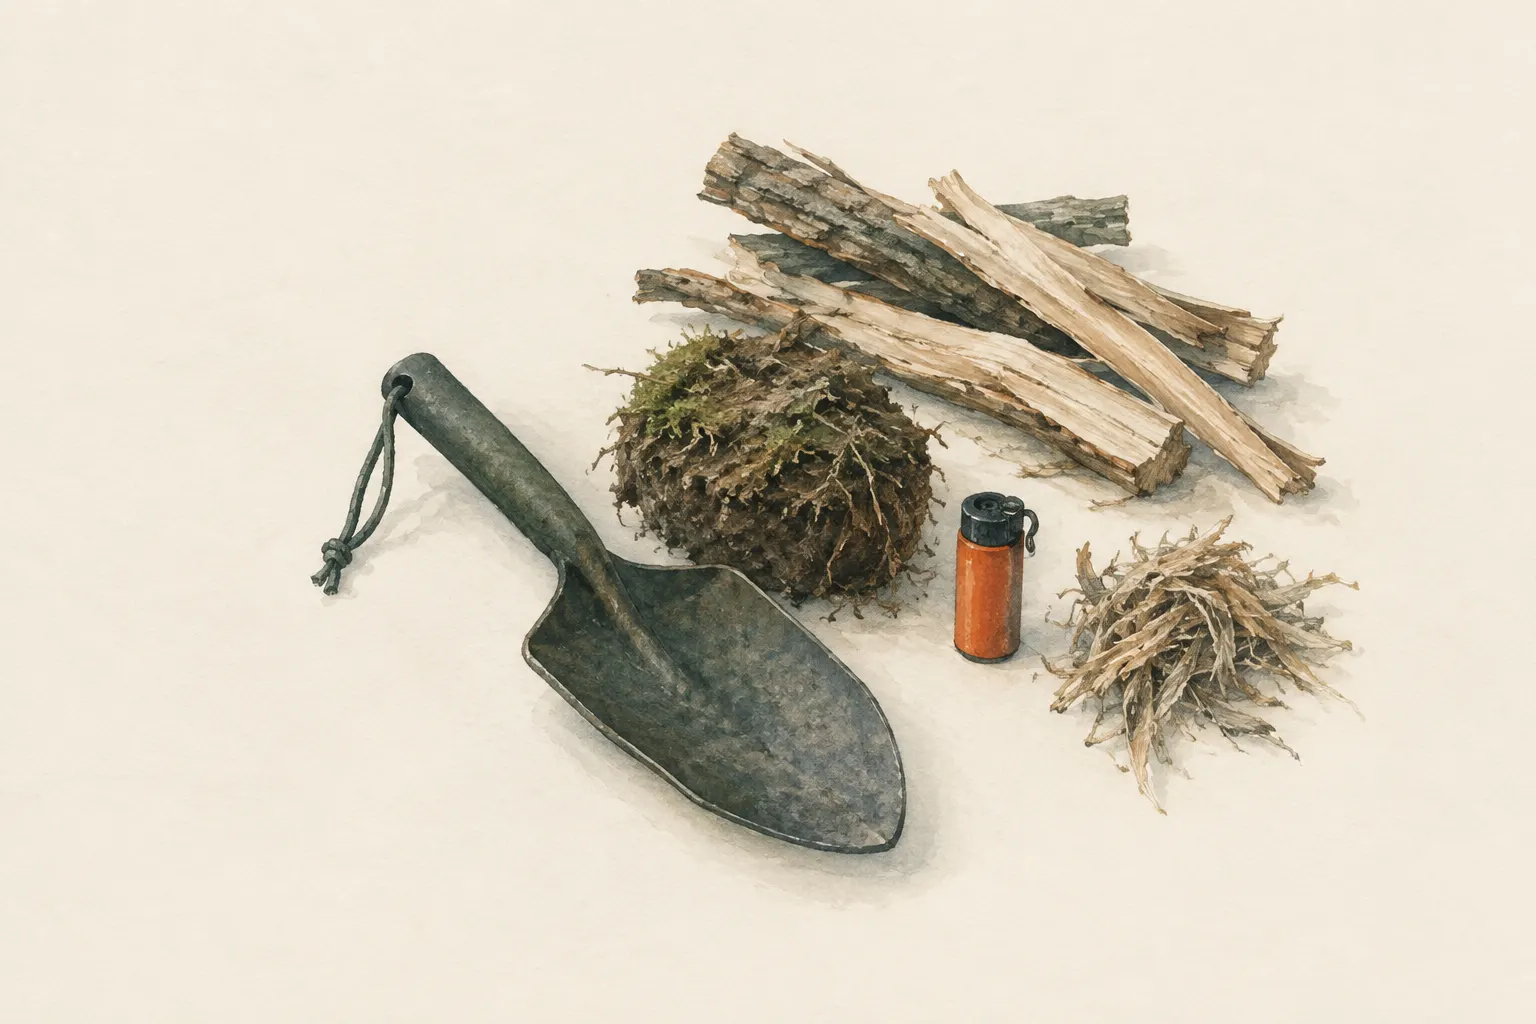
Small shovel / folding spade
Dry firewood
Collect only where permitted.
Water for extinguishing (bucket, canister or pot)
Have several litres ready before lighting.
Suitable for
- Strong wind
- Wood-saving cooking
- A low-profile fire where permitted
Not suitable for
- Peat, humus, root-laced ground
- Stony or frozen ground
- Protected areas and places where digging is prohibited
- Times of increased wildfire danger
Prerequisites
- Permission to dig and make fire
- Firm mineral soil without roots or peat
- A digging tool
Safety
- Cool burns immediately with cool, not ice-cold, running water. For large or deep burns, burns to the face or hands and burns in children, call the local emergency number (112 in the EU).
How it works
The hot fire in the pit draws fresh air through the tunnel from the air hole – a chimney effect. Combustion is intense and complete, and the fire sits sheltered below ground level.
Advantages
- Unaffected by wind
- Wood-saving and hot
- Barely visible flame
Disadvantages
- Digging required, not allowed in many places
- Risk of hidden underground embers
- Little radiant heat for warming up
Deep knowledge
Background
The Dakota fire hole is described in military survival manuals, among other things as a way to run a fire in wind and with a low profile.
Leave No Trace principles generally advise against digging new fire pits where existing ones can be used.
Common mistakes
- Digging in root-laced or peaty ground
- Holes too close together so the tunnel collapses
- Refilling before the embers are truly out
Limits and risks
- Not possible on every soil
- Not a heat source for a group
Material alternatives
Derived from material properties: a substitute must have all relevant properties. Observe the notes on the substitute.
- Dry firewood
- Tinder (Carry in waterproof packaging.), Char cloth (charred cotton) (Store dry in a tin.), Finest-grade steel wool (Store separately from batteries – fire risk.), Fatwood (resin-rich wood) (Collect only dead wood where permitted.), Stove fuel (canister, liquid fuel, alcohol) (Store fuels apart from food and in original containers or bottles intended for them.), Petroleum jelly cotton balls (Use only pure cotton.)
Results come exclusively from structured entries. No improvised instructions are generated.
Sources
Headquarters, Department of the Army (USA) (2002): FM 3-05.70 Survival
Dakota fire hole
Leave No Trace Center for Outdoor Ethics: The Seven Principles of Leave No Trace (Principle 5: Minimize Campfire Impacts)
Prefer existing fire rings, minimise campfire impacts