Drying fruit and herbs: air, sun, oven
Thinly sliced fruit and culinary herbs can be dried in the air, in the sun, in an oven or a dehydrator. What matters is cleanliness, thin slices, warm, moving, dry air and drying completely. Meat and fish are explicitly excluded: they need tested instructions with an additional heating step.
- 30 minutes preparation, drying takes several hours to days
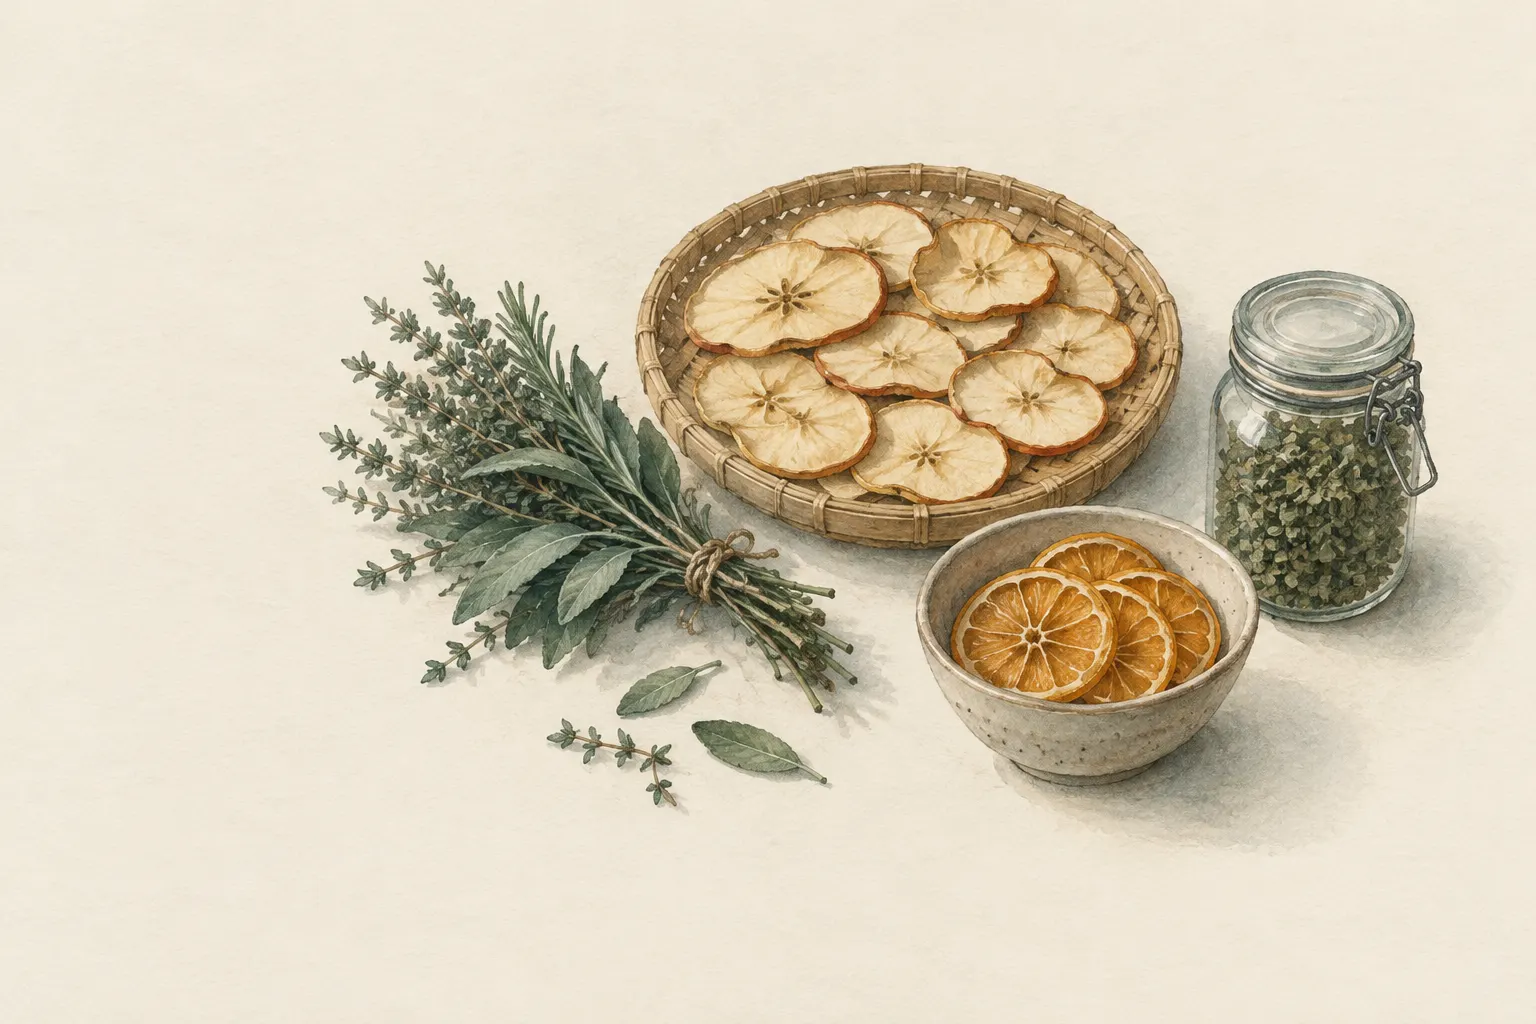
Explained simply
A wet towel dries fastest when it is warm, there is a little wind and the air is dry. Fruit and herbs are dried in exactly the same way. You cut apples, for example, into thin slices and put them somewhere warm and airy – in the sun, in the oven on a low setting or in a dehydrator.
Once the water is out, bacteria and mould can hardly grow any more, because they need water to live. That is why apple rings or dried herbs keep for a long time if they are stored sealed and dry.
Important: meat and fish are not simply dried in the air or sun. Germs that cause illness can survive drying. That needs tested instructions with an additional heating step.
How it works
Microorganisms need freely available water. Drying removes so much water from the food that they can no longer grow. Warm air can hold more water vapour than cold air, and moving air carries away the moist air right above the fruit and replaces it with drier air. That is why the combination of warmth, air movement and dry air is so effective.
Water travels from the inside to the outside and evaporates at the surface. Thin slices have a short path and a lot of surface – they dry quickly and evenly. Thick pieces dry slowly, and if it is too hot, the surface can harden while moisture is still trapped inside.
The damper the air and the thicker the pieces, the slower it goes – and the higher the risk that mould is faster than the drying. The food is only done when it is dry inside as well.
What really matters
Cleanliness first: clean hands, knife, board and rack, wash the fruit, and generously cut away bruised and rotten parts. Use sound, ripe fruit and herbs from shops or your own garden. Foraged wild plants without reliable identification do not belong on the drying rack.
Cut evenly thin slices so that they are all done at the same time, and spread them in a single layer with gaps. Light-coloured fruit such as apples turns brown in the air because the flesh reacts with oxygen. A short dip in water with a little lemon juice helps against browning – this is only for colour, not for safety.
When air-drying in the sun, cover the fruit with a fine cloth against insects and bring it in at night, because dew can form overnight. In the oven, work at a low temperature and leave the door slightly open so that moisture can escape. Hang herbs in small bunches upside down in an airy, shady place.
Done? How to check
Fruit is done when it is leathery and pliable and no moisture appears at the tear when you pull a piece apart. Herbs rustle and crumble between your fingers. Let everything cool completely before checking, because warm fruit feels softer than it is.
Then comes an important intermediate step, conditioning: put the cooled dried food loosely into a jar and shake it daily for a few days. Some pieces are drier than others, and this way the remaining moisture evens out. If moisture forms on the glass, it was not dry enough yet and must be dried further.
Only then do you store it sealed, dark and cool, and label the jar with contents and date. Sealing too early is a common mistake that leads to mould in the jar.
Safety: what to watch out for
Meat, fish and game are not simply dried in the air or sun. Pathogens can survive drying. Recognised bodies such as the US National Center for Home Food Preservation require an additional heating step following tested instructions. This entry deliberately gives no instructions for dried meat.
If dried food goes mouldy or smells musty, it is thrown away – not just the visible spot. Incompletely dried fruit can go mouldy in the jar, so it is worth looking into the jar even after weeks.
When it makes sense – and when not
Sun drying works well in dry, hot climates. In damp Central European weather it often fails because the air is too humid and the nights too cool. Then an oven or dehydrator is the more reliable choice. A dehydrator with a fan and thermostat dries more evenly and independently of the weather, but needs electricity.
Dried food is light, compact and keeps without refrigeration – ideal for surpluses from the garden. Some of the vitamins are lost in drying. Exact temperatures and times for individual foods can be found in tested instructions from official bodies.
Step by step
Work cleanly
Clean hands, knife, board and rack. Wash the fruit and generously cut away bruised and rotten parts.
- 1
Work cleanly
Clean hands, knife, board and rack. Wash the fruit and generously cut away bruised and rotten parts.
- 2
Slice thinly
Cut evenly thin slices so they all dry at the same rate. Leave herbs in small bunches.
- 3
Against browning (optional)
Dip light-coloured fruit briefly in water with a little lemon juice. This is for colour, not safety.
- 4
Dry
Spread in a single layer with gaps. Air/sun: warm, dry, airy, covered with a fine cloth against insects, brought indoors at night. Oven: low temperature, door slightly open. Hang herbs upside down in an airy, shady place.
- 5
Test
Fruit is done when it is leathery and pliable and no moisture appears when torn. Herbs rustle and crumble.
- 6
Condition and store
Once cool, put loosely in a jar and shake daily for a few days; if moisture forms on the glass, dry further. Then store sealed, dark and cool, and label.
Common mistakes
- Slices too thick or uneven
- Air drying in damp weather
- Sealing too early
- Drying meat without tested instructions
Quick view
Materials
Airtight food-grade storage container
Fill only when clean and completely dry; never use containers that previously held chemicals.
Cotton cloth / T-shirt
Removes coarse particles only – no disinfection.
Labels and permanent marker
Suitable for
- Apples, pears, plums, apricots
- Culinary herbs from garden or shop
- Surpluses from your own garden
Not suitable for
- Meat, fish, game – only with tested instructions
- Damp, cool weather for air drying
- Foraged wild plants without reliable identification
Prerequisites
- Sound, ripe fruit and cleanly washed herbs from shops or your own garden
- A clean rack or baking tray
- A warm, dry place with air movement
Safety
- If dried food goes mouldy or smells musty, discard it. Incompletely dried fruit can mould in the jar.
How it works
Microorganisms need freely available water. Warm, moving, dry air draws water out of thin slices faster than spoilage can set in. The damper the air and the thicker the pieces, the slower it goes – and the higher the risk of mould. The food is only done when it is dry inside as well.
Advantages
- Light, compact, keeps without refrigeration
- Simple equipment
Disadvantages
- Weather-dependent without a device
- Some vitamins are lost
- Not for meat and fish without a tested process
Deep knowledge
Background
The National Center for Home Food Preservation (USA) publishes tested guidance on drying fruit, vegetables, herbs and meat; for dried meat it recommends an additional heating step because drying alone does not reliably kill pathogens.
Sun drying works well in dry, hot climates, often not in damp Central European weather.
Variants
- Dehydrator
- A dehydrator with fan and thermostat dries more evenly and independently of the weather, but needs electricity.
Common mistakes
- Slices too thick or uneven
- Air drying in damp weather
- Sealing too early
- Drying meat without tested instructions
Limits and risks
- No temperature and time figures for individual foods
- No instructions for dried meat
Material alternatives
Derived from material properties: a substitute must have all relevant properties. Observe the notes on the substitute.
- Airtight food-grade storage container
- Single-wall stainless steel bottle (Heat only single-wall bottles without paint/plastic; remove the lid before heating.), Double-wall insulated bottle (Never heat directly.), PET bottle (clear, max. 2 litres) (Do not heat or place in a fire.), Food-grade water container (Only use containers that never held chemicals or fuel.), Collapsible water container or bag (Protect from sharp objects.), Food-grade water bag (Use only for drinking water, never for chemicals or fuel.), Fermentation jar or crock (Use only food-grade containers of glass, food-safe glazed stoneware or food-grade plastic – no metal containers for acidic food.), Resealable food bags (Use only bags intended for food; do not use with boiling water unless the manufacturer explicitly allows it.)
Results come exclusively from structured entries. No improvised instructions are generated.
Sources
University of Georgia / National Center for Home Food Preservation (USA): National Center for Home Food Preservation – tested guidance on drying and preserving food
Tested drying guidance; additional heating for meat
World Health Organization (WHO) (2006): Five Keys to Safer Food Manual
Clean hands and surfaces