Repairing footwear on the way: sole, laces, seam
A loose sole, a broken lace or a split seam can end a trip. With tape, cord, cable ties, needle and thread footwear can usually be saved until you reach your destination. What matters is avoiding pressure points and checking the repair daily.
- 10–30 minutes
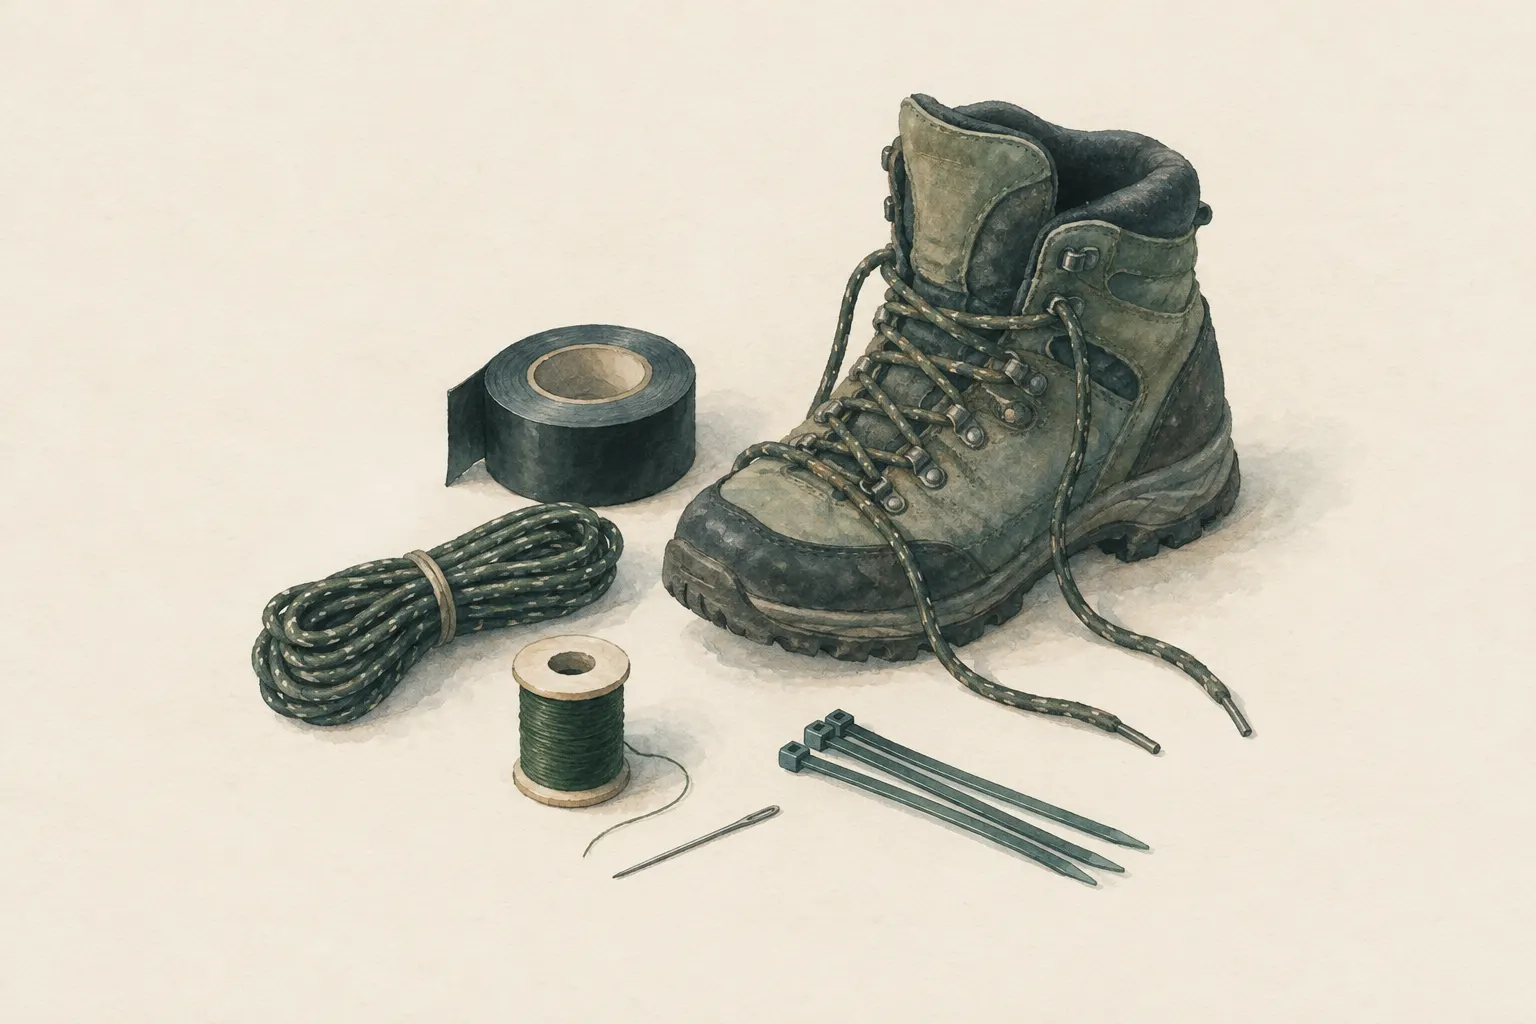
Explained simply
Your shoes carry you every step. If on the way the sole flaps open at the front like a mouth, a lace snaps or a seam splits, every step becomes hard work. Luckily this can usually be patched with tape, cord, cable ties or needle and thread well enough for you to reach your destination safely.
There are two rules. First: nothing may press on your foot. A thick knot in the wrong place makes a blister within an hour. Second: a patched sole grips the ground less well, especially on wet stones or ice. So you walk more slowly and carefully afterwards.
A repair on the way is always only “for now”. At home the shoe goes to the cobbler or is replaced. And in steep mountains or on ice: if the sole has come right off, rather plan your way back.
How it works
Large forces act on a shoe with every step. As you roll through, the sole bends; as you push off, it pulls at the front where it joins the upper. That is why soles almost always come loose at the toe first. Once the bond is open, it tears a little further with every step – just like a tear in fabric.
A temporary repair must take up these pulling forces without pressing on the foot. Wraps of tape spread the load over a large area around shoe and sole. Cable ties or cord run through existing eyelets and around the sole hold particularly firmly at individual points. A combination is often best: fix at points, secure over an area.
Shoe glue can properly rebond a sole – but only on clean, dry surfaces, and it needs time to cure. On the way that usually means: glue in the evening, let it dry overnight tightly wrapped and secure it with tape in the morning as well. Follow the instructions on the packaging.
What really matters
Clean and dry the surfaces before taping – tape on mud or wet leather barely holds. Wrap the tape several times crosswise around shoe and sole, but keep it thin under the ball of the foot: a lot of weight rests there when walking, and thick bulges get in the way. For larger detachments, run cable ties or cord through the lace eyelets and around the sole, and lay the ends to the side or inwards so they do not scrape on the ground.
A broken lace can be joined again with a knot or replaced with cord. Paracord has thin inner strands that can be pulled out and make a good spare lace. If an eyelet has torn out, simply skip it. Split seams on the upper are sewn with strong thread in backstitch and protected on the outside with tape against abrasion.
An old sock pulled over the repaired shoe protects the tape from abrasion and can give a little more grip on ice for a short time – but that is only a stopgap. Check every repair in the morning and at every break and renew it before it fails completely.
Safety: what to watch out for
Tape and cable ties under the sole reduce grip. On wet rock, roots, grass or ice they can be truly slippery. Adjust your pace and route, avoid exposed spots and if in doubt rather turn back. A fall weighs more heavily than a cut-short trip.
In high mountains or on ice, a completely detached sole is not a case for a repair but for a retreat plan. The same applies to crampon-compatible mountain boots with a damaged welt: crampons no longer hold reliably on them.
Blisters form quickly when knots, edges or folds of tape press on the foot. If you feel a pressure point, stop straight away and correct the repair or the fit of your sock. Dry socks help too, because wet skin is more sensitive.
When it makes sense – and when not
Repairs work well for soles coming loose at the toe, broken laces and torn-out eyelets, and small tears in the upper. On hiking trails, in town or on the way home they will usually get you safely to your destination.
How long a temporary fix holds cannot be predicted. It depends on the damage, the material, the terrain and the weather. So always expect it to fail sooner than hoped, and plan your route and way back accordingly. It is never a permanent solution: after the trip the shoe goes to a professional or is replaced.
Good to know
Footwear problems are among the most common gear failures on the way. Mountaineering textbooks therefore recommend checking boots before every trip and carrying a small repair kit. A quick look at the sole edge, seams and eyelets the evening before often saves a repair on the mountain.
Old shoes whose glue has become brittle are especially prone to coming apart – even if they stood in the cupboard for a long time and were hardly worn. Walk in them for a while before a longer trip, and you will see whether they still hold.
Step by step
Assess the damage
How large is the damage, how far is it to the destination? In critical terrain plan the way back.
- 1
Assess the damage
How large is the damage, how far is it to the destination? In critical terrain plan the way back.
- 2
Loose sole
Clean and dry the surfaces, glue if available and press firmly. Then wrap tape several times crosswise around the shoe and sole, keeping it thin under the ball of the foot.
- 3
Cable ties or cord
For larger detachments run cable ties or cord through the lace eyelets and around the sole, keeping ends inside or to the side.
- 4
Replace laces
Join broken laces with a knot or replace them with paracord or its inner strands. Skip missing eyelets.
- 5
Patch a seam
Sew split seams with strong thread using a backstitch and protect them on the outside with tape.
- 6
Check daily
Check and renew the repair every morning and during breaks.
Common mistakes
- Taping onto wet, dirty surfaces
- Thick bulges under the ball of the foot
- Continuing in demanding terrain without a retreat plan
Quick view
Materials
Duct tape
Do not use on power cables, gas lines or as a wound dressing.
Adhesive can soften in heat and leave residue.
Paracord
Inner strands also work as a lace substitute
Not a climbing or safety rope.
Cable ties
Never put around body parts – they cannot be released without a tool.
Sewing kit
Shoe glue / repair adhesive
Only use in good ventilation; do not inhale solvent vapours. Follow the manufacturer's instructions.
Suitable for
- Soles loose at the toe
- Broken laces and eyelets
- Small tears in the upper
Not suitable for
- Completely detached sole in high mountains or on ice – plan to turn back
- Crampon-compatible boots with damaged welts
- Permanent fixes
Prerequisites
- Repair kit
- Dry, clean bonding surfaces
Safety
- Tape and cable ties under the sole reduce grip and can be slippery on wet rock or ice. Adjust pace and route; turn back if in doubt.
- Do not place knots and edges over pressure points; blisters form quickly.
How it works
A temporary repair must take up tensile forces without pressing on the foot. Wrappings spread the load over a large area; cable ties and cord through existing eyelets hold at points. Glue only works on clean, dry surfaces and needs time.
Advantages
- Saves the trip
- Material is in the repair kit
Disadvantages
- Holds only for a limited time
- Less grip and comfort
Deep knowledge
Background
Footwear problems are among the most common gear failures on the way. Mountaineering handbooks recommend carrying a small repair kit and checking boots before trips.
A repair on the way is always temporary; afterwards the shoe goes to a professional or is replaced.
Variants
- Sock as a cover
- An old sock pulled over the repaired shoe protects the tape from abrasion and gives a little grip on ice – short term only.
Common mistakes
- Taping onto wet, dirty surfaces
- Thick bulges under the ball of the foot
- Continuing in demanding terrain without a retreat plan
Limits and risks
- No statement on durability
- No substitute for professional repair
Material alternatives
Derived from material properties: a substitute must have all relevant properties. Observe the notes on the substitute.
- Paracord
- Rope (Never use unknown or damaged rope for life-safety purposes.)
Results come exclusively from structured entries. No improvised instructions are generated.
Sources
The Mountaineers Books (2017): Mountaineering: The Freedom of the Hills, 9th edition
Footwear and repair kit for trips