Hand sewing: four stitches for repairs
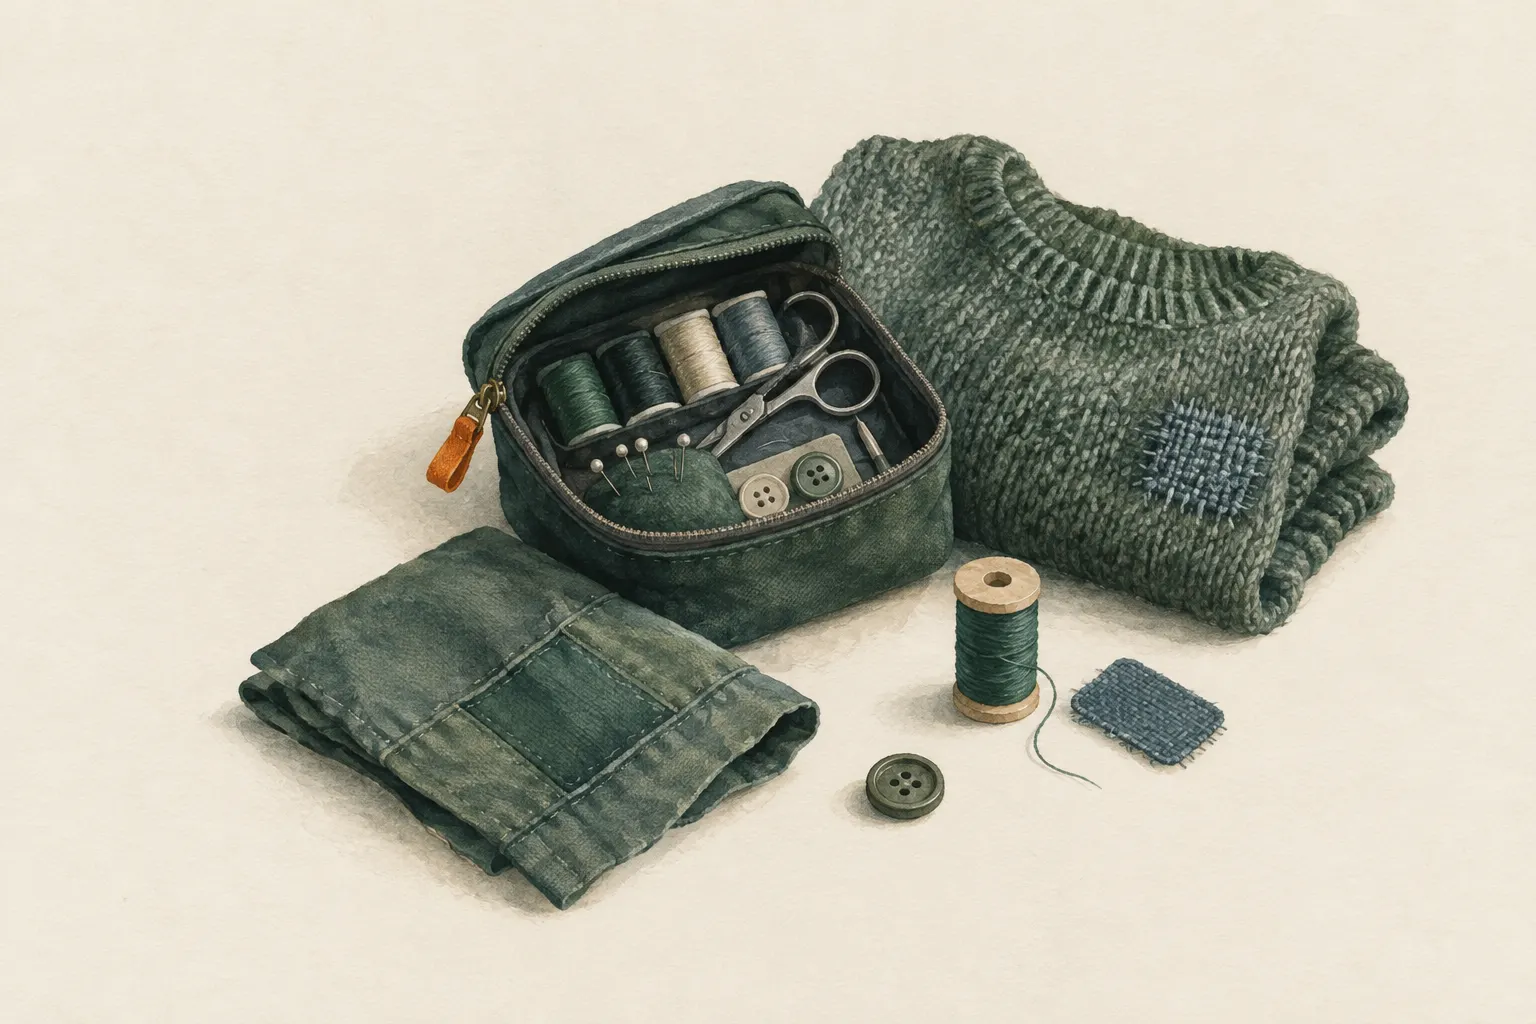
Four stitches cover most repairs: running stitch for quick tacking, backstitch for strong seams, whip stitch for edges and tears, and darning for holes in knitwear. Add sewing on a button. With a small sewing kit clothing, backpacks and tarps can stay in use.
- Practice 1 hour, repair 10–30 minutes
Explained simply
Sewing is like stapling two pieces of fabric together with thread. The needle goes through both layers and pulls the thread along, and many small stitches next to each other hold the fabric together. The more stitches share the work, the stronger the seam – just as many hands carry a heavy board more easily than one.
Four stitches are enough for almost all repairs: running stitch is quick and holds fabric loosely together. Backstitch is strong and the best choice for seams that need to hold. Whip stitch goes around an edge and closes tears. And with darning you weave a little net of thread over a hole in a sock or a jumper.
For safety: use a thimble with thick fabric so the needle does not stab your finger. And straps or ropes for climbing are never sewn yourself – they are replaced.
How it works
A seam holds through two things: the tension of the thread, which presses the layers of fabric together, and friction between thread and fabric. When something pulls on the seam, the force is spread across all the stitches. The denser the stitches and the more they overlap, the more threads share the load and the less each individual one is strained.
At the start and the end the thread must be secured, otherwise it pulls out again under the first load. A knot at the end of the thread or two or three small stitches in the same spot take care of that. On tears, start the seam a little away from the edge and carry it past the end of the tear. That way it grips intact fabric that can take the force.
The difference between the stitches lies in how the thread runs. With running stitch there are gaps between the stitches; that makes it quick but not very strong. With backstitch each stitch overlaps the previous one, forming a continuous line – almost like a machine seam. That is why it is the first choice for repairs that have to hold.
The four stitches at a glance
Running stitch: the needle goes up and down through the fabric at even intervals. It is suited to tacking, that is fixing temporarily before sewing properly, and to light seams. Backstitch: one stitch forward, then half a stitch back into the end of the previous stitch. It takes a little longer, but gives a continuous, strong seam for trousers, jacket seams and backpack straps.
Whip stitch: the thread runs diagonally over the edge of the fabric, and you always insert the needle from the same side. This joins two edges or secures a fraying edge – good for tears, hems, tarp edges and sewing on a patch. Darning: first stretch parallel threads across a hole in one direction, then weave across them, alternately over and under. That creates a small piece of fabric that closes holes in socks and knitwear.
Add sewing on a button. Leave a little space between button and fabric, for example using a matchstick as a spacer. Afterwards wind the thread a few times around under the button. This small “shank” gives the buttonhole room, and the button does not tear off so easily.
Gear and materials
A small sewing kit does not need much: a few strong needles with a large eye, sturdy thread, safety pins for holding things in place and ideally a thimble. Polyester thread is stronger than thin cotton thread and does not rot when it gets wet. For very strong seams on straps or shoes, dental floss can also serve as thread.
Cut the thread about an arm's length. If it is longer, it keeps knotting and twisting. For strong seams, use the thread doubled. Good light and some patience are almost as important as the tools: in poor light stitches become uneven and you prick yourself more easily.
Safety and limits
Straps, slings and ropes from climbing or fall-protection gear are never sewn or repaired yourself. Such gear must withstand fall loads, and whether a seam can do that cannot be judged from the outside. Damaged parts are retired.
When sewing thick materials such as webbing, leather or several layers of fabric, a thimble or a piece of leather protects the finger you push the needle with. Never push against the end of the needle with a bare fingertip. Keep needles safely stowed after sewing, especially when children are around.
On waterproof jackets, tents and tarps with a membrane or coating, every needle leaves a hole that water can get through. Such seams must be sealed afterwards, for example with seam sealer or with tape on the outside.
How to practise it
Take a piece of old fabric, such as a retired tea towel, and sew each of the four stitches once for a few centimetres. Then pull on the seams and compare: which gives way, which holds? That way you feel why backstitch is the first choice for repairs.
When practising, aim for small, even stitches and do not pull the thread too tight – otherwise the fabric gathers and puckers. Once that works, sew on a button and darn a hole in an old sock. After just an hour of practice you can handle many simple repairs to clothing and backpacks yourself.
Hand stitches are ancient and are still described in sewing books today as basic techniques. They come from a time when clothing was routinely mended and worn for a long time. Even today a simple seam greatly extends the life of clothing and gear – and it is usually more durable than any tape.
Step by step
Thread and knot
Cut thread about an arm's length, thread the needle and knot the long end. Double it for strong seams.
- 1
Thread and knot
Cut thread about an arm's length, thread the needle and knot the long end. Double it for strong seams.
- 2
Running stitch
Take the needle up and down at even intervals. Fast but not very strong – for tacking or light seams.
- 3
Backstitch
One stitch forward, then half a stitch back into the end of the previous one. Produces a continuous, strong seam – the first choice for repairs.
- 4
Whip stitch
Take the thread diagonally over the edge, always inserting from the same side. Good for tears, hems and tarp edges.
- 5
Darning
Stretch parallel threads across the hole first, then weave across them, alternating over and under.
- 6
Finish off
Secure with two or three small stitches in the same spot or a knot. Do not cut the thread too short.
Common mistakes
- Sewing too close to the edge of the tear
- Thread too long – it tangles
- Pulling too tight and gathering the fabric
- Pushing a needle through thick material without a thimble
Quick view
Materials
Sewing kit
Sturdy needles, polyester thread, dental floss as strong thread if needed
Safety pins
Keep out of reach of small children.
Suitable for
- Split seams
- Tears in trousers and jackets
- Holes in socks and jumpers
- Straps and loops on backpacks
Not suitable for
- Load-bearing parts of climbing or safety gear
- Waterproof membranes without sealing afterwards
Prerequisites
- Good light
- Some patience
Safety
- Use a thimble or a piece of leather when the needle has to go through thick material.
How it works
A stitch joins layers of fabric through friction and thread tension. The denser and more overlapping the stitches, the more threads share the load. Knots or back stitches at the start and end secure the thread; on tears a seam set back from the edge spreads the force onto intact fabric.
Advantages
- More durable than tape
- Small, light tool
- Saves buying new
Disadvantages
- Time-consuming
- Needle holes in membranes must be sealed
Deep knowledge
Background
Hand stitches such as running stitch, backstitch and whip stitch are among the basic techniques described in sewing handbooks. They come from a time when clothing was routinely repaired.
Especially in crises and on long trips, sewing greatly extends the life of gear.
Variants
- Sewing on a button
- Sew the button on with a little space (a matchstick as a spacer), then wind the thread around a few times under the button to form a shank.
- Sewing on a patch
- Back larger holes with a piece of fabric and sew it all round with whip stitch.
Common mistakes
- Sewing too close to the edge of the tear
- Thread too long – it tangles
- Pulling too tight and gathering the fabric
- Pushing a needle through thick material without a thimble
Limits and risks
- No repair of safety-critical gear
- No machine seams
Sources
Reader's Digest: Complete Guide to Sewing
Basic hand stitches, darning, sewing on buttons