Without a map: drawing a sketch map and looking back
Without a map – on a short detour, when an app has failed or in an unfamiliar area – a sketch map kept as you go helps: direction, approximate time and prominent points at every junction. If you also turn around regularly and memorise the way back, you can return safely.
- A short note at every junction
Explained simply
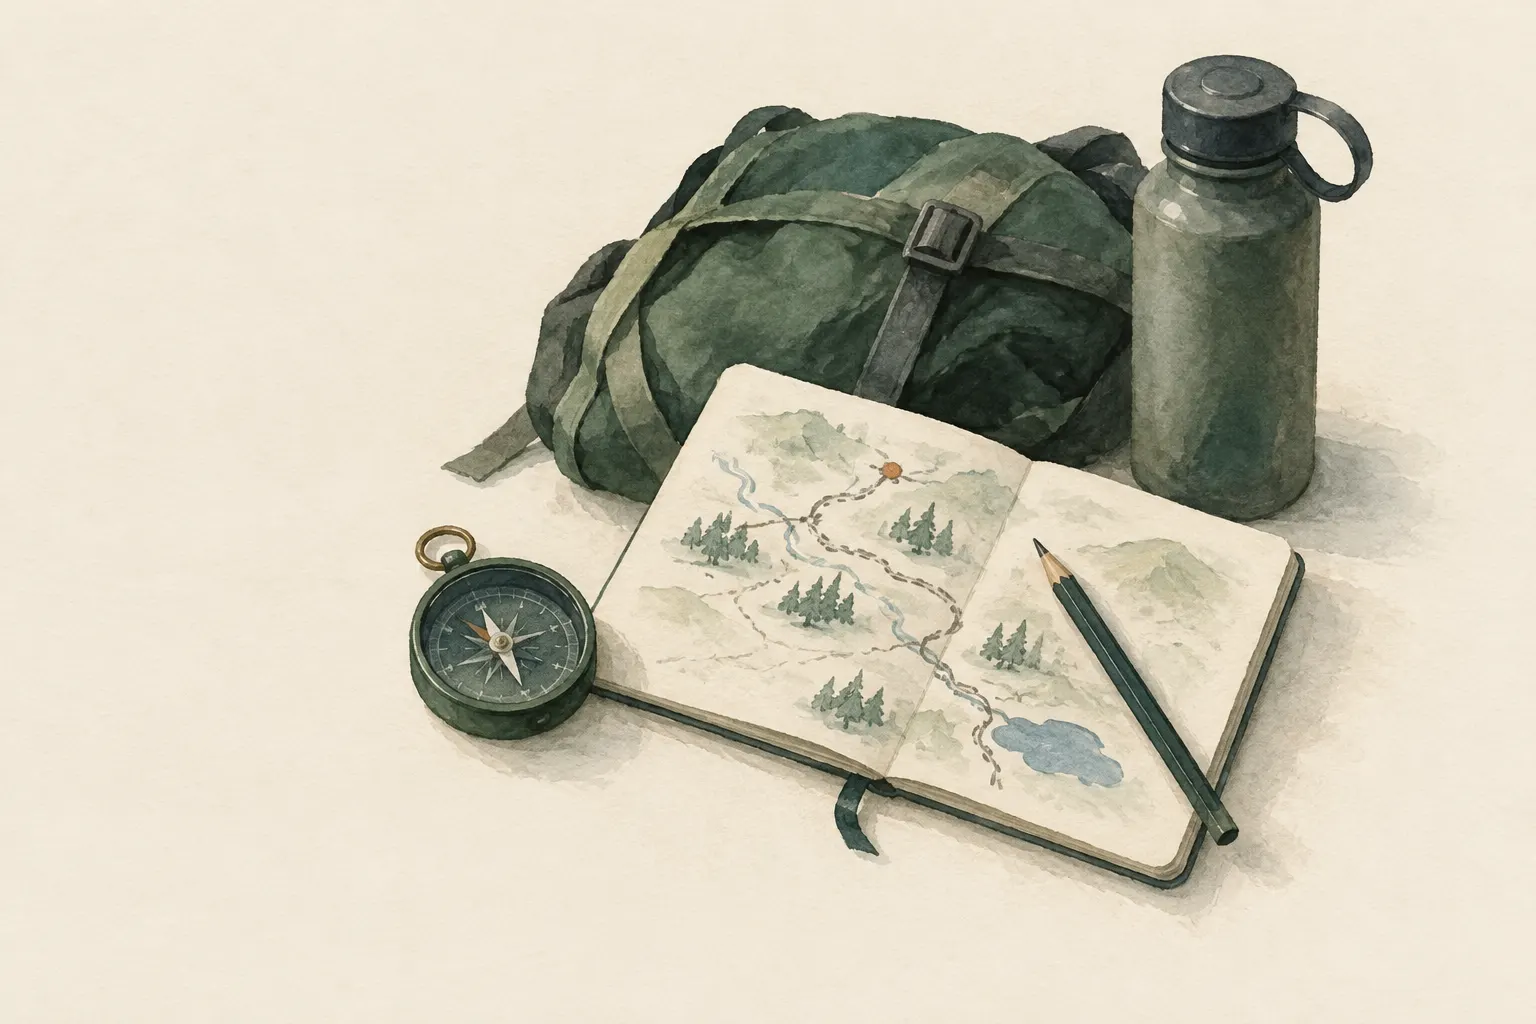
Do you know the fairy tale of Hansel and Gretel, who scattered breadcrumbs on the path to find their way back? A sketch map is a better version of that – only on paper, and no bird can peck it away. At every junction you briefly write or draw which way you went, what time it was and what you could see there that stood out.
Add a simple trick: after each junction, turn around briefly and look back. The way back looks completely different from the way out, because you see everything from the other side. If you remember what the junction looks like from behind, you will recognise it on the way back.
Important: a sketch is no substitute for a proper map. For longer trips away from known paths, take a map and tell someone where you are going. And please do not carve marks into trees or break off branches – your notes are enough.
How it works
The way back is harder than you think. On the way out you see every junction from the front; on the way back you come from the other direction, and the same junction suddenly looks unfamiliar. A narrow path that quietly joined from the right on the way out may be the wider path on the way back – and you take the wrong turn.
A sketch map records three things: the direction at each junction (left, right, straight on and, if possible, the compass direction), the approximate time and a distinctive feature. When you read the sketch backwards on the return, you reverse the directions: 'turned left' becomes 'turn right'. The times give you a rough check of when the next junction should come.
Looking back complements the sketch. If you briefly stop after each junction, turn around and memorise the spot from the opposite direction, you already have a picture in your head for the way back. Together, the two make it very unlikely that you take a wrong turn at a junction.
What really matters
Start right at the beginning. Describe the starting point – car park, street name, hut – and if possible save the coordinates or take a photo. Then really note something at every junction, even the seemingly obvious ones. It is exactly the junctions you think are 'clear' that often cause problems on the way back.
Keep it simple. A line for the path, an arrow for the direction, the time and a keyword such as 'bench', 'big boulder' or 'bridge' are enough. With a compass or the position of the sun you can also note the compass direction; this makes the sketch much more reliable, especially when there are several similar junctions.
Photos can complement the sketch: at each junction take a picture facing back, that is, the way you will see the spot on the return. But photos use battery, which you may still need for an emergency call. Short notes on paper are therefore the safe foundation.
When it makes sense – and when not
A sketch map is ideal for short detours from a known route, for walks in unfamiliar areas without a map, when the navigation app has failed, or to find your way safely back to the car or camp. It helps in an unfamiliar city too.
But it does not replace a map. It only helps you back along your own route, not to find a new one. For long off-trail trips you need map and compass. In poor visibility without a compass the sketch is very imprecise. And a sketch is no tool for caves or mines – they have their own serious hazards.
Safety: what to watch out for
Do not go too far with only a sketch. If the detour gets longer than planned or you start doubting your sketch, turn back while the way back is still short and easy to remember. For trips away from known routes, take a map and leave a trip plan with a trusted person.
If you still do not know how to go on: stop, stay calm, go through the sketch calmly and work out where you were last certain. In danger, with an injury or when darkness is falling, call the local emergency number (112 in the EU) and describe your starting point and route using the sketch – those notes are then valuable for rescuers too.
Marks in nature are not a good idea: carving signs into bark injures trees, broken branches damage nature and can confuse others. Your sketch and your memory are the better trail.
How to practise it
On your next walk in a park or forest, make a sketch even if you know the route. Then go back using only the sketch and notice how different the junctions look from the other side. With children this is a lovely game: they get to draw the sketch and take the lead on the way back.
Sketch maps are a classic land navigation tool, and deliberately looking back is one of the first rules that scouts and hiking guides teach beginners. The more often you do it, the more it becomes a habit – and eventually you turn around at every junction quite automatically.
Step by step
Record the starting point
Describe the starting point (e.g. car park, street name) and, if possible, save coordinates or a photo.
- 1
Record the starting point
Describe the starting point (e.g. car park, street name) and, if possible, save coordinates or a photo.
- 2
Note every junction
Write down or sketch the time, the direction taken (left/right, compass direction) and a distinctive feature.
- 3
Look back
After each junction, turn around briefly and memorise how it looks from the other direction.
- 4
Return with the sketch
Read the sketch backwards: reverse the directions, use times as a rough check.
Common mistakes
- Only looking forward on the way out
- Not noting junctions
- Carving marks into trees or breaking branches
- Going too far without a map
Quick view
Materials
Field notebook and pencil
Or a scrap of paper and a pen
Baseplate compass
Metal, magnets and electronics nearby deflect the needle.
Bubbles in the capsule or a sluggish needle indicate a defect.
Suitable for
- Detours from a known route
- Unfamiliar places without a map
- Returning to the car or camp
Not suitable for
- Long off-trail trips – take map and compass for those
- Poor visibility without a compass
Prerequisites
- Pen and paper or a notes app
- Rough direction finding (compass or sun)
Safety
- A sketch does not replace a map. For trips away from known routes, take a map and leave a trip plan.
How it works
The way back looks different from the way out because you see junctions from the other side. If you turn around and memorise prominent points from the opposite direction, and note direction and time at every junction, you can reconstruct your route.
Advantages
- Very simple
- No device needed
- Strengthens attention
Disadvantages
- Imprecise without a compass
- Only helps on your own way back
Deep knowledge
Background
Sketch maps are a classic tool of land navigation when no suitable map is available.
Deliberately looking back is one of the simple rules that hiking guides and scouting handbooks teach beginners.
Variants
- Photos as a sketch map
- Take a photo facing back at every junction. Needs battery – so also keep short notes.
Common mistakes
- Only looking forward on the way out
- Not noting junctions
- Carving marks into trees or breaking branches
- Going too far without a map
Limits and risks
- No substitute for map and compass
- No guidance for caves or mines
Sources
Headquarters, Department of the Army (USA) (2001): FM 3-25.26 Map Reading and Land Navigation
Sketch maps as a land navigation aid
Boy Scouts of America: Scouts BSA Handbook
Basic orientation rules for beginners