Bicycle: fixing a puncture and basic check
A bicycle keeps you mobile when fuel is scarce or trains stop running. With a patch kit, tyre levers and a pump you can fix a puncture at the roadside, and a quick check of tyre pressure, brakes and chain before every ride prevents many breakdowns. Brakes that do not work reliably belong in a workshop.
- Puncture repair 20–30 minutes, check 2 minutes
Explained simply
A bicycle needs no petrol and no electricity – only your legs. That makes it especially useful when buses and trains stop running or fuel is scarce. The most common breakdown is a flat tyre: a small hole in the inner tube lets the air escape, like a balloon pricked with a needle.
You can fix a puncture yourself. You take the tube out of the tyre, find the hole, roughen the spot a little and stick a patch on it – a bit like a plaster. It is very important to find the culprit too: a shard of glass or a thorn in the tyre. Otherwise the next flat is already on its way.
The most important safety rule: never ride with brakes that do not work properly. Before every ride, quickly check the air, brakes and chain. If the brakes do not grip reliably, take the bike to a workshop.
How it works
On most bicycles, the tyre holds an inner tube made of rubber that is filled with air. The air pressure makes the tyre firm and carries you. A valve lets air in but not back out. There are different valve types – for example the car-type Schrader valve, the slim Presta valve and the Dunlop or Woods valve. Your pump has to fit the valve, otherwise you cannot get any air in.
A patch seals the hole permanently if it is applied correctly. The vulcanising solution in the patch kit slightly dissolves the surface of tube and patch so that they bond firmly together. For that, the area must be dry, clean and roughened, and the solution must be left to dry briefly as stated on the pack. There are also self-adhesive patches that work without solution.
Many punctures have a cause that stays stuck in the tyre: a glass splinter, a small wire, a thorn. Another common cause is too little air. Then, on a pothole or a kerb, the tube can be pinched between the rim and the obstacle, leaving two small holes side by side. The right tyre pressure prevents many such breakdowns.
The pre-ride check
The quick check takes about two minutes and prevents many breakdowns. Tyre pressure: the recommended pressure is printed on the tyre sidewall. Press the tyre with your thumb – if it gives a lot, it needs air. A pump with a pressure gauge is more accurate than feel.
Brakes: pull both brake levers and push the bike forward. The wheels should not turn, and the levers must not pull all the way to the handlebar. Chain: it should be clean, lightly oiled and not rusty. A dry, squeaking chain wears quickly and makes riding hard work. A few drops of chain oil, wipe off the excess – done.
Lights: check the front and rear lights, especially when it gets dark early. Also check briefly that the wheels are seated firmly and quick releases or axle nuts are closed. A wheel that comes loose while riding is very dangerous.
What really matters when patching
Work in a safe place away from the road. Let all the air out and lever one side of the tyre off the rim with tyre levers. Do not use screwdrivers or knives for this – they damage the rim and tube. Pull out the tube, pump it up a little and listen for where air escapes. If you cannot find the hole, pull the tube through a bowl of water: where bubbles rise, that is the hole.
Before patching, find the cause. Carefully feel around the inside of the tyre with your fingertips and look at the tread. The position of the hole in the tube shows you roughly where to search in the tyre. Remove the object. Careful: glass splinters and wire can cut, so feel slowly.
When refitting, inflate the tube very slightly so it is round, insert it and push the last part of the tyre onto the rim by hand. Tyre levers easily pinch the tube at this point and make a new hole. Then pump to the rated pressure, refit the wheel and close the brake. On the road, a spare tube is often quicker – you patch the punctured one later at home at leisure.
Safety: what to watch out for
After any work on a wheel, check before setting off: is the wheel seated firmly and centred? Are the quick releases or nuts tightly closed? Is the brake closed again and does it grip? A brake left open is one of the typical mistakes after patching. Then take a short, slow test ride.
Vulcanising solution is highly flammable. Do not use it near flames or cigarettes, do not breathe in the fumes and close the tube well. For roadside repairs, stand away from traffic; in the dark, lights and a hi-vis vest help others see you.
Some jobs belong in a workshop or need expertise: hydraulic brakes, suspension forks, adjusting brakes and gears, damaged rims or frames. With e-bikes in particular: you do not open the battery or electrics yourself. The manufacturer's instructions always take precedence.
How to practise it
Practise patching once at home before you need it on the road. Take a quiet afternoon, remove the wheel, take out the tube and put everything back together – even without a puncture. That way you learn how your bike is built, which tools you need and what type of valve you have.
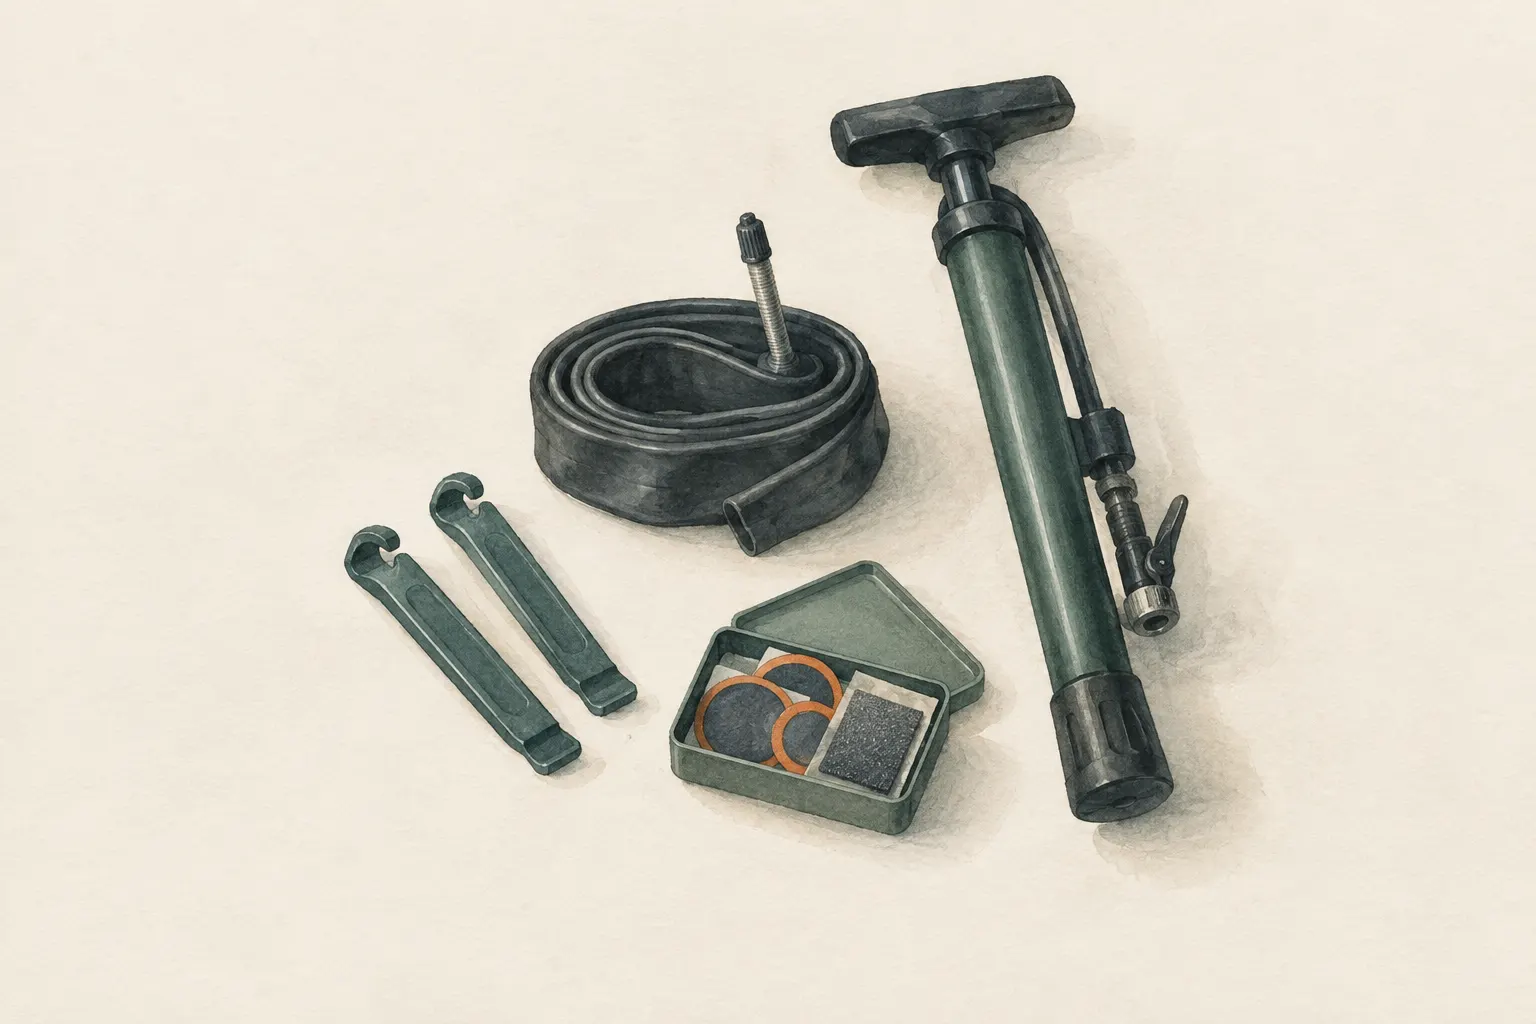
Then pack a small repair kit: patches and solution, two or three tyre levers, a small pump with the right fitting and – if needed – the tool for the axle nuts. Check now and then whether the vulcanising solution is still liquid; opened tubes dry out over time.
Bicycle maintenance manuals, such as “Zinn & the Art of Road Bike Maintenance”, describe patching tubes and checking brakes and chain as basic skills. Many bike shops and clubs also offer repair courses or open workshops where you can practise with guidance.
Step by step
Pre-ride check
Tyre pressure (stated on the sidewall), brakes (pull the lever, push the bike), chain (clean, oiled, not rusty), lights.
- 1
Pre-ride check
Tyre pressure (stated on the sidewall), brakes (pull the lever, push the bike), chain (clean, oiled, not rusty), lights.
- 2
Remove wheel and tyre
Open the brake if necessary, remove the wheel and let all the air out. Lever one side of the tyre off the rim with tyre levers and pull out the tube.
- 3
Find hole and cause
Inflate the tube and listen for the hole or find it in water. Carefully feel inside the tyre and remove the object.
Careful when feeling: glass and wire can cut.
- 4
Patch
Dry the area, roughen it, apply a thin layer of solution, let it dry as stated on the pack, press the patch on firmly.
- 5
Refit
Inflate the tube slightly, insert it and push the tyre onto the rim by hand without pinching the tube. Pump to the rated pressure, refit the wheel, close the brake.
- 6
Test
Check the wheel is seated, the quick release or nuts are tight and the brakes work; take a short test ride.
Common mistakes
- Cause in the tyre not removed
- Tube pinched with a tyre lever
- Patch on a wet or unroughened surface
- Brake left open after refitting
Quick view
Materials
Bicycle puncture kit and tools
Vulcanising solution is highly flammable – use away from flames.
Multitool
Rules on carrying blades differ by place – check local rules.
Suitable for
- Everyday and touring bikes
- Mobility during fuel shortages or transport outages
Not suitable for
- Work on hydraulic brakes, suspension forks or e-bike batteries without expertise
- Damaged rims or frames
Prerequisites
- A suitable patch kit, tyre levers, a pump with the right valve fitting
- Tools to remove the wheel if needed
Safety
- Vulcanising solution is highly flammable; do not use it near flames and do not inhale the fumes.
- Carry out repairs away from the road in a safe spot; use lights and a hi-vis vest in the dark.
How it works
A bicycle inner tube holds air under pressure; a small hole lets it escape. A patch seals it permanently if the surface is roughened, clean and prepared with solution. The key is finding and removing the cause in the tyre – otherwise the next puncture is certain.
Advantages
- Independent of a workshop for the most common breakdown
- Cheap
Disadvantages
- Requires practice
- Not all systems are the same (valves, thru-axles, tubeless)
Deep knowledge
Background
Bicycle maintenance manuals such as "Zinn & the Art of Road Bike Maintenance" describe patching tubes and checking brakes and chain as basic skills.
The manufacturer's instructions for the specific bike take precedence, especially for e-bikes and hydraulic brakes.
Variants
- Spare tube
- On the road a spare tube is quicker; the punctured tube is patched later at leisure.
Common mistakes
- Cause in the tyre not removed
- Tube pinched with a tyre lever
- Patch on a wet or unroughened surface
- Brake left open after refitting
Limits and risks
- No instructions for adjusting brakes or gears
- No work on e-bike electrics
Sources
Lennard Zinn – VeloPress: Zinn & the Art of Road Bike Maintenance
Patching tubes, checking brakes and chain