Mending clothes: patches, hems, zips
A hole in the knee, a torn hem or a sticking zip is usually no reason to throw clothing away. With patches, a few basic stitches and some patience, trousers, jackets and bags last much longer – sustainable in everyday life, valuable in a supply crisis.
- 15–60 minutes per repair
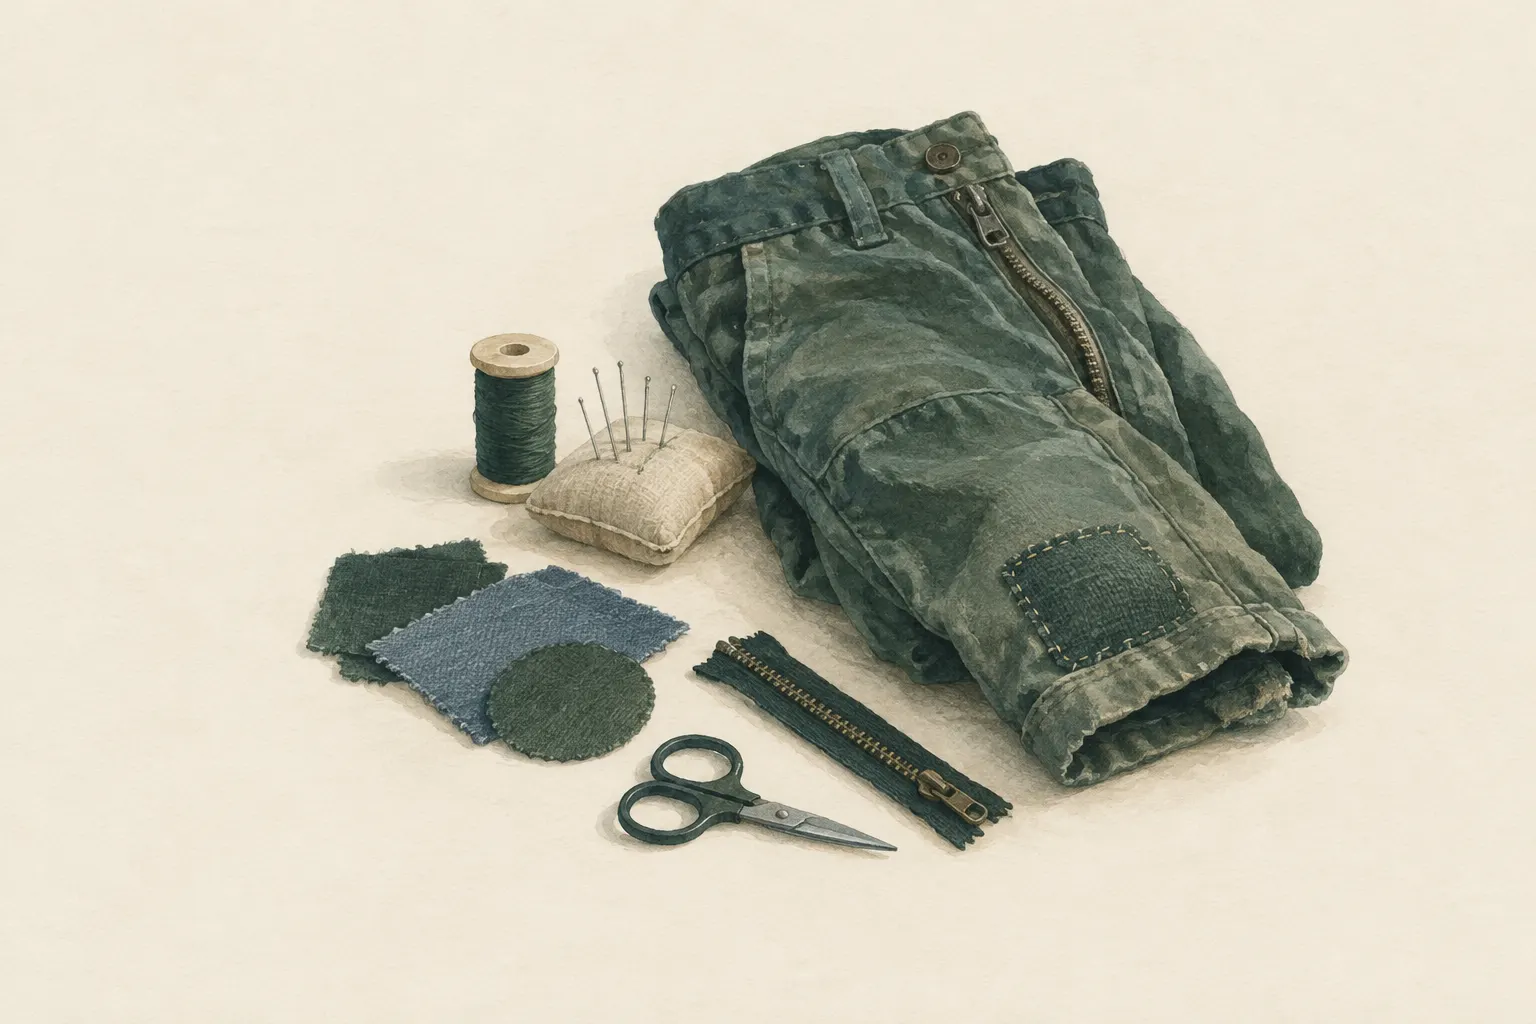
Explained simply
If your favourite trousers have a hole in the knee, you do not have to throw them away. With a needle, thread and a piece of fabric – the patch – you can repair them. A hole is like a small gap in a fence: if you do not fix it, it keeps getting bigger. A patch is like a new board that bridges the gap.
For most repairs you only need a few simple stitches. You pull the thread through the fabric in small steps, nice and evenly. With some practice it looks neat – and if not, that is fine too. Some people even make their patches colourful on purpose so they can be seen.
A safety tip: needles are sharp, so always put them in a pincushion or a tin and not on the carpet. And with protective clothing, such as a motorcycle jacket, you do not repair anything yourself – it has to protect you properly when it matters.
How it works
Fabric is made of many threads woven or knitted together. If one thread breaks, the neighbouring threads have to take over the load. The forces therefore gather at the edges of a hole – every time you bend down or the trousers stretch, they pull on the edge, and the hole keeps growing.
A patch spreads this load back over a larger area of intact fabric. That is why it must extend a good two centimetres beyond the hole all round, and why it holds best when it is similar to the garment: similar thickness, similar stretch. A thick, stiff patch on thin fabric pulls at its edges and tears the fabric next to it anew.
Hems and zips follow simple rules too. A hem is just folded-over fabric held by small stitches – if the thread breaks, it drops down. A zip works through the slider, which presses the teeth into each other. If it sticks, the cause is often dirty teeth or a slider that has widened through wear.
Gear and materials
A simple sewing kit is enough to start: a few sewing needles in different sizes, thread in basic colours (black, white, grey, navy), small scissors, pins or safety pins and a thimble that protects your finger when you push the needle through firm fabric. For jeans and jackets, slightly stronger thread is worth having.
Leftovers from old clothes make good patch fabric – a cut-off trouser leg, for example, provides perfect denim. Cotton goes with cotton, denim with denim. Iron-on patches are quick to apply, but often last longer if you also stitch around the edge.
For zips, small flat pliers help, and for sticking teeth a pencil or a little candle wax. Good light matters more than you think: in poor light, stitches become uneven and you prick yourself more easily.
What really matters
Three basic stitches cover almost everything. The running stitch is the simplest: needle in, out again a little further on, alternating – quick but not very strong. The backstitch is sturdier: each time you go back a little, so the stitches lie edge to edge like a sewing machine's. The whip stitch takes the thread around an edge and holds hems and patches in place.
Prepare the repair well: wash the garment, trim frayed threads, cut the patch with rounded corners – square corners lift sooner. Pin the patch smoothly and without tension. If the fabric puckers while you sew, it will crease later or tear at the edge.
Zips need a light touch: rub sticking teeth with pencil graphite or wax and move the slider back and forth a few times. If the zip gapes behind the slider, you can squeeze the slider very gently with the pliers – better twice lightly than once too hard, because an over-squeezed slider jams.
Safety: what to watch out for
Sewing is a calm activity, but needles and scissors are sharp. Keep them in a tin or pincushion, count pins after the work and keep them away from small children. A thimble stops you from driving the needle into your finger when pushing it through.
When ironing on patches, use the right temperature for the fabric – the care label helps. Synthetic fibres can melt or get shiny patches. Never leave the iron switched on unattended and put it down safely after use.
Clothing and equipment whose protective function depends on seams is not repaired by yourself: motorcycle clothing, climbing harnesses, safety harnesses and similar protective gear are replaced after damage or checked by the manufacturer. Waterproof membrane jackets also need special repair material, otherwise they will no longer be waterproof afterwards.
How to practise it
Practise first on a scrap of fabric, not on your best jacket. Sew a few rows of running stitch, backstitch and whip stitch side by side and see how they differ. Make sure the stitches are the same length – that matters more than speed.
After that you can patch an old garment that was going to be thrown out anyway. Learn to tie a knot at the end of the thread and to secure the end of the seam so nothing comes undone. A loose button is also a good first exercise.
In times of scarce supply, mending was a matter of course, and many people could do it as children. Today it is mainly a question of practice and a few tools. Once you can do it, you save money, throw away less and are more independent of new clothes in a crisis. For complex repairs, a tailor remains the better choice.
Step by step
Prepare
Wash the garment, trim frayed threads and look at the damage from inside and outside.
- 1
Prepare
Wash the garment, trim frayed threads and look at the damage from inside and outside.
- 2
Cut the patch
Cut a patch of similar fabric so it extends a good two centimetres beyond the hole all round; round the corners so they do not lift.
- 3
Pin
Pin the patch inside or outside, keeping the fabric smooth and without tension.
- 4
Sew
Sew the edge with small whip stitches or backstitches, then stitch the edges of the hole down onto the patch.
- 5
Repair a hem
Fold the hem along the old crease, pin it and sew with small stitches that barely show outside.
- 6
Zip
Ease sticking teeth with a pencil or a little wax. If the slider gapes, it can be squeezed very gently with pliers – squeezing too hard jams it.
Common mistakes
- Patch too small
- Fabric puckered while sewing
- Thick, stiff patch on thin fabric
- Zip slider squeezed too hard
Quick view
Materials
Sewing kit
Safety pins
Keep out of reach of small children.
Cotton cloth / T-shirt
As patch fabric
Removes coarse particles only – no disinfection.
Suitable for
- Holes and tears in trousers, shirts, jackets
- Loose hems
- Sticking or detached zip sliders
Not suitable for
- Protective clothing and equipment (e.g. motorcycle clothing, harnesses) – do not repair yourself
- Waterproof membrane jackets without suitable repair material
Prerequisites
- Basic stitches (running stitch, backstitch, whip stitch)
- Suitable thread and patch fabric
- Good light
Safety
- Replace protective equipment whose function depends on its seams after damage, or have it checked by the manufacturer.
- When ironing on patches, watch the fabric temperature; synthetic fibres can melt.
How it works
A hole grows because forces are concentrated at its edges. A patch spreads the load back over a larger area of intact fabric. The closer patch and garment are in stretch and strength, the longer the repair lasts.
Advantages
- Clothes last longer
- Little material needed
- Independent of new supplies
Disadvantages
- Takes time
- Practice needed for neat results
Deep knowledge
Background
Sewing guides such as Reader's Digest's "Complete Guide to Sewing" describe patching, hems and zip repairs as basic techniques.
In times of scarce supply mending was a matter of course; today it is mainly a question of practice and a few tools.
Variants
- Iron-on patches
- Iron-on patches are quick but often hold better if the edge is also stitched.
- Visible mending
- Deliberately visible patches or decorative stitches turn the repair into a design feature.
Common mistakes
- Patch too small
- Fabric puckered while sewing
- Thick, stiff patch on thin fabric
- Zip slider squeezed too hard
Limits and risks
- No substitute for a tailor for complex repairs
- No repair of protective equipment
Sources
Reader's Digest: Complete Guide to Sewing
Patching, hems and zip repairs