Avalanche transceiver: basics – training required
An avalanche transceiver transmits a signal in normal mode and can locate other devices in search mode. It only helps if everyone in the group wears one, it is switched on and checked, shovel and probe are carried – and the group has practised companion rescue regularly. This entry explains the principle; the search itself is learned on a course.
- A course plus regular practice; device check before every trip
Explained simply
An avalanche transceiver is a small radio device you wear on your body on winter ski tours. Normally it sends out a signal all the time, like a quiet beep that only other transceivers can hear. If someone is buried by an avalanche, the others switch their devices to ‘search’ and follow the signal to the buried person.
That sounds simple, but it is not. Searching quickly and correctly in the snow under stress has to be learned and practised again and again – like swimming. Everyone also needs a shovel and a probe, a long pole that clips together for prodding the snow. Without them you may find the person but cannot dig them out fast enough.
The most important thing of all: the device does not prevent avalanches. The safest choice is not to enter dangerous terrain in the first place.
How it works
All avalanche transceivers transmit on one internationally standardised frequency of 457 kHz. That is why devices from different manufacturers can find each other – wherever the group comes from. The signal passes through snow, but only over a limited distance, which is why in an emergency you approach the avalanche debris systematically.
The search runs in phases that are trained in detail on courses: first you look for an initial signal. Then you follow the direction and distance shown by the device coarsely. Close to the person, the location is narrowed down finely. Finally you probe until you hit the person, and dig them out.
Modern devices show direction and distance, but the signal follows curved lines rather than a straight route. That is one reason why you have to practise using your own device under realistic conditions instead of relying on the display alone.
What really matters
A transceiver only helps if everyone in the group wears one, it is switched on and it works. Someone alone gets nothing from it in an emergency: there is nobody to search. That is why transceiver, shovel and probe are part of the basic kit of every group member.
The device is worn in its harness under the outer layer of clothing, not in the pack, because a pack can be torn off the body in an avalanche. Before every trip the group does a check: battery level, transmitting and receiving of all devices, as learned on the course. On the way the device stays on transmit.
Keep the transceiver away from other electronics such as phones, radios or cameras. These devices can interfere with the signal, especially in search mode. The necessary distances are given in the manufacturer's instructions.
Safety: what to watch out for
The most important avalanche safety happens before the avalanche: read the avalanche bulletin, assess the terrain and, when in doubt, give up or turn back. A transceiver is the last rescue measure, not the first. Anyone who feels safer because of the device and therefore takes more risks makes things more dangerous, not safer.
If someone is buried, every minute counts. A buried person's chances fall quickly the longer they lie under the snow. That is why rescue is alerted at once – local emergency number, 112 in the EU – if possible by one person while the others start searching immediately. Waiting for professional rescuers without searching yourselves costs the decisive time.
Also watch your own safety during the search: could another avalanche come down? This entry does not replace a course and gives no first aid instructions; both are learned from trained professionals.
How to practise it
The starting point is an avalanche course, as offered by alpine clubs, mountain schools and guides. There you learn not only the transceiver search but also avalanche awareness, trip planning and the right sequence of companion rescue.
After that: practise regularly, ideally several times per season. Many ski areas and clubs have practice fields with transmitters buried in the snow. Also practise harder scenarios such as multiple burials, and practise probing and shovelling – digging out often takes longest and is physically very hard work.
Get to know your own device well: how do you switch quickly from transmit to search, even with gloves on? How does it show several signals? And how do you switch it back to transmit if a second avalanche comes down?
Gear and materials
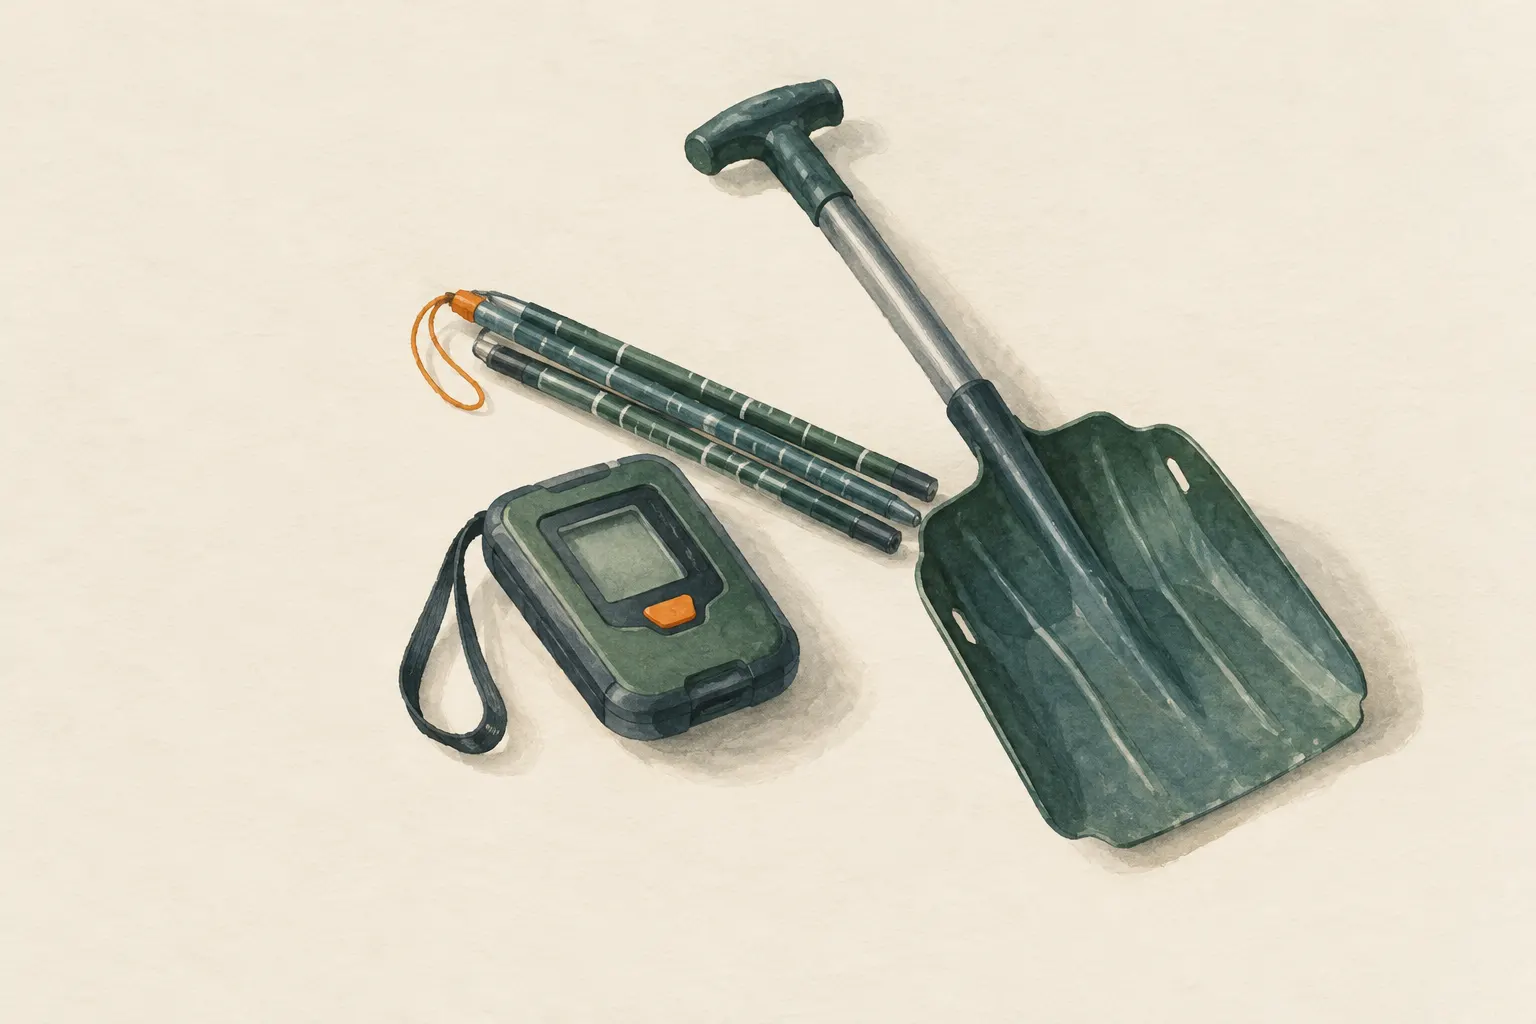
The avalanche emergency kit always includes three things: transceiver, shovel and probe. The transceiver finds the approximate spot, the probe shows the exact position and depth, and the shovel frees the person. If one is missing, valuable time is lost in an emergency.
Avalanche airbags and other systems can complement the kit. But they replace neither transceiver, shovel and probe nor training – and above all not careful choice of terrain.
Look after your device: check batteries before the season and before every trip, use the batteries the manufacturer recommends and take them out over the summer if the manufacturer advises it. Many manufacturers also offer software updates or checks.
Step by step
Wear it on your body
Wear the device in its harness under the outer layer of clothing, not in the pack.
- 1
Wear it on your body
Wear the device in its harness under the outer layer of clothing, not in the pack.
- 2
Group check before setting off
Before every trip, check the battery and transmit/receive function of every device in the group as learned on the course.
- 3
Transmit on the way
During the trip the device stays on transmit. Switch to search only in an actual emergency.
- 4
In an emergency: alarm and search
Alert rescue, observe the debris, switch devices to search, search following the trained procedure, probe and dig.
- 5
Practise regularly
Practise several times each season, including multiple burials, as offered on courses.
Common mistakes
- Device in the pack
- Battery not checked
- Out without shovel and probe
- Never practised
- Feeling safer because of the device and taking more risks
Quick view
Materials
Avalanche transceiver
Only effective with training and regular practice; always together with shovel and probe.
Battery and function check before every trip.
Snow shovel
Avalanche shovel, part of the basic kit
Always take it inside when digging a snow shelter.
Suitable for
- Ski touring, snowshoeing and freeriding in uncontrolled terrain
- Winter mountaineering
Not suitable for
- A substitute for trip planning and avalanche assessment
- Use without practice
- A lone person – nobody could search
Prerequisites
- Avalanche course with transceiver training
- Understanding of avalanche danger and avalanche bulletins
Safety
- Phones, radios and other electronics can interfere with a transceiver. Keep the distances stated by the manufacturer, especially in search mode.
How it works
All devices transmit on one internationally standardised frequency. If someone is buried, the others switch to search and follow the signal: first find an initial signal, then approach coarsely, then narrow down finely, then pinpoint with the probe and dig out. This sequence has to work reliably under stress – hence the training.
Advantages
- Standardised, internationally compatible system
- Enables fast companion rescue
Disadvantages
- Useless without training
- Only works if everyone wears one
- Expensive
Deep knowledge
Background
Alpine rescue organisations and avalanche warning services recommend the emergency kit of transceiver, shovel and probe for trips in uncontrolled winter terrain, together with regular companion rescue practice.
Mountaineering textbooks describe the search phases in detail; this entry replaces neither them nor a course.
Variants
- Other emergency equipment
- Avalanche airbags and other systems complement the transceiver but replace neither transceiver, shovel, probe nor training.
Common mistakes
- Device in the pack
- Battery not checked
- Out without shovel and probe
- Never practised
- Feeling safer because of the device and taking more risks
Limits and risks
- No detailed search instructions
- No avalanche assessment
- No first aid instructions
Sources
ICAR – International Commission for Alpine Rescue: International Commission for Alpine Rescue (ICAR) – recommendations and information (organisation website)
Recommendations on avalanche emergency equipment and companion rescue
The Mountaineers Books (2017): Mountaineering: The Freedom of the Hills, 9th edition
Transceiver use, search phases and emergency equipment
European Avalanche Warning Services (EAWS): European Avalanche Danger Scale
Avalanche danger levels as part of trip planning