Recognising your own group's tracks
If you know what your group's shoe soles look like, you can tell in snow, sand or mud whether someone has gone ahead or taken a different route at a junction. A photo of every sole before the trip helps the group – and, in an emergency, rescuers too. More important than reading tracks, however: stay together and make clear agreements.
- 5 minutes before the trip; attention on the way
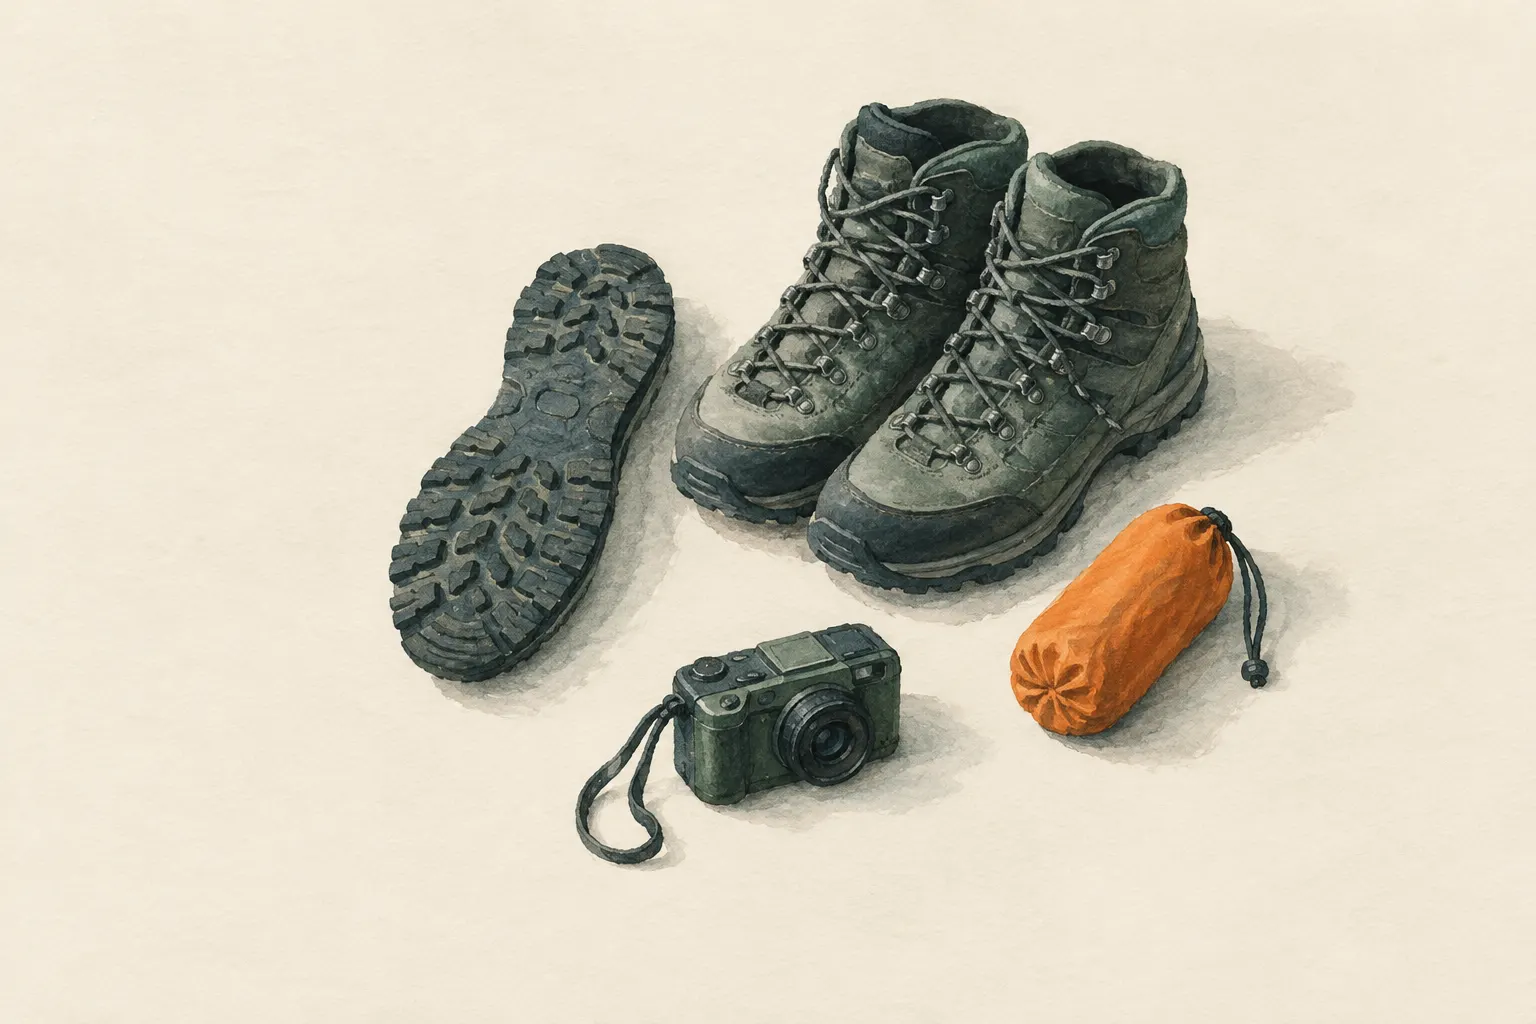
Explained simply
Every shoe has a pattern underneath, the sole. Some have grooves, others zigzags or little squares, and old shoes are worn down in places. In snow, sand or mud this pattern presses into the ground – like a stamp. If you know what your group's stamps look like, you can see at a junction where the others went.
That is why it is worth taking a photo of everyone's shoe soles before the trip. It only takes a few minutes. If someone gets lost, such a photo is also useful for rescuers.
But the most important thing is not reading tracks – it is staying together. You wait for each other at every junction. And anyone who loses the group stays where they are, blows a whistle and waits. If someone is missing and cannot be found after a short search along the path, call the emergency number early (112 in the EU).
How it works
A shoe sole has three features that make it distinguishable: the pattern, the size and the wear. The pattern differs for every shoe model. The size shows in the length of the print. And the wear shows how someone walks – some people wear their soles down more on the outside, others at the heel.
On soft ground these features remain visible as a print. This is especially clear in damp sand, mud, snow or on wet paths. On hard, rocky ground or on paths where many other people have already walked, you will hardly find a clear print.
If you know your group's sole patterns, you can check at a junction: are there fresh prints with a familiar pattern? Then you know fairly reliably which way the others went. This is particularly helpful when a group moves at different speeds.
What really matters
Before the trip, photograph the soles of all participants, ideally with name and shoe size. If you like, also make a test print on soft ground and photograph that too. Everyone in the group should have the photos on their phone, not just one person.
Clear agreements are even more important. Who goes first, who last? At which points do you wait – at every junction, at every hut, every half hour? And what does someone do who loses the group? The proven answer is: stay put, signal with the whistle and do not walk on alone.
Whoever goes ahead can leave a pre-agreed temporary marker at a junction, for example an arrow of twigs on the path. It is removed again on the way back. No paint, no cuts in trees and nothing that could confuse other hikers.
Safety: what to watch out for
Reading tracks never replaces staying together. Most separations happen because fast people run ahead and slow ones are left alone at the back. Do not leave anyone alone at the end of the group, and wait at every junction until really everyone is there.
If someone is missing and cannot be found after a short search along the path, call the local emergency number (112 in the EU) early. Better once too early than too late. Do not keep searching alone off the trail – otherwise you may end up with two missing people instead of one.
Then give the rescuers everything that helps: sole photos, a description of the clothing, when and where the person was last seen and which route was planned. The actual search is the job of rescue services, who are trained for it.
Typical situations
A family is hiking, the children have run ahead, and at a fork no one is in sight. A quick look at the damp ground shows the small, familiar soles on the left-hand path. That saves shouting, searching and worry. Even better would have been for the children to wait at the fork – which is exactly what you practise beforehand.
This works especially well in snow because prints are very clear there. However, sun and wind change snow tracks quickly, and on popular paths many tracks overlap. So look especially for fresh, clear prints with a familiar pattern.
With children you can practise this as a game: everyone presses a shoe into the sand, and the others guess whose print it is. Along the way, children learn the most important rule: if you lose the group, stay where you are, blow your whistle and wait.
Good to know
Mountaineering textbooks such as “Mountaineering: The Freedom of the Hills” stress that groups should stay together, make agreements and stop when unsure. The sole photos are a sensible addition to this, not a substitute.
Anyone who is lost is commonly advised to stay where they are and make themselves noticed rather than wander aimlessly. A person who stays put is much easier to find for their own group and for rescuers.
Step by step
Photograph the soles
Before the trip, photograph the soles of all participants, with name and shoe size. Optionally record a print on soft ground.
- 1
Photograph the soles
Before the trip, photograph the soles of all participants, with name and shoe size. Optionally record a print on soft ground.
- 2
Make agreements
Agree: who goes first, who last? At which points do you wait? What does someone do who loses the group – stay put, blow the whistle, do not walk on.
- 3
Check at junctions
If you are at the back and have lost contact, look for fresh prints with a known profile at junctions.
- 4
Show direction
Whoever goes ahead can leave a pre-agreed temporary marker at a junction (e.g. an arrow of twigs on the path) and remove it on the way back. No paint, no cuts in trees.
- 5
Share the data in an emergency
If someone goes missing, give rescuers the sole photos, clothing, last sighting and planned route.
Common mistakes
- Not agreeing on waiting points
- Leaving slow participants alone at the back
- Everyone wears similar shoes and no one has photos
- Searching alone for a long time instead of calling for help early
Quick view
Materials
Mobile phone
Photos of shoe soles
The battery drains quickly in cold and with continuous screen and GPS use.
Do not plan on it as your only means of navigation or emergency calls.
Signal whistle
For calling out when separated
Carry within easy reach, not deep in the pack.
Do not blow right next to other people's ears.
Suitable for
- Groups with different paces
- Trips with children
- Snow, sand, wet trails
Not suitable for
- Hard, rocky or heavily used ground
- A substitute for staying together and agreements
Prerequisites
- Group agreements: waiting points, order, what to do when separated
- Soft ground on which prints are visible
Safety
- Reading tracks does not replace staying together. Wait for the whole group at every junction.
How it works
Every shoe sole has its own profile of pattern, size and wear. On soft ground it remains visible as a print. If you know your group's profiles, you can check at junctions which way those ahead have gone. A photo of the sole is also useful information for rescuers if someone goes missing.
Advantages
- Helps with different paces
- Useful information for rescuers
- Hardly any effort
Disadvantages
- Only usable on soft ground
- Tracks are overlaid by others
Deep knowledge
Background
Mountaineering textbooks such as “Mountaineering: The Freedom of the Hills” stress that groups should stay together, make agreements and stop when unsure. Reading tracks is a supplement to this, not a substitute.
Anyone who is lost is commonly advised to stay where they are and make themselves noticed rather than wander aimlessly. That also makes searching easier for their own group.
Variants
- With children
- Children learn playfully to recognise their own tracks. More important: they know that if separated they should stay put, blow a whistle and wait.
Common mistakes
- Not agreeing on waiting points
- Leaving slow participants alone at the back
- Everyone wears similar shoes and no one has photos
- Searching alone for a long time instead of calling for help early
Limits and risks
- No guidance on searching for people – that is a task for rescue services
- No animal tracking instruction
Material alternatives
Derived from material properties: a substitute must have all relevant properties. Observe the notes on the substitute.
- Mobile phone
- Headlamp / flashlight, Battery lantern / LED light
Results come exclusively from structured entries. No improvised instructions are generated.
Sources
The Mountaineers Books (2017): Mountaineering: The Freedom of the Hills, 9th edition
Keeping the group together, agreements, stopping when unsure