Reading trail markings and following the route
Painted marks on trees and rocks, signposts, posts and cairns guide you along waymarked trails. If you know what the marking in your area looks like, regularly look for the next mark and return to the last certain mark when the marking disappears, you get lost much less often. Marking systems differ by country and trail operator.
- Constant attention on the way
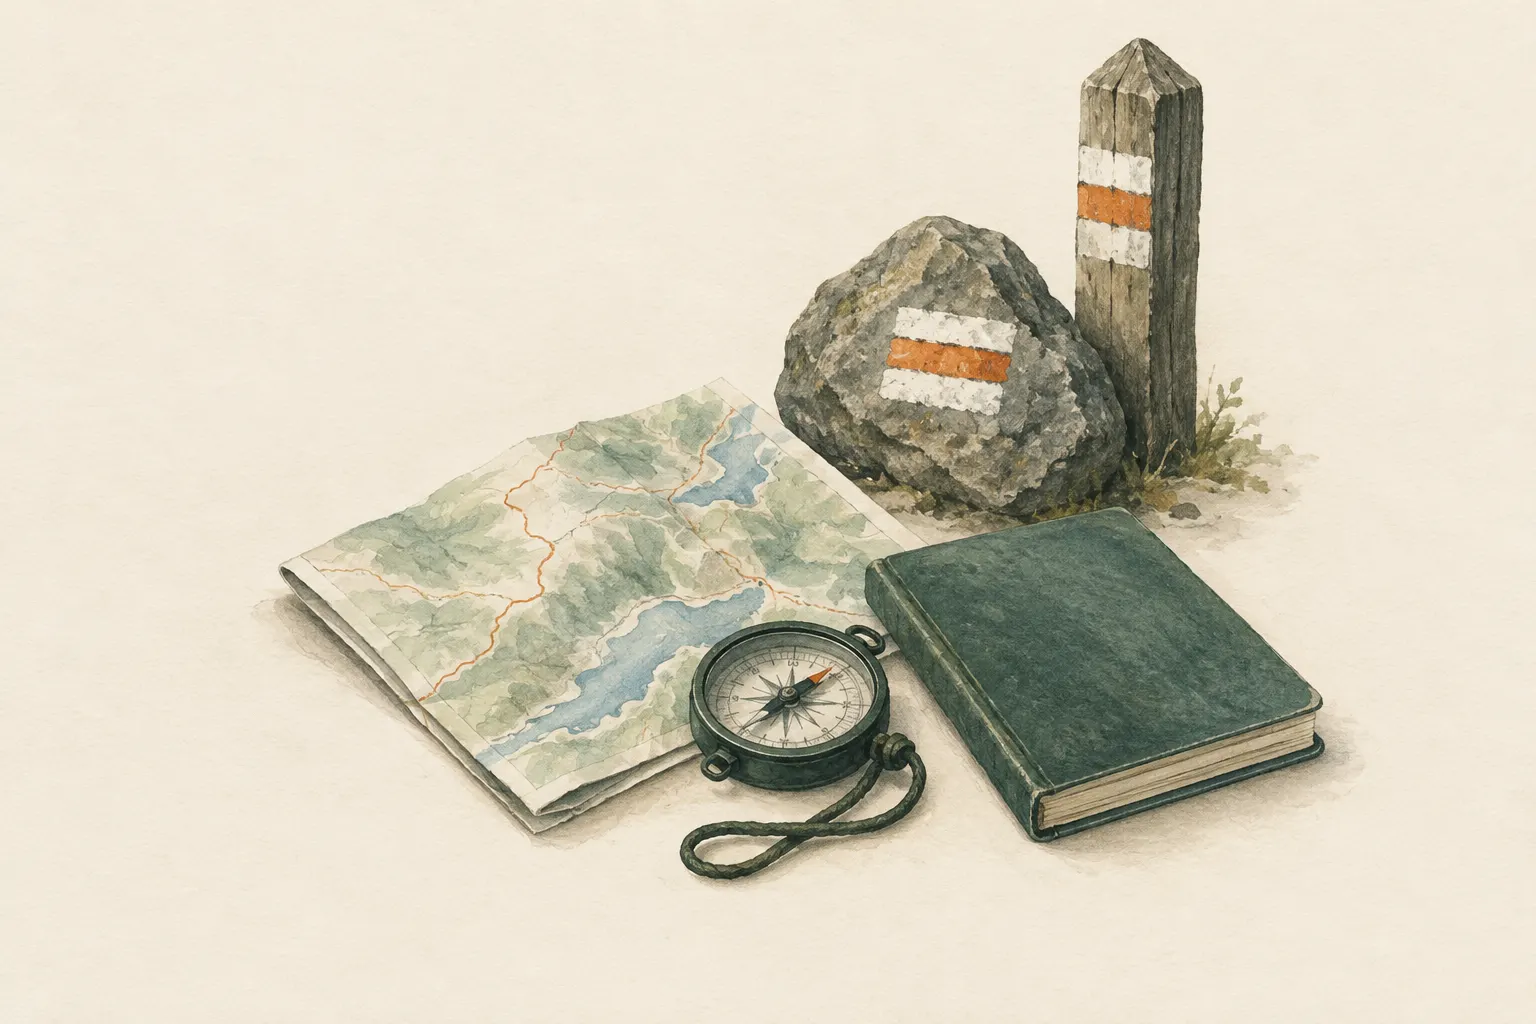
Explained simply
A waymarked trail is like a treasure hunt someone has prepared for you. Marks are painted on trees, rocks or posts, and signposts stand at junctions. From one mark you can usually already see the next one, or you find it after a short while.
The trick is to really pay attention to the marks – not just at the start, but all the time. If you walk on lost in thought, you often do not notice for a long time that you have ended up on the wrong path.
The most important thing: if you have not seen a mark for quite a while, do not just keep going and hope for the best. Go back to the last mark you were completely sure about. From there, calmly look for the right way.
How it works
Whoever marks a trail places the marks so that from one you can see the next, or reach it after a short, unambiguous stretch. On straight, clear sections marks are further apart; at junctions and confusing spots they are closer together. Often there is a confirmation mark after a junction that tells you: yes, you turned the right way.
Marks come in many forms: painted marks on trees and rocks, small signs, posts, signposts with destinations and walking times, and cairns – piles of stacked stones in rocky terrain without trees. Which colours, shapes and numbers are used differs from country to country and even from region to region. That is why this entry gives no colour codes.
Because marks come in a rhythm, their absence is itself important information. Once you are used to seeing a mark every few minutes, a long gap stands out. That is often the earliest and most reliable sign that you have left the trail.
What really matters
Know your trail's marking before you set off. Check on the map, in the route description or at the tourist office which mark your trail uses. On many maps the legend – the box of explanations at the edge – tells you what the lines and symbols mean.
On the way, consciously look for the next mark, often at about eye level on trees, rocks, posts or fences. At every junction stop briefly, read the signposts, compare with the map and wait for the whole group. That takes only seconds and prevents most cases of getting lost.
Turn round now and then. The path looks quite different in the opposite direction, and it helps on the way back to have seen it from the other side once already. Marks painted for the opposite direction also confirm that you are on the right track.
Safety: what to watch out for
If you have not seen a mark for a longer stretch, the rule is: do not walk on hoping to rejoin the trail at some point. Turn back to the last mark you were completely sure of and reorient yourself from there. Cross-country shortcuts are tempting but often lead into steep, wet or confusing terrain.
Closed trails and diversions almost always have a reason, for example rockfall, a slipped slope or forestry work with falling trees. Respect closures even if the path beyond looks harmless.
Do not change markings and do not build your own cairns. What looks like fun to you can mislead other hikers – especially in fog, when cairns are sometimes the only guidance. For the same reason, do not trust cairns blindly in foggy terrain: not every pile of stones marks the official route.
When it makes sense – and when not
Waymarked trails are ideal for families, groups with children and areas you do not know yet. They take a lot of navigation work off your hands and usually lead along safe, maintained paths. Still, a map belongs in your pack so you know where you are if there is a closure or a missing mark.
Markings reach their limits in poor visibility, such as dense fog or blowing snow, when you can no longer make out the next mark. Snow can also completely cover marks on the ground and on rocks. Winter routes sometimes run differently from summer trails and need separate planning.
For trips away from waymarked trails, markings naturally do not help. There you need map and compass skills. Markings are a great help, but no substitute for being able to find your own way.
Good to know
Trail markings are usually created and maintained by hiking clubs, municipalities or protected-area administrations, often by volunteers. Marks can fade, become overgrown, be hidden by fallen trees or even be removed. You can report missing marks to the responsible club or municipality.
Mountaineering textbooks such as “Mountaineering: The Freedom of the Hills” stress exactly the habits that matter here for route finding: look around regularly, memorise prominent points for the way back, and return to the last known point when unsure.
Step by step
Know the marking beforehand
Check on the map or at the tourist office which mark your trail uses. Colours, shapes and numbers differ by country and club.
- 1
Know the marking beforehand
Check on the map or at the tourist office which mark your trail uses. Colours, shapes and numbers differ by country and club.
- 2
Look for the next mark
Consciously look out for the next mark – on trees, rocks, posts or fences, often at eye level.
- 3
Stop at junctions
Stop briefly at every junction, read the signposts and compare with the map. Wait for the group.
- 4
Look back
Turn around now and then: that way you recognise the way back, and marks for the opposite direction confirm the route.
- 5
When unsure, go back
If marks are missing, turn back to the last certain mark and reorient from there. Do not take shortcuts cross-country.
Common mistakes
- Walking on absent-mindedly without watching for marks
- Following a beaten path instead of the waymarked trail
- Trusting cairns blindly in foggy terrain
- Taking shortcuts cross-country
Quick view
Materials
Topographic map
With a legend for trail markings
Check the publication date – paths and buildings may have changed.
Protect from wet (map case or bag).
Mobile phone
The battery drains quickly in cold and with continuous screen and GPS use.
Do not plan on it as your only means of navigation or emergency calls.
Suitable for
- Hikes on waymarked trails
- Groups with children
- Unfamiliar areas
Not suitable for
- Off-trail trips where map and compass are needed
- Poor visibility when markings can no longer be seen
Prerequisites
- A map of the area and its legend
- Knowing which waymarked trail leads to the destination
Safety
- If you have not seen a mark for a long stretch, do not carry on hoping to rejoin the trail. Return to the last certain mark.
- Respect closed trails and diversions – closures often have reasons such as rockfall, landslides or forestry work.
- Do not alter or remove markings or cairns, or build your own – they can mislead others.
How it works
Waymarked trails are laid out so that from one mark the next follows within sight or after a short, unambiguous stretch. At junctions marks are denser. If you consciously follow the marks you notice quickly when they stop – an early and reliable sign that you have left the trail.
Advantages
- Simple and safe orientation
- Possible without technology
Disadvantages
- Marks may be faded, covered or removed
- No help away from waymarked trails
Deep knowledge
Background
Mountaineering textbooks such as “Mountaineering: The Freedom of the Hills” stress, for route finding, looking around regularly, memorising prominent points for the way back and returning to the last known point when unsure.
Trail markings are usually maintained by hiking clubs, municipalities or protected-area administrations. Their systems differ nationally or regionally – which is why this entry gives no colour codes.
Variants
- In winter
- Snow can cover markings on the ground and on rocks; summer trails are often unrecognisable then. Winter routes may run differently – separate planning is needed.
Common mistakes
- Walking on absent-mindedly without watching for marks
- Following a beaten path instead of the waymarked trail
- Trusting cairns blindly in foggy terrain
- Taking shortcuts cross-country
Limits and risks
- No colour codes or marking systems of individual countries
- No substitute for map and compass
Material alternatives
Derived from material properties: a substitute must have all relevant properties. Observe the notes on the substitute.
- Mobile phone
- Headlamp / flashlight, Battery lantern / LED light
Results come exclusively from structured entries. No improvised instructions are generated.
Sources
The Mountaineers Books (2017): Mountaineering: The Freedom of the Hills, 9th edition
Route finding: look around, memorise the way back, return to the last known point when unsure