Casting tracks in plaster (hobby)
A plaster cast makes a print permanent and three-dimensional – ideal for a track collection, teaching or later identification. You surround the print with a ring, pour mixed casting plaster into it, let it set and lift it out carefully. All residue is taken away again.
- About 45–60 minutes including setting time
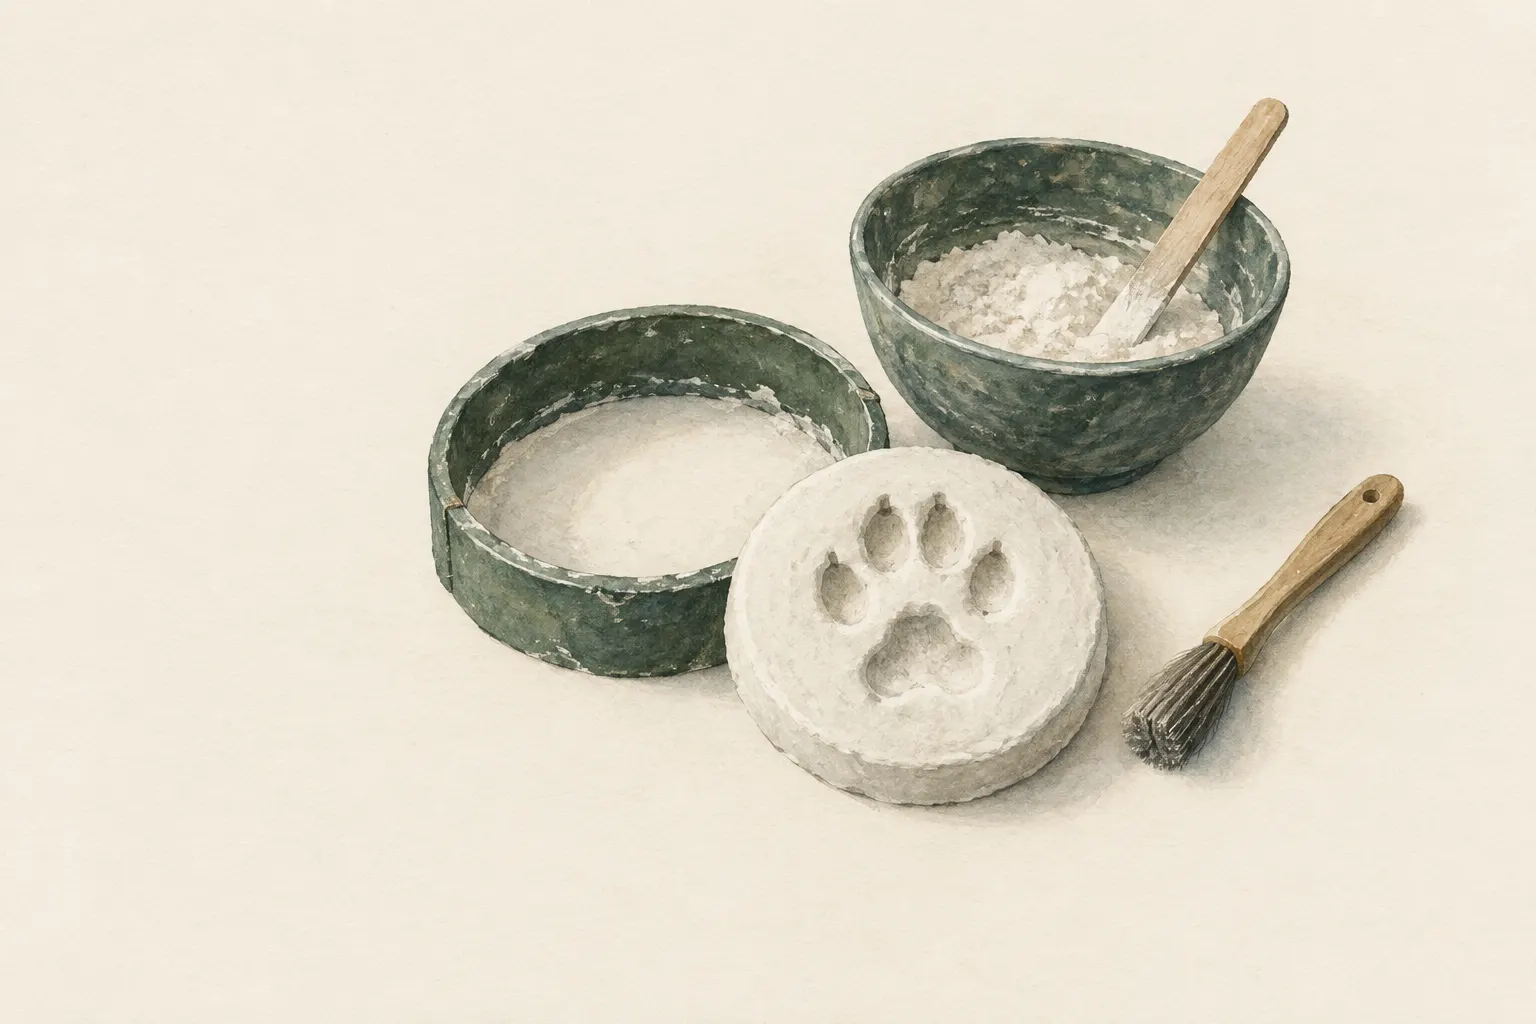
Explained simply
A footprint in mud disappears with the next rain. With plaster you can keep it. Plaster is a white powder that you stir with water into a slurry. You pour this slurry into the print, and after a while it becomes rock hard. What comes out is a cast that looks just like the animal's paw – only made of plaster.
To stop the slurry running away, you first place a ring of cardboard around the print. Then you pour the plaster carefully beside it so that it flows into the print by itself. After about half an hour or longer you can carefully lift the cast out.
Two important safety rules: plaster gets warm as it hardens. So never use it to cast hands or feet – it can get dangerously hot. And do not breathe in the dust. Children only do this together with adults.
How it works
Plaster is a powder that undergoes a chemical reaction when mixed with water. The powder takes up water and forms fine crystals that interlock. That is how the liquid slurry becomes a solid body. This reaction releases heat – which is why the plaster feels warm while it sets.
While the slurry is liquid it flows into every hollow of the print, including the marks of toe pads and claws. Once hardened, the cast shows a positive: where there was a hollow in the ground, there is a bump in the plaster. So you are holding a kind of replica of the animal's foot sole.
The collar around the print has two jobs. It holds the slurry together so it does not run off across the ground, and it makes sure the cast is thick enough not to break when lifted out.
What really matters
Choose the clearest print in mud, damp sand or clay and photograph it first with an object of known size beside it – the print itself is destroyed by casting. Carefully remove loose leaves or twigs without damaging the rim. Place the cardboard collar around the print with a little space to spare and press it lightly into the ground.
When mixing, sprinkle the plaster into the water, not the other way round, and follow the instructions on the packet. That way you get fewer lumps. Stir until the slurry is roughly like thick pancake batter, then work quickly, because it soon starts to set. Too thin a slurry becomes brittle; too thick a slurry does not flow into the details.
Do not pour the slurry straight onto the fine details, but beside the print inside the collar, so it flows in by itself. Fill up to the rim. Depending on the plaster, temperature and humidity, setting takes about half an hour or longer. The cast is firm when it no longer feels warm and can hardly be marked with a fingernail. While the back is still slightly soft, you can scratch the date, place and substrate into it with a twig.
Safety: what to watch out for
Plaster dust irritates the eyes and airways. Do not lean over the powder while mixing, pour it slowly and preferably work outdoors. If plaster gets into your eyes, rinse them thoroughly with clean water and get medical help if they stay irritated. Children only work under supervision.
Plaster heats up while setting, and with larger amounts this can become strong enough to cause burns. So never cast hands, feet or other body parts with it, and do not let children put their hand into the slurry. There are materials made specially for casting body parts.
Do not pour plaster residue into waters, drains or the landscape. In a drain, plaster can harden and block pipes. Let residue harden in the mixing cup and dispose of it with general waste – check local rules. A container you have mixed plaster in should never be used for food again.
When it makes sense – and when not
Plaster casts are wonderful for a track collection, for teaching and for children's groups. A cast is three-dimensional and can be touched, turned and compared with others. You can also show it to experts later if you want a track identified.
In protected areas where nothing may be altered, do not cast tracks. Material enters the landscape and the print is destroyed. The simple method also does not work in powdery snow, very dry dust or under water. Casts in snow are especially difficult because the heat of the plaster melts the print; a good photo is the better choice there.
The best practice spot is your own garden with a tracking plot of sand or clay. There you do not have to worry about protection rules, and children can practise in peace.
Lifting and keeping
Do not lift the cast too early or it will break. Loosen it generously from below by working the soil loose all around with a stick or your fingers, and lift it with the soil still attached. Wrap it in newspaper and take it with you – together with the collar and all residue.
At home, let the cast dry for about a day. Afterwards you can carefully remove the soil with water and a soft brush. Plaster casts of animal tracks are a classic tool of natural history; many museums and school collections hold such casts.
Step by step
Choose and clean the print
Choose the clearest print and photograph it first with a size reference. Carefully remove loose leaves or twigs without damaging the rim.
- 1
Choose and clean the print
Choose the clearest print and photograph it first with a size reference. Carefully remove loose leaves or twigs without damaging the rim.
- 2
Set the collar
Place a cardboard strip or a cut-open cup as a ring around the print and press it lightly into the ground, leaving a little space around the print.
- 3
Mix the plaster
Sprinkle plaster into the water according to the manufacturer's instructions (not the other way round) and stir until lump-free, to a consistency like thick pancake batter. Work quickly.
- 4
Pour from the side
Pour the slurry onto the ground beside the print inside the collar so that it flows in by itself – not directly onto the fine details. Fill up to the rim so the cast is thick enough.
- 5
Let it set
Depending on plaster, temperature and humidity, setting takes about half an hour or longer. The cast is firm when it no longer feels warm and can hardly be marked with a fingernail. Scratch notes (date, place, substrate) into the back with a twig while it is still soft.
- 6
Lift and clean
Loosen the cast generously from below, lift it with the soil attached, wrap in newspaper and take it with you. At home let it dry for a day, then clean carefully with water and a soft brush. Take the collar and all residue with you.
Common mistakes
- Pouring plaster directly onto fine details
- Mixing too thin a slurry
- Lifting too early
- Adding water to plaster instead of plaster to water
- Leaving residue in the landscape
Quick view
Materials
Casting plaster
Do not inhale the dust or get it in your eyes.
Heats up while setting – never cast body parts with it.
Do not pour residue into drains or waters.
PET bottle (clear, max. 2 litres)
With water for mixing
Do not heat or place in a fire.
Newspaper and cardboard
Cardboard strip as a collar, newspaper for wrapping
Flammable – keep away from candles, stoves, heaters and embers.
Loses almost all insulation when wet.
Airtight food-grade storage container
Only as mixing vessel, never for food afterwards
Fill only when clean and completely dry; never use containers that previously held chemicals.
Rubbish bag (resealable)
Take all residue away
Suitable for
- Track collections and nature education
- School projects and children's groups
- Later identification with experts
Not suitable for
- Protected areas where nothing may be altered
- Powdery snow or very dry dust
- Prints under water
Prerequisites
- A clear print in mud, damp sand or clay
- A place where you damage nothing and break no rules
Safety
- Do not inhale plaster dust or get it in your eyes; do not lean over the powder while mixing. Children only under supervision.
- Plaster heats up while setting. Never cast hands, feet or other body parts with it.
- Do not pour plaster residue into waters, drains or the landscape; dispose of hardened residue with general waste. Check local rules.
How it works
Plaster is a powder that is mixed with water to a slurry and hardens through a chemical reaction. When liquid it flows into every hollow of the print; when hard it shows a positive of the animal's foot. The collar stops the slurry from running away and gives the cast a stable thickness.
Advantages
- Permanent, three-dimensional record
- Inexpensive
- Very illustrative for teaching
Disadvantages
- Weight and mess
- The print is destroyed in the process
- Not permitted everywhere
Deep knowledge
Background
Plaster casts of animal tracks are a classic tool of natural history and nature education; many museums and school collections hold such casts.
Because material enters the landscape and the print is destroyed, casting does not belong in protected areas. Your own garden with a tracking plot is the best place to practise.
Variants
- Snow
- Casts in snow are difficult because the heat of the plaster melts the print. Special methods exist for this; for beginners a good photograph is the better choice.
- In a tracking plot
- In your own garden, prints from a smoothed sand or clay plot can be cast without concern for protection rules – ideal for practising with children.
Common mistakes
- Pouring plaster directly onto fine details
- Mixing too thin a slurry
- Lifting too early
- Adding water to plaster instead of plaster to water
- Leaving residue in the landscape
Limits and risks
- No special methods for snow
- Manufacturer instructions for the plaster take precedence
Material alternatives
Derived from material properties: a substitute must have all relevant properties. Observe the notes on the substitute.
- Newspaper and cardboard
- Sleeping pad, Dry leaves, grass or conifer boughs (Collect only where allowed; no protected plants. Check for ticks and insects.), Backpack, Dry spare clothing (Carry it in waterproof packaging – wet clothing barely insulates.), Wool blanket / duvet (Keep away from candles, stoves and heaters.), Insulated cool box (Keeps cold only for a limited time; without ice packs or ice it is not a fridge.), Sleeping bag (Do not store compressed long-term; do not pack away damp.), Insulated cooking box (hay box, thermal cooker) (Never put open flame or embers inside – only the hot, closed pot.)
- Airtight food-grade storage container
- Single-wall stainless steel bottle (Heat only single-wall bottles without paint/plastic; remove the lid before heating.), Double-wall insulated bottle (Never heat directly.), PET bottle (clear, max. 2 litres) (Do not heat or place in a fire.), Food-grade water container (Only use containers that never held chemicals or fuel.), Collapsible water container or bag (Protect from sharp objects.), Food-grade water bag (Use only for drinking water, never for chemicals or fuel.), Fermentation jar or crock (Use only food-grade containers of glass, food-safe glazed stoneware or food-grade plastic – no metal containers for acidic food.), Resealable food bags (Use only bags intended for food; do not use with boiling water unless the manufacturer explicitly allows it.)
Results come exclusively from structured entries. No improvised instructions are generated.
Sources
Leave No Trace Center for Outdoor Ethics: The Seven Principles of Leave No Trace (Principle 5: Minimize Campfire Impacts)
Leave nothing behind, do not alter nature