Fire plough
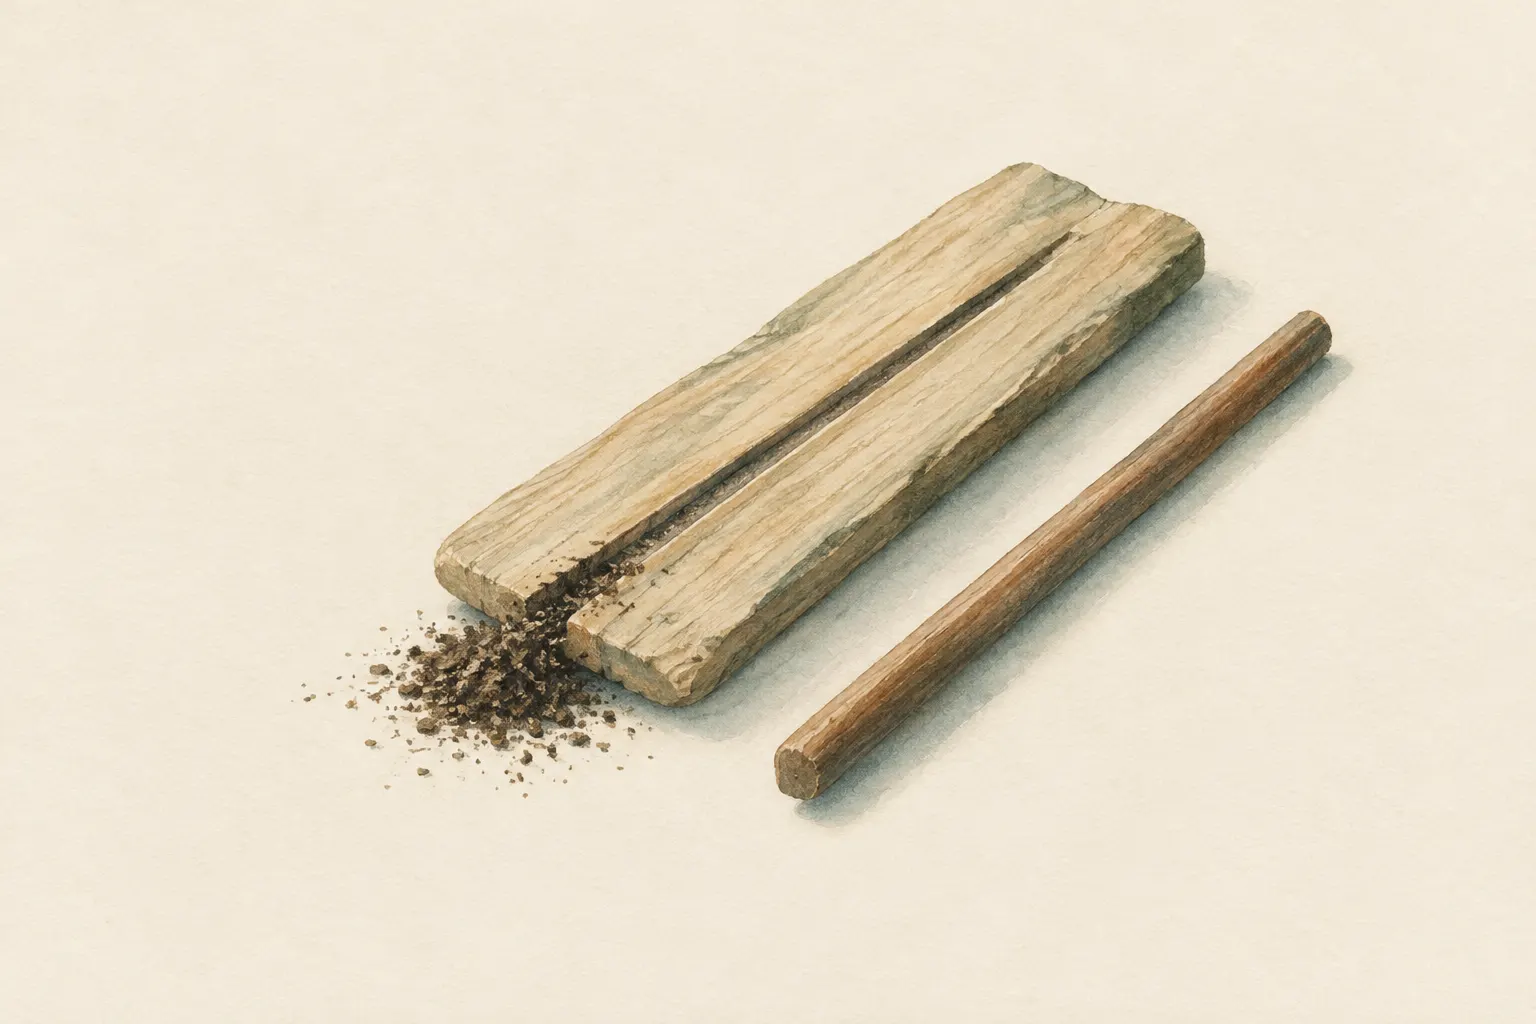
In the fire plough, the tip of a hard stick is rubbed vigorously back and forth in a groove in a softer piece of wood. The abraded dust collects at the end of the groove and can become an ember. The method needs little carving but a lot of strength, very dry wood and practice.
- Short but extremely strenuous; many failed attempts are normal
Explained simply
With the fire plough, you rub the tip of a hard stick very fast back and forth in a groove on a softer piece of wood – rather like a plough drawing a furrow through a field. Friction produces heat and fine wood dust.
The wood dust is pushed to the end of the groove and piles up there. When it gets hot enough, it starts to glow. You put this ember into a nest of dry fibres and blow it into a flame.
The method needs hardly any carving, but a great deal of strength, very dry wood and practice. In an emergency it is unreliable – so always carry a lighter or matches. And take care: the stick can slip, so keep your fingers and knees out of its path.
How it works
Like all friction methods, the fire plough turns movement into heat. The hard stick tip rubs under strong pressure in the groove of the softer base wood. Wood fibres are worn off and heated.
The fast back-and-forth strokes push the wood dust to the end of the groove. There it piles up, the dust insulates itself and heat builds up until it starts to smoulder. Unlike the bow drill, there is no notch; the groove itself and its end do that job.
For enough heat to build up, the base wood must be very dry and softer than the plough stick. If it is damp, the heat goes into evaporating water and no ember forms.
What really matters
Lay the base wood firmly on the ground so it does not slide, and rub a groove into it with the stick tip or carve one lightly first. At the end of the groove, place a piece of bark as an ember base. The tinder bundle lies ready beside it.
Hold the stick with both hands at a shallow angle and push it firmly and evenly back and forth in the groove – slowly at first, then faster and faster. Long, even strokes are better than short, hectic ones. Make sure the dust collects at the end of the groove instead of being pushed out of the groove by the stick.
When the dust at the end of the groove glows, transfer it on its base into the tinder bundle and blow it to flame. Many failed attempts are normal – even for the practised.
When it makes sense – and when not
The fire plough suits dry, warm regions above all, and skill training. Its advantage: it needs hardly any carving and no cord. Its drawback: it costs an extreme amount of strength in a short time.
In damp conditions, for exhausted people and as the only method in an emergency it is unsuitable. Friction fire is not a reliable emergency plan, because it succeeds only with suitable, dry wood and a lot of practice. Anyone who is cold or exhausted loses valuable energy with a failed attempt. That is why at least two modern ignition sources always belong in the pack.
Safety: what to watch out for
The stick can slip during the forceful strokes. Keep fingers, knees and feet out of its path and kneel so that you do not fall forward if it slips. Splinters in the palms are possible; a pair of sturdy gloves or well-smoothed wood helps.
The method is physically very demanding. Take breaks, drink enough and stop when you notice the effort exhausting you. As with any fire: check the local rules and the wildfire danger beforehand; fire bans apply to practice fires too.
Good to know
The fire plough is known above all from the Pacific region. Survival manuals describe it as a simple but exhausting friction method.
Like all friction methods, it is a training skill that teaches respect for fire and an understanding of materials – not a substitute for carried ignition sources. Anyone who compares the bow drill, hand drill and fire plough soon notices: in the end, what decides success with all three is dry, suitable wood.
Step by step
Make the groove
Lay the base piece firmly on the ground and rub or lightly carve a groove with the stick tip. Place a piece of bark at the end as an ember base.
- 1
Make the groove
Lay the base piece firmly on the ground and rub or lightly carve a groove with the stick tip. Place a piece of bark at the end as an ember base.
- 2
Plough
Hold the stick with both hands at a shallow angle and push it firmly and evenly back and forth in the groove, slowly at first, then faster and faster.
- 3
Transfer the ember
When the dust at the end of the groove glows, transfer it on its base into the tinder bundle and blow it to flame.
Common mistakes
- Damp base wood
- Short, uneven strokes
- Pushing the dust out of the groove instead of collecting it
Quick view
Materials
Sturdy sticks / poles
A hard plough stick and a dry, softer base piece
Do not cut live wood where prohibited.
Knife (fixed or locking blade)
Cut away from your body.
Rules on carrying knives differ by region – check local rules.
Tinder
Carry in waterproof packaging.
Do not use liquid accelerants as tinder.
Suitable for
- Dry, warm regions
- Skill training
Not suitable for
- Damp conditions
- Exhausted people
- Emergencies as the only method
Prerequisites
- Very dry, soft base wood
- Good physical condition
- Practice
Safety
- Friction fire is not a reliable emergency plan. It succeeds only with suitable, dry wood and a lot of practice, and it costs a lot of energy. Always carry at least two modern ignition sources.
- The stick can slip; keep fingers and knees out of its path. Splinters in the palms are possible.
How it works
Friction in the groove produces heat and wood dust. Fast back-and-forth strokes under strong pressure push the dust to the end of the groove, where it piles up, insulates itself and can start to smoulder.
Advantages
- Hardly any carving
- No cord needed
Disadvantages
- Very high physical effort
- Hardly successful in humid climates
- Unreliable
Deep knowledge
Background
The fire plough is known above all from the Pacific region. Survival manuals describe it as a simple but exhausting friction method.
Like all friction methods, it is a training skill, not a substitute for carried ignition sources.
Common mistakes
- Damp base wood
- Short, uneven strokes
- Pushing the dust out of the groove instead of collecting it
Limits and risks
- Works only with very dry, suitable wood
- High energy consumption
Material alternatives
Derived from material properties: a substitute must have all relevant properties. Observe the notes on the substitute.
- Tinder
- Dry firewood (Collect only where permitted.), Char cloth (charred cotton) (Store dry in a tin.), Finest-grade steel wool (Store separately from batteries – fire risk.), Fatwood (resin-rich wood) (Collect only dead wood where permitted.), Stove fuel (canister, liquid fuel, alcohol) (Store fuels apart from food and in original containers or bottles intended for them.), Petroleum jelly cotton balls (Use only pure cotton.)
Results come exclusively from structured entries. No improvised instructions are generated.
Sources
Headquarters, Department of the Army (USA) (2002): FM 3-05.70 Survival
Fire-plow as a friction method