Insulating water bottles: against freezing and as a hot water bottle
In frost water in a bottle freezes first at the lid and the surface. A cover made from a sock, hat or foam, carrying it close to the body and storing the bottle upside down keep it liquid longer. A suitable, leak-proof bottle of warm water can warm a sleeping bag – with care because of the scald risk.
- 5 minutes
Explained simply
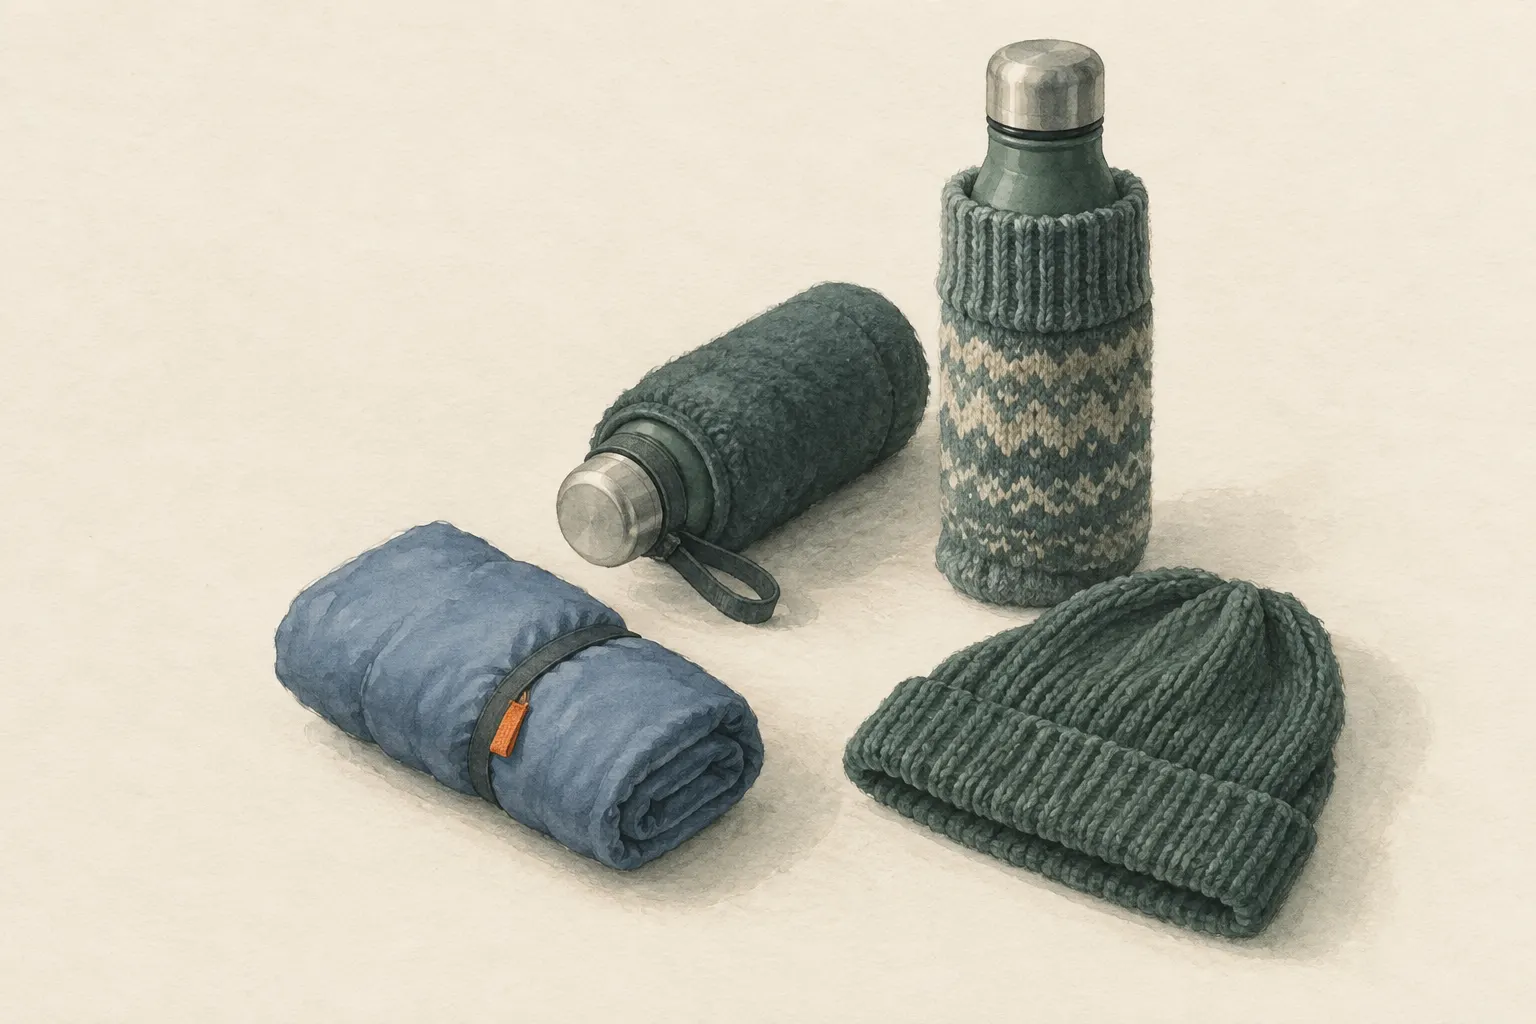
When it is freezing outside, the water in your bottle keeps losing heat to the cold air – until it turns to ice. A cover made from a thick sock or a hat is like a jacket for the bottle. The air trapped in the wool slows the loss of heat. Even better is carrying the bottle close to your body, because you are a little heater.
Ice usually forms first at the top, at the water surface and at the lid. If you stand the bottle in your backpack with the lid pointing down, the lid does not freeze shut so quickly and you can open it for longer. Check beforehand that it really does not leak.
A bottle of warm water can warm your sleeping bag at night. But careful: hot water can scald the skin badly. Only use bottles made for hot drinks, wrap them in a sock or cloth and do not put them directly against the skin. This is not suitable for babies and small children.
How it works
Heat always moves from warmer to colder, in three ways: by conduction (for example when the bottle stands on cold snow), by convection (when cold air or wind flows past it) and by radiation. A cover of wool, fleece or foam contains many small, trapped pockets of air. Still air conducts heat poorly, and that is why the cover slows all three routes.
There are two reasons why ice forms at the top first. The lid and the bottle neck are usually the most exposed to the cold air and often have no cover. Also, water is densest at about 4 °C; colder water rises to the top, and that is where it starts to freeze – which is also why lakes freeze from the top.
If you turn the bottle upside down, the water surface where the ice forms is at the bottom of the bottle and the thread stays clear for longer. How much time this gains depends on temperature and wind. But insulation only ever delays freezing – in severe frost over a long time, water will freeze anyway.
What really matters
Put the bottle into a thick sock, a hat, a piece of old sleeping pad or foam – and do not forget the lid, it should be covered too. Do not carry it in the outside side pocket of the backpack, where wind and cold hit it directly, but inside the pack close to your back, or a small bottle in an inside pocket of your jacket.
Before packing the bottle upside down, check that it does not leak: lid tightly closed, turn it over briefly and see whether anything runs out. Otherwise a leaking bottle soaks the contents of the pack, and wet gear is a real problem in the cold.
Where possible, start out with warm but not boiling water. Warm water takes longer to cool down and freeze. An insulated (vacuum) bottle keeps things warm far better than any improvised cover; a single-wall steel bottle can take hot water and is therefore also suitable as a hot water bottle.
The bottle as a hot water bottle
At night you can fill a suitable, leak-proof bottle with warm water, wrap it and place it by your torso or thighs in the sleeping bag. It warms you as you fall asleep, and in the morning you have liquid drinking water instead of a block of ice.
This also works at home if the heating fails: a wrapped warm bottle in bed can help. The rules stay the same: only bottles built for hot liquids, close the lid tightly and check for leaks, always use a cover.
You can work with snow too: a little clean snow in a still warm, half-full bottle melts without a stove. Treat the water according to its source, because snow is not automatically clean drinking water either.
Safety: what to watch out for
Hot water can cause serious scalds, and inside a sleeping bag you may notice a leak or too much heat only late. So only use bottles designed for hot liquids, close the lid tightly, check for leaks, wrap the bottle in a sock or cloth and do not place it directly on the skin.
Thin disposable plastic bottles are unsuitable for this: with hot water they deform and can leak. Boiling water never goes into a bottle like that.
For babies, small children and people who cannot feel heat well or cannot move away from it themselves, a hot water bottle in a sleeping bag or bed is not suitable. If a scald does happen: cool the area and for larger areas call the local emergency number (112 in the EU).
Typical situations
On winter hikes and winter camping trips, frozen drinking water is a common nuisance – and more than that, because if you do not drink you tire faster and get cold sooner. Mountaineering handbooks therefore recommend insulating bottles in winter and taking them into the sleeping bag at night.
During long waits in the cold, too – after a breakdown or at a bus stop, for example – a bottle in a cover close to your body makes sure you have something to drink. A warm drink from an insulated bottle is doubly welcome then.
And in a cold home when the heating has failed, a well-closed, wrapped hot water bottle can make the night more comfortable. But it does not replace warm clothing, blankets and – if things become critical – help from outside.
Step by step
Add a cover
Put the bottle into a thick sock, hat, a piece of sleeping pad or foam. The lid should be covered too.
- 1
Add a cover
Put the bottle into a thick sock, hat, a piece of sleeping pad or foam. The lid should be covered too.
- 2
Carry upside down
Stand the bottle cap down in the backpack – check beforehand that it does not leak.
- 3
Close to the body
Carry a small bottle in an inside pocket or in the backpack close to the back, not in an outside side pocket.
- 4
Start warm
Where possible start with warm (not boiling) water – it takes longer to freeze.
- 5
At night
For the sleeping bag fill a suitable, leak-proof bottle with warm water, wrap it and place it by the torso or thighs. In the morning you have liquid drinking water.
Common mistakes
- Bottle on the outside of the pack in frost
- Boiling water in a disposable bottle
- An unchecked lid in the sleeping bag
- A hot bottle directly on the skin without a cover
Quick view
Materials
Single-wall stainless steel bottle
Heat only single-wall bottles without paint/plastic; remove the lid before heating.
Never heat double-wall (vacuum-insulated) bottles – risk of rupture.
Double-wall insulated bottle
Never heat directly.
Dry spare clothing
Sock, hat or scarf as a cover
Carry it in waterproof packaging – wet clothing barely insulates.
Suitable for
- Winter hikes and winter camping
- A cold home during heating failure
- Long waits in the cold
Not suitable for
- Hot water bottles for babies, small children or people who cannot feel heat or move away from it
- Boiling water in thin disposable bottles
Prerequisites
- A leak-proof bottle with a screw cap
- For hot water: a bottle designed for it
Safety
- Thin disposable plastic bottles deform with hot water and can leak.
How it works
A bottle loses heat mainly through its surface to cold air and cold ground. A cover with trapped air slows this loss. Because ice forms first at the coldest, most exposed spot – often the lid and the water surface – an upside-down bottle keeps the thread ice-free for longer.
Advantages
- Drinking water stays available
- Extra warmth at night
- No special material
Disadvantages
- Only delays freezing
- Scald risk if handled wrongly
Deep knowledge
Background
Mountaineering handbooks such as "Mountaineering: The Freedom of the Hills" recommend insulating water bottles in winter and taking them into the sleeping bag at night. Heat transfer by conduction, convection and radiation explains why trapped air insulates.
The upside-down bottle is a widespread practical tip; how much time it gains depends on temperature and wind.
Variants
- Topping up with snow
- Adding a little snow to a still warm, half-full bottle melts it without a stove – use only clean snow and treat the water depending on its source.
Common mistakes
- Bottle on the outside of the pack in frost
- Boiling water in a disposable bottle
- An unchecked lid in the sleeping bag
- A hot bottle directly on the skin without a cover
Limits and risks
- No figures for how long water stays liquid
- Only limited effect in severe frost
Material alternatives
Derived from material properties: a substitute must have all relevant properties. Observe the notes on the substitute.
- Double-wall insulated bottle
- Single-wall stainless steel bottle (Heat only single-wall bottles without paint/plastic; remove the lid before heating.), PET bottle (clear, max. 2 litres) (Do not heat or place in a fire.), Food-grade water container (Only use containers that never held chemicals or fuel.), Airtight food-grade storage container (Fill only when clean and completely dry; never use containers that previously held chemicals.), Collapsible water container or bag (Protect from sharp objects.), Food-grade water bag (Use only for drinking water, never for chemicals or fuel.), Fermentation jar or crock (Use only food-grade containers of glass, food-safe glazed stoneware or food-grade plastic – no metal containers for acidic food.), Resealable food bags (Use only bags intended for food; do not use with boiling water unless the manufacturer explicitly allows it.)
- Dry spare clothing
- Sleeping pad, Dry leaves, grass or conifer boughs (Collect only where allowed; no protected plants. Check for ticks and insects.), Backpack, Wool blanket / duvet (Keep away from candles, stoves and heaters.), Insulated cool box (Keeps cold only for a limited time; without ice packs or ice it is not a fridge.), Sleeping bag (Do not store compressed long-term; do not pack away damp.), Newspaper and cardboard (Flammable – keep away from candles, stoves, heaters and embers.), Insulated cooking box (hay box, thermal cooker) (Never put open flame or embers inside – only the hot, closed pot.)
Results come exclusively from structured entries. No improvised instructions are generated.
Sources
The Mountaineers Books (2017): Mountaineering: The Freedom of the Hills, 9th edition
Insulating water bottles in winter and taking them into the sleeping bag
David Halliday, Robert Resnick, Jearl Walker – John Wiley & Sons: Fundamentals of Physics
Heat transfer and insulation by trapped air