Building and reading a simple rain gauge
A straight container with a flat bottom and vertical walls is a simple rain gauge: the water depth in millimetres equals the rainfall, and 1 mm of rain is 1 litre per square metre. This lets you estimate how much rainwater you can collect or how wet the ground is.
- 15 minutes, then read daily
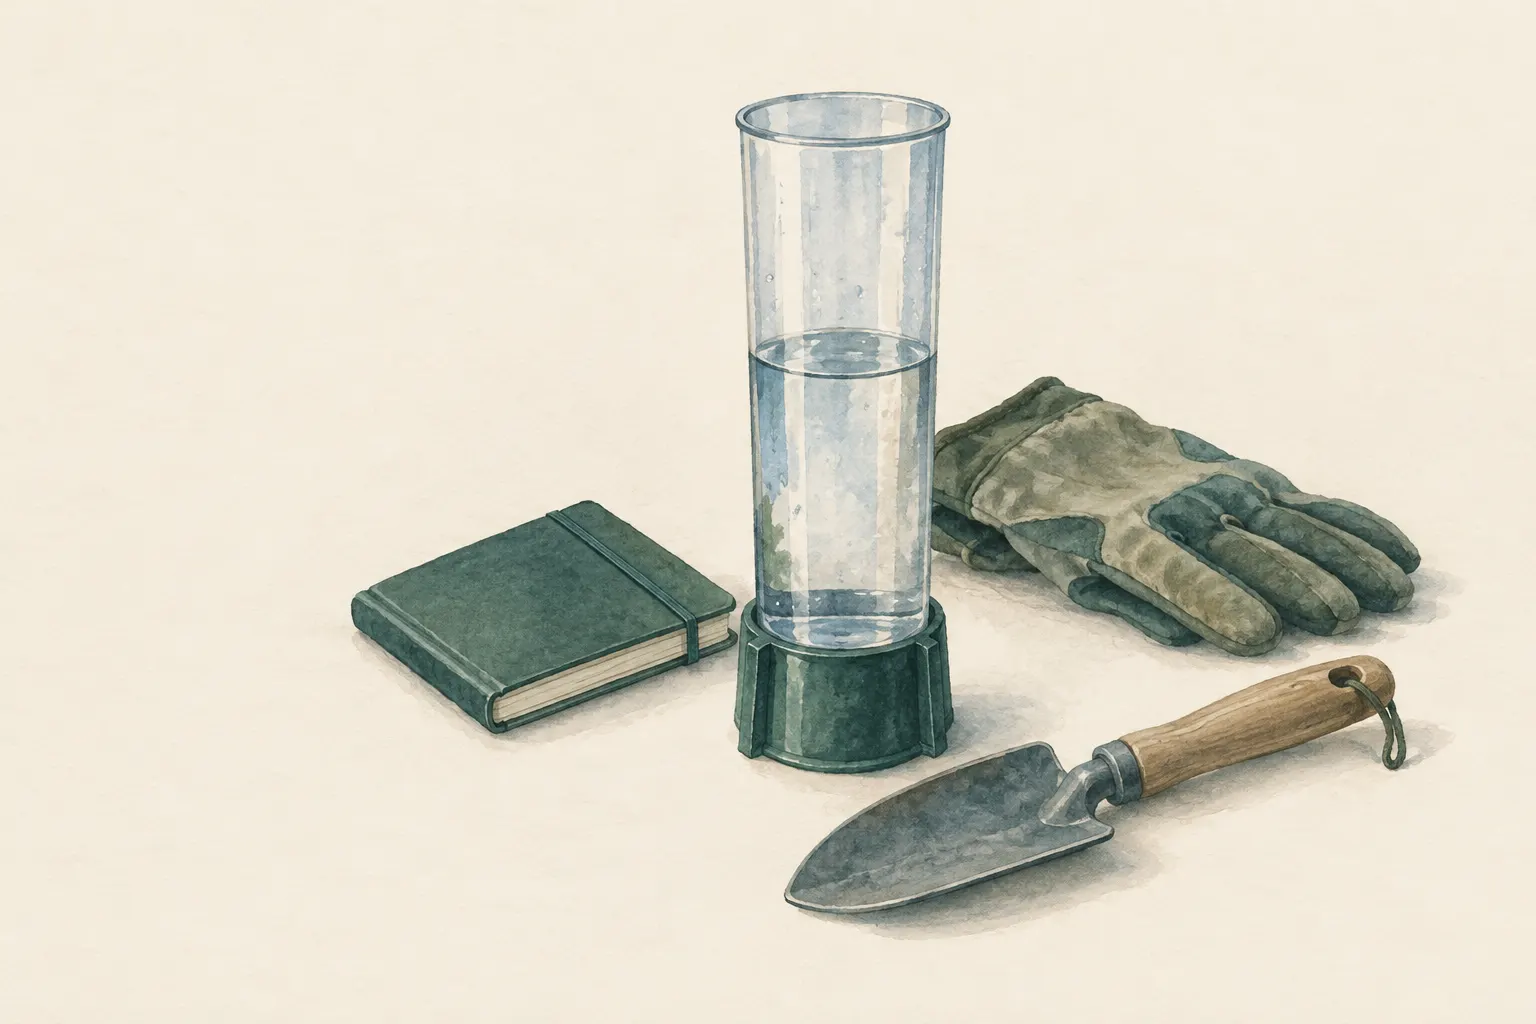
Explained simply
A rain gauge is really just a cup with straight sides that stands outside. When it rains, the rain falls equally everywhere – on the lawn, on the roof and into your cup. So the water in the cup stands exactly as high as it would on the whole ground if nothing could soak in or run away.
You simply measure with a ruler how high the water is. One millimetre of rain means: on an area of one metre by one metre – about the size of a small table – a whole litre of water has come down. That is why people also say "litres per square metre".
Important: your rain gauge is an exciting tool for observing, but it is not a warning system. In heavy rain or when there is a flood risk, listen to the official warnings on the radio or in warning apps.
How it works
The calculation is simple: one square metre of area times one millimetre of height makes exactly one litre. So if 5 mm of rain falls, 5 litres of water have landed on every square metre. That applies to any area, however large – including the small opening of your cup.
For this to be right, your container needs vertical walls. Then the opening at the top is the same size as the base, and the water stands as high as it would on the ground outside. A glass that widens towards the top, or a bottle with a curved base, distorts the result.
If your container has a funnel whose opening is wider than the vessel below, it collects rain from a larger area. Then you must convert: rainfall equals the collected volume of water divided by the area of the funnel opening. An example: a round opening 10 cm across has an area of just over 78 cm². So one millimetre of rain brings just under 8 millilitres of water into it.
How to build it
A smooth, cylindrical plastic bottle works well. Cut off the curved top. The base of many bottles is domed or has little feet, so fill it with some sand, gravel or plaster up to the point where the wall becomes straight. That level is your zero point.
Tape a ruler to the outside of the bottle from the zero point, or draw millimetre marks with a waterproof pen. You can put the cut-off top back in upside down as a funnel. Because it is just as wide as the bottle, you do not need to convert, and the funnel reduces evaporation.
So that the gauge does not fall over, bury it partly or fix it to a post. It must stand upright, and the opening should be level, otherwise it catches too much or too little depending on the wind direction.
What really matters: the right spot
The location determines the accuracy. Set the gauge up outdoors, well away from buildings, trees and fences. Obstacles shield rain or channel extra drops in – under a tree you measure too little, under the edge of a roof far too much.
Wind also plays a part. In a very windy, open spot, drops are blown over the opening and the gauge catches less than actually falls. A slightly sheltered spot in an open garden is therefore often better than the highest, windiest place.
The World Meteorological Organization describes in its guidelines how official rain gauges are built and sited, and stresses the distance from obstacles. Even so, a homemade gauge only gives approximate values and is not directly comparable with official measurements.
Reading and recording
Read the gauge at the same time every day, for example in the morning. Bring your eyes level with the water surface, otherwise you read at an angle and get it wrong. The surface often curves up slightly at the edge; read it in the middle. Write down the value with the date and then empty the container.
Do not leave the water standing for days. In warm weather it evaporates and you measure too little. Mosquitoes can also lay eggs in standing water – another reason to empty it regularly.
To measure snow, let it melt in the container indoors and then read the water depth. You will be surprised: the meltwater stands much lower than the snow cover outside, because snow contains a lot of air.
What you can use the readings for
For rainwater use you can roughly estimate how much water comes off the roof: rainfall in millimetres times roof area in square metres gives approximately the litres that can run off. In practice less reaches the water butt, because water evaporates, splashes or runs past the gutter. Collected rainwater is utility water – to drink it, it would first have to be treated and disinfected.
In the garden, the rain gauge helps with watering: you can see whether it really rained enough or only drizzled briefly. On trips or outings, a series of readings can show how wet paths and ground are after several rainy days.
What it cannot do: warn you. A homemade rain gauge is not a flood or severe weather forecast. In heavy rain, pay attention to official warnings, warning apps and the radio and follow the authorities' advice. As a project with children, on the other hand, the rain gauge is wonderful: it makes weather measurable and shows how science works.
Step by step
Prepare the container
With a bottle cut off the curved top; the bottom should be flat or levelled with some sand or plaster up to the first straight section. That level is the zero point.
- 1
Prepare the container
With a bottle cut off the curved top; the bottom should be flat or levelled with some sand or plaster up to the first straight section. That level is the zero point.
- 2
Add a scale
Attach a ruler from the zero point on the outside or mark millimetre lines with a waterproof pen.
- 3
Set it up
Set it up outdoors, well away from buildings, trees and fences that shield rain or drip onto it. Fix it upright and stable, e.g. partly buried or on a post.
- 4
Read
Read at the same time each day at eye level, note the value and empty it. Water evaporates in warm weather – do not leave it too long.
- 5
Use the data
Rainfall in mm × roof area in m² gives a rough number of litres that can run off the roof; in practice less reaches the barrel.
Common mistakes
- Container under a tree or against the house wall
- Measuring from a curved bottom
- Funnel wider than the container without converting
- Reading only occasionally
Quick view
Materials
PET bottle (clear, max. 2 litres)
Smooth, cylindrical part
Do not heat or place in a fire.
Labels and waterproof marker
Suitable for
- Garden and rainwater use
- Weather observation with children
- Estimating whether paths or ground are saturated after rain
Not suitable for
- Flood warnings – use official warnings for that
- Precise measurements for science or insurance
Prerequisites
- A container with vertical walls
- A ruler or tape measure
Safety
- A homemade rain gauge does not replace official severe weather and flood warnings. During heavy rain follow warning apps, radio and official advice.
How it works
Rain falls evenly on an area. In a container with vertical walls the opening is the same size as the base, so the water stands exactly as high as it would on open ground. One litre on one square metre makes a layer one millimetre deep. If the container has a funnel wider than the body, you must convert: rainfall = collected volume ÷ area of the funnel opening.
Advantages
- Practically free
- Helps plan rainwater use
- Good for children and school
Disadvantages
- Inaccurate in wind and with evaporation
- Not a warning system
Deep knowledge
Background
The World Meteorological Organization describes the construction and siting of precipitation gauges, including the importance of distance from obstacles, in its "Guide to Instruments and Methods of Observation" (WMO-No. 8).
A homemade gauge only gives approximate values. Standardised instruments are needed for comparison with official data.
Variants
- Snow
- Let snow in the container melt indoors and then read the water depth. The meltwater is much lower than the snow depth.
Common mistakes
- Container under a tree or against the house wall
- Measuring from a curved bottom
- Funnel wider than the container without converting
- Reading only occasionally
Limits and risks
- Approximate values only
- No flood or severe weather forecast
Sources
World Meteorological Organization (WMO): Guide to Instruments and Methods of Observation (WMO-No. 8)
Construction and siting of precipitation gauges