Sharpening and caring for garden tools: spade, hoe, secateurs
A sharp spade digs more easily, a sharp hoe cuts weeds instead of tearing them, sharp secateurs do not crush shoots. Sharpening with a file or stone, cleaning, oiling and a sound handle greatly extend a tool's life – without machines and with few tools.
- 10–20 minutes per tool
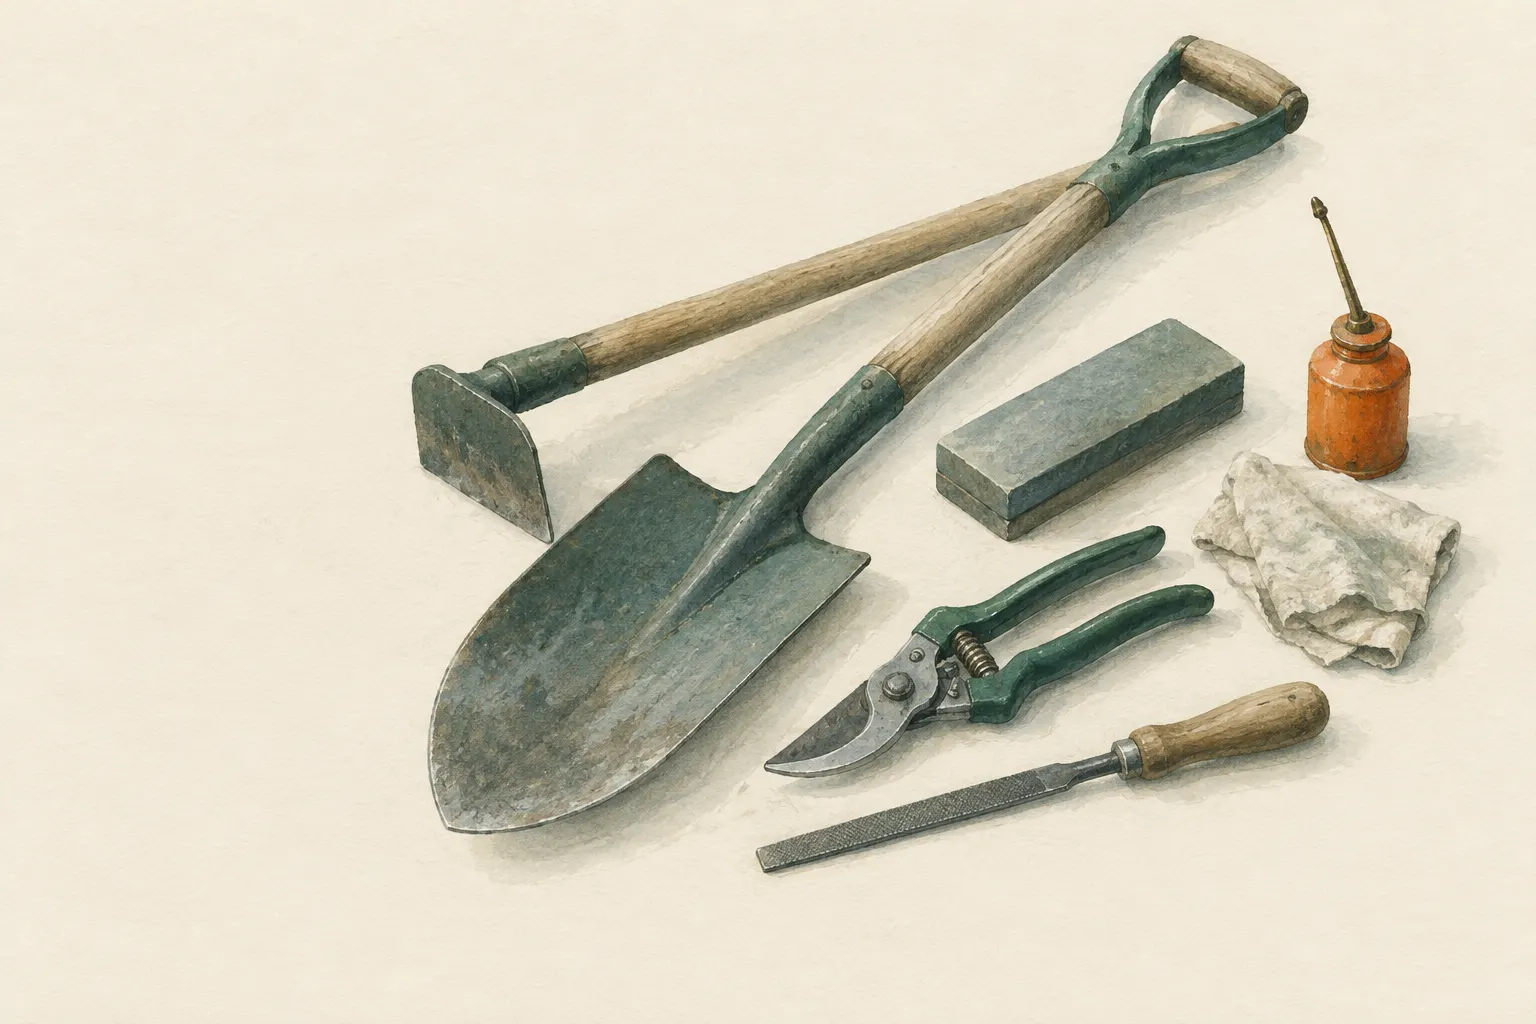
Explained simply
Imagine trying to cut bread with a blunt knife. You press and press, and in the end the bread is squashed. Garden tools are the same: a blunt spade slides over the soil, a blunt hoe rips weeds out instead of cutting them, and blunt secateurs crush twigs so the plant heals less well.
An edge is the thin line where two faces of the metal meet. With use, that line becomes rounded over time. With a file – a metal bar with lots of tiny teeth – you take away a little metal until the edge is fine again. Afterwards the tool is cleaned and lightly oiled so it does not rust.
Safety first: the tool is clamped firmly, for example in a vice, and you always file away from your body. Gloves protect your fingers, safety glasses protect your eyes from bits of rust and metal.
How it works
Every edge consists of two faces that meet at an angle. The ground, sloping face is called the bevel. The flatter the angle, the sharper but also the more fragile the edge. A spade that hits stones and roots therefore needs a robust, rather blunt bevel; secateurs that should glide cleanly through shoots need a finer one.
When filing, you remove metal only on the bevel until a tiny burr forms at the edge – a thin lip of metal you can feel with a fingernail on the back. The burr shows that the bevel reaches right to the edge. It is then taken off with a flat stroke on the back.
On secateurs with two blades that slide past each other, one side of each blade is flat. This flat side must stay flat so the blades sit closely together and cut cleanly. Grinding it creates a gap in which twigs get jammed.
What really matters
The most important rule: keep the existing bevel. You do not need to measure an angle; lay the file so it sits flat on the old bevel and follow that angle. Even, calm strokes in one direction are better than hectic rubbing back and forth.
Digging tools do not need razor sharpness. A clean working edge is enough and lasts longer. Spade edges ground too thin bend or chip on the first stone.
Be careful with electric grinders: they heat the metal quickly. If it gets too hot and changes colour, it can lose its hardness and then go blunt faster. With a file and stone by hand this does not happen – which is why hand work is usually the better choice for garden tools.
Safety: what to watch out for
The tool belongs firmly in a vice or other stable clamp, not in your hand. Otherwise, if the file slips, it lands on your fingers. File away from your body and keep your free hand behind the edge.
Cut-resistant gloves protect you when sharpening shears and blades. Fine particles fly when brushing off rust and grinding – safety glasses stop them getting into your eyes. Freshly sharpened tools are sharp: carry them edge down and do not lean them against a wall where someone could walk into them.
Chainsaw chains and blades of powered machines are a separate subject. For those, follow the manufacturer's manual or go to a specialist.
Care beyond sharpening
Rust forms when iron stays damp for a long time. So the most important care is very simple: wash or scrape off soil after work, let the tool dry and oil it lightly. A bucket of sand lightly soaked with oil is an old trick: push the spade into it a few times, the sand scours off the soil and the oil protects. Use vegetable oil or another environmentally suitable oil for this, because residues end up back in the bed.
Wooden handles dry out over time and crack. A cracked handle can snap while digging, and the splinters injure your hands. Check handles regularly, smooth rough spots and treat them with linseed oil from time to time. Loose handles are fixed or replaced.
Store tools dry and hanging, not wet on the floor of the shed. At the end of the season a thorough care day pays off – then everything is ready to use straight away in spring.
How to practise it
It is best to start with a simple tool such as a hoe or an old spade. Look closely at the bevel, lay the file on it and feel when it sits flat. A thick felt-tip pen helps: colour the bevel and after a few strokes you can see whether the file is catching the whole face or only part of it.
Secateurs are harder because the blades are small and precise. It is worth practising on an old pair first or having the technique shown to you in a course or repair café. Once you have understood it, a tool usually takes only a few minutes.
Step by step
Clean
Wash off soil, dry and remove rust with a wire brush or abrasive pad. Take shears apart if possible.
- 1
Clean
Wash off soil, dry and remove rust with a wire brush or abrasive pad. Take shears apart if possible.
- 2
Clamp
Clamp the tool so the existing bevel is easy to reach.
- 3
Restore the bevel
Push the file at the angle of the existing bevel in one direction away from the body, working only the bevel. For spades and hoes a working edge is enough, not a razor.
- 4
Remove the burr
Take off the burr on the back with a flat stroke of the file or stone. On shears only lay the flat side flat.
- 5
Oil and check the handle
Oil the metal lightly, check wooden handles for cracks and treat with linseed oil if appropriate. Fix or replace loose handles.
Common mistakes
- Grinding the flat side of secateurs
- Overheating with an angle grinder and softening the metal
- Holding the tool in the hand instead of a vice
- Hanging it up wet in the shed
Quick view
Materials
Flat file and sharpening stone for garden tools
Only use files with a handle; otherwise the tang can stab the hand.
Tool oil / care oil
Rags soaked in drying oils (e.g. linseed oil) can self-ignite – lay them out flat to dry or dispose of them in water in a closed metal container.
For blades that touch food, use a food-safe oil.
Sturdy work gloves
When handling flood mud or chemicals, also wear waterproof gloves.
Close-fitting safety goggles
Suitable for
- Spades, hoes, shovels, secateurs, loppers
- Start and end of the season
Not suitable for
- Chainsaw chains and blades of powered mowers – follow the manual or use a specialist
- Toothed saws without experience
Prerequisites
- A vice or other secure way to clamp the tool
- Work gloves
Safety
- Clamp the tool firmly and file away from the body. Wear cut-resistant gloves when sharpening shears and blades.
- Wear safety glasses when wire-brushing or grinding – rust and metal particles can fly into the eyes.
How it works
An edge is the line where two surfaces meet. Use rounds it off. A file or stone removes metal until a fine edge forms again. Digging tools need a robust, rather blunt bevel, shears a finer one – and only on the bevelled side, so the blades still slide closely past each other.
Advantages
- Easier work
- Longer tool life
- Few tools needed
Disadvantages
- Takes some practice to hold the right angle
Deep knowledge
Background
Gardening handbooks such as the "RHS Encyclopedia of Gardening" describe the care and storage of garden tools; Leonard Lee's "The Complete Guide to Sharpening" explains sharpening principles for many types of tool.
In a crisis when replacements are hard to get, well-kept hand tools are a simple form of preparedness.
Variants
- Sand-and-oil bucket
- A bucket of sand lightly soaked with oil is a traditional way to clean digging tools after use and protect them from rust. Use vegetable oil or an environmentally suitable oil.
Common mistakes
- Grinding the flat side of secateurs
- Overheating with an angle grinder and softening the metal
- Holding the tool in the hand instead of a vice
- Hanging it up wet in the shed
Limits and risks
- No instructions for powered tools
- No exact angles – keep the existing bevel
Sources
Royal Horticultural Society – Dorling Kindersley: RHS Encyclopedia of Gardening
Care and storage of garden tools
Leonard Lee – The Taunton Press (1995): The Complete Guide to Sharpening
Sharpening principles: bevel, burr, angle