Measuring tracks: print size, trail width, stride and groups
Measurements make trails comparable and identifications checkable. You measure the length and width of the print, the trail width, the distance between prints or groups and, for bounding animals, the group length. Because field guides define terms such as 'stride' differently, always note which definition you use.
- 10–20 minutes per trail
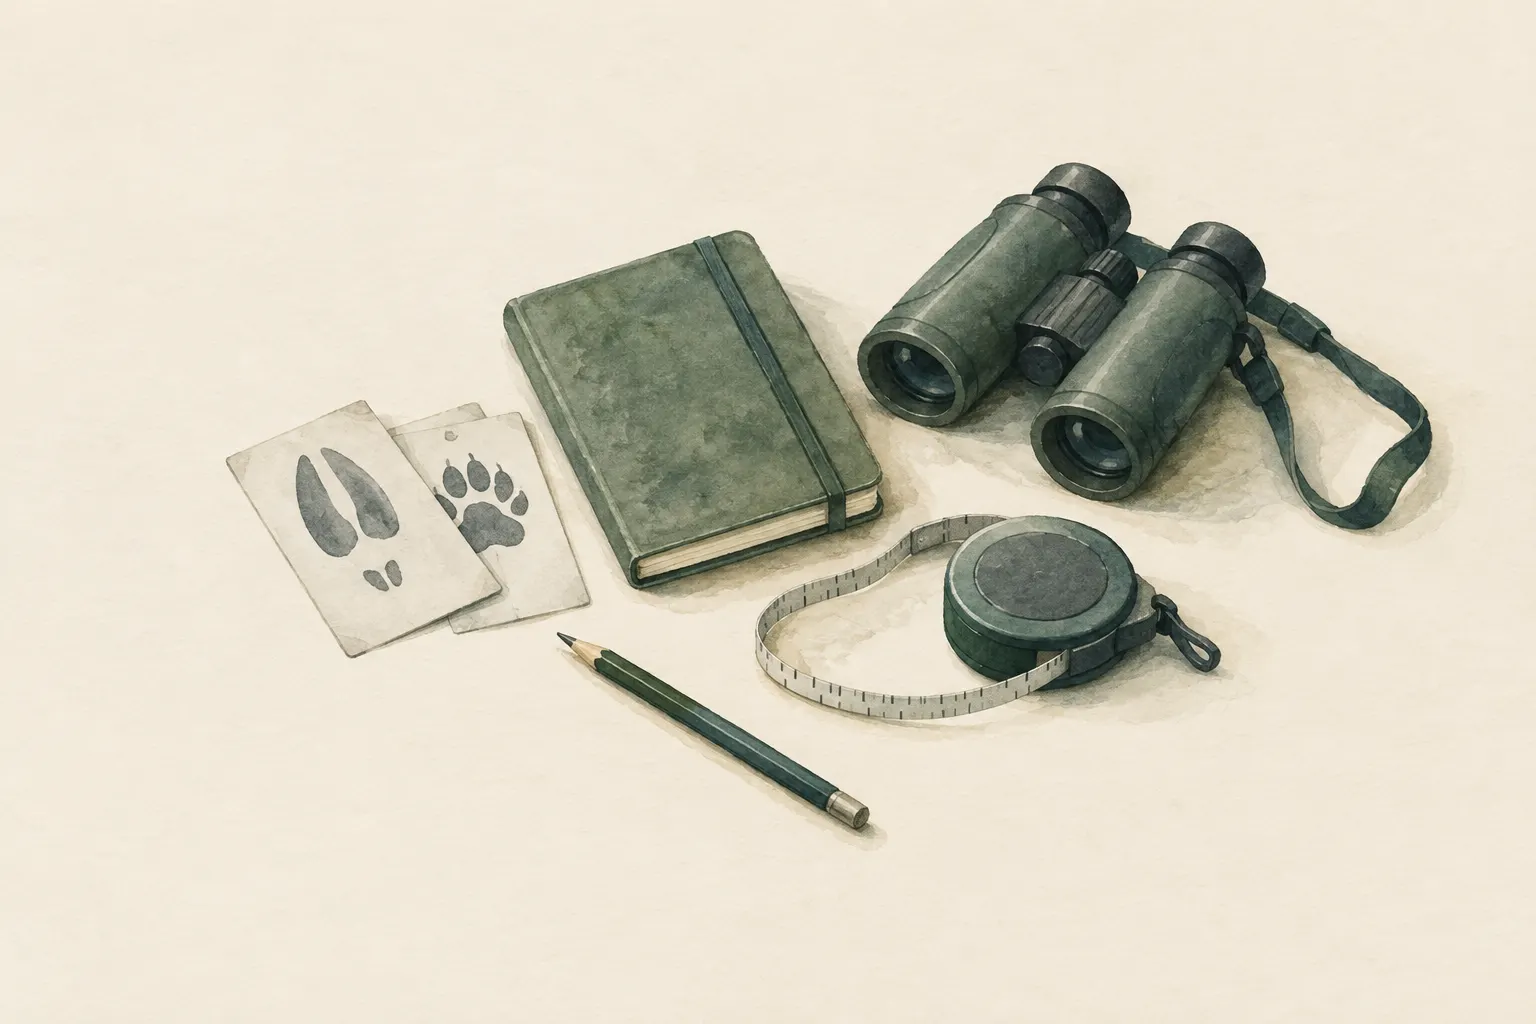
Explained simply
When you find an animal track, you can guess who made it – or you can measure. Measuring is like a detective who does not just say “that was a big shoe” but “size 9”. With a tape measure you measure how long and wide a single print is, how wide the whole trail is and how far apart the prints are.
But a single measurement says little. An animal that runs takes bigger leaps than one that walks slowly. So you measure several prints in a row and write down the smallest and the largest value. You can then compare this range with an identification book.
An important tip: different books sometimes mean different things by the same word. So write down which book you are measuring by. And watch your surroundings while measuring – not at the roadside or on ice.
How it works
The size and spacing of prints depend on three things: how big the animal is, which gait it uses (walking, trotting, bounding, galloping) and how fast it is. A bigger animal has bigger feet and longer legs; a faster animal places its feet further apart. Because these influences overlap, you need several measurements to narrow down an animal.
Trail width is particularly useful: the distance across the direction of travel from the outer edge of the left prints to the outer edge of the right prints. It depends mainly on how broadly the animal is built and stays more stable than stride length at changing speeds. That is why it is often the most reliable value, especially in snow, where individual prints are blurred.
In animals that bound or gallop, several feet often land close together and form a group. Then you measure the length of such a group and the distance from one group to the next. For walking or trotting animals, you measure the distance between consecutive prints.
What really matters: fixing the definitions
It sounds petty but it is crucial: field guides define terms differently. Some measure the length of a print with claws, others without. Some understand “stride” as the distance to the next print, others as the distance to the next print of the same foot – which is then roughly twice as much. Anyone who compares measurements from one book with the measuring method of another book will reach wrong conclusions.
So decide on one field guide before measuring and write the definitions in your notebook. In “Mammal Tracks & Sign”, Elbroch describes a consistent approach and measurement ranges for North American species; European species have their own field guides, some with different definitions. What matters is not which method you choose but that you always use the same one.
Always measure the print at its greatest length and width, and on the clearest print of the trail. Front and hind feet differ in size in many animals; if you can tell them apart, measure them separately.
How to practise it
Find a trail with several consecutive prints, for example in snow, damp sand or on a farm track after rain. If needed, mark prints with small sticks so you do not lose count. Then measure at least five values in a row: print length and width, trail width and spacing.
Do not write down only an average but the smallest and largest value, plus substrate, gait, date and weather. Also take photos: one straight down with the tape in the image plane, and an overview showing several prints of the trail. That way you can check later what you measured.
A good start is to measure known animals: your own dog, the neighbour's cat in a tracking plot, or your own shoes when walking slowly and quickly. That shows you how much spacing changes with speed, while trail width changes less.
When it makes sense – and when not
Measuring is worthwhile when you want to identify a track with a field guide, when you keep a tracking journal or take part in a monitoring or citizen-science project. Measurements make your observations traceable for others and comparable over years.
With single, blurred prints or thawed snow tracks, by contrast, measuring achieves little – the values would be distorted. And even good measurements are only an aid, not proof: the ranges of different species often overlap. Only the overall picture of print, trail, habitat and other signs leads to a reliable identification.
Safety: what to watch out for
When measuring you look down for a long time and easily forget your surroundings. So do not work at roadsides, on bank edges or on ice. At dusk it is better to stay on paths, because you see obstacles less well and others see you less well.
If a trail leads into rough terrain, let it end where it is safe for you. An incomplete series of measurements is better than a sprained ankle or wet feet in the cold.
Step by step
Fix the definitions
Decide beforehand which field guide you measure by: is length measured with or without claws? Is 'stride' the distance to the next print or to the next print of the same foot? Note it in your notebook.
- 1
Fix the definitions
Decide beforehand which field guide you measure by: is length measured with or without claws? Is 'stride' the distance to the next print or to the next print of the same foot? Note it in your notebook.
- 2
Measure the print
On the clearest print measure maximum length and width; front and hind feet separately if distinguishable.
- 3
Trail width
Measure across the direction of travel from the outer edge of the left prints to the outer edge of the right prints.
- 4
Spacing
For walkers measure the spacing between consecutive prints; for bounders the spacing between groups and the group length. Record at least five values in a row.
- 5
Record the range
Note the smallest and largest value as well as substrate and gait; take a photo with the tape for scale.
Common mistakes
- Measuring only one print
- Mixing definitions from different books
- Measuring melted snow tracks
- Not noting substrate and gait
Quick view
Materials
Tape measure or folding rule
Field notebook and pencil
Sturdy sticks / poles
As marker sticks
Do not cut live wood where prohibited.
Mobile phone
The battery drains quickly in cold and with continuous screen and GPS use.
Do not plan on it as your only means of navigation or emergency calls.
Suitable for
- Identification with a field guide
- Tracking journal
- Monitoring and citizen science
Not suitable for
- Single, blurred prints
Prerequisites
- A trail with several consecutive prints
Safety
- Stay aware of your surroundings while measuring: avoid roadsides, banks and ice; do not work off-trail at dusk.
How it works
Print size and spacing depend on body size, gait and speed. A single measurement says little; a series of measurements gives a range that can be compared with field-guide figures. Trail width stays more stable than stride length at changing speeds and is therefore particularly informative.
Advantages
- Traceable identifications
- Comparable across time and places
Disadvantages
- Time-consuming
- Measurements overlap between species
Deep knowledge
Background
In 'Mammal Tracks & Sign', Elbroch describes a consistent approach to measuring prints and trails and gives measurement ranges for North American species. European species have their own field guides, some with different definitions.
Measurements are an aid, not proof – the overall picture of print, trail, habitat and sign decides.
Variants
- Photo documentation
- Photograph straight down with the tape in the image plane, plus an overview photo of the trail with several prints.
Common mistakes
- Measuring only one print
- Mixing definitions from different books
- Measuring melted snow tracks
- Not noting substrate and gait
Limits and risks
- No measurement tables for individual species
- Definitions differ between field guides
Material alternatives
Derived from material properties: a substitute must have all relevant properties. Observe the notes on the substitute.
- Mobile phone
- Headlamp / flashlight, Battery lantern / LED light
Results come exclusively from structured entries. No improvised instructions are generated.
Sources
Mark Elbroch – Stackpole Books (2003): Mammal Tracks & Sign: A Guide to North American Species
Measuring prints, trail width, spacing and groups