Keeping and carrying embers
Before matches existed, fire was often carried as embers – in containers with slowly smouldering natural material. These traditional methods are interesting historically but risky and unnecessary today: a lighter in your pocket is safer. This entry describes the principle only in general terms.
- Depends heavily on material and distance
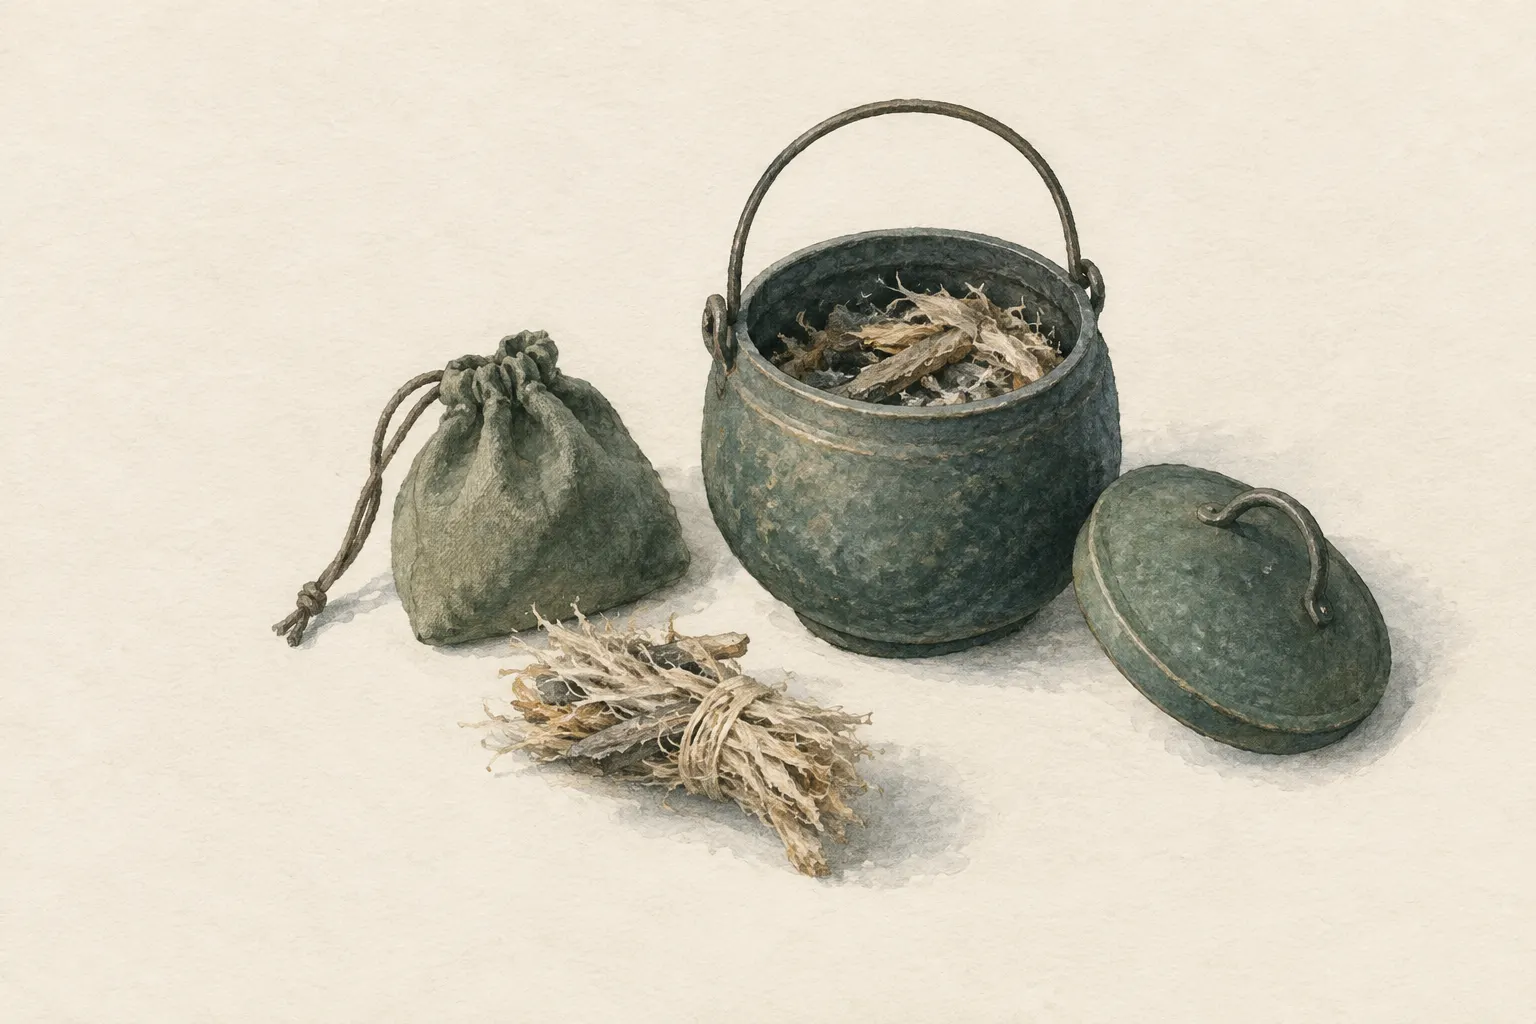
Explained simply
A long time ago there were no lighters and no matches. Making fire was hard. So people often took their fire with them: they put a piece of ember into a container with material that keeps smouldering very slowly and carried it to the next camp.
That is an exciting piece of history. Today, though, it is risky and unnecessary. Carried embers can set clothing, luggage or dry grass alight without you noticing. A lighter in your pocket is much safer.
That is why this entry only explains how the principle works – not how to copy it. Embers never belong in a backpack, tent or car.
How it works
An ember is like a very slow fire. It needs a little but constant supply of oxygen, and it needs fuel that keeps smouldering slowly instead of flaring up. If it gets too much air, the material burns quickly and is soon used up. If it gets no air at all, it suffocates.
So an ember container has to sit exactly in between: a vessel that does not burn, with a few small openings for a little air. Inside, the ember is bedded in dry, dense or charred material that slowly smoulders on. That way it can survive for a while – but only for a limited time, and you have to check it again and again along the way.
Good to know: history
Archaeological and ethnographic accounts show that many cultures carried fire as embers over distances – for example in horns, shells or vessels with smouldering material. For people who had to make fire laboriously with flint or friction, this was a big advantage.
With the glacier mummy from the Ötztal Alps, known as ‘Ötzi’, a birch-bark container with remains of charcoal was also found, which according to a widely held interpretation may have been used to carry embers. Traditionally, certain tree fungi or plant parts were also used to carry embers. This atlas, however, deliberately does not describe how to identify fungi or plants.
Safety: what to watch out for
Carried embers are an open fire in a container. The container gets hot, and sparks or bits of ember can fall out. They can ignite clothing, luggage and dry vegetation – often unnoticed, while you are already walking on. So never in a backpack, never against your body, never in a tent or vehicle, and never during a fire ban or in dry vegetation.
Embers produce carbon monoxide, an invisible, odourless gas that can be fatal. So an ember container does not belong in a tent, snow shelter or enclosed room either, not even for warmth.
If you want to move a fire from one permitted fire site to another only a few steps away, use a shovel or a fireproof vessel and carry it straight there. For everything else: light a new fire. Always check the local rules.
What to do instead today
The modern answer to the old problem is simple: carry at least two different ignition sources, stored in different places – for example a lighter in your jacket pocket and matches in a waterproof bag in your pack. A ferro rod is a robust third option.
Add some dry tinder that still works after rain. If you are prepared like this, you do not need to carry embers. The knowledge about ember carriers is still valuable: it shows how important fire has always been for people and how well our ancestors understood nature.
Step by step
Container
Use a non-flammable container (metal tin) with a few small air holes.
- 1
Container
Use a non-flammable container (metal tin) with a few small air holes.
- 2
Ember bed
Put in some dry ash or charred material, bed the ember on it and cover it loosely.
- 3
Check
Check regularly along the way that the ember is alive, and carry the container only by a handle or wire – it gets hot.
- 4
Revive
At the destination, place it in a tinder bundle and blow.
Common mistakes
- An airtight container – the ember suffocates
- Too much air – the material burns up quickly
- Carrying the container against the body or in luggage
Quick view
Materials
Small metal tin with lid
Burn off coated or painted tins outdoors first.
Gets very hot in a fire.
Suitable for
- Historical understanding
- Short distances between two permitted fire sites
Not suitable for
- Dry vegetation, fire bans
- Carrying in a pack, tent or vehicle
- Replacement for lighters and matches
Prerequisites
- Embers from an existing, permitted fire
- A non-flammable, ventilated container
Safety
- Traditionally, certain tree fungi or plant parts were also used to carry embers. This atlas does not describe identification of fungi or plants.
How it works
Embers need a little but steady oxygen and a material that continues to smoulder slowly. A container with small openings limits the air supply; dry, dense or charred material keeps the ember alive for some time.
Advantages
- No ignition source needed if embers exist
Disadvantages
- High fire risk
- The ember can go out on the way
- Modern ignition sources are safer
Deep knowledge
Background
Archaeological and ethnographic accounts show that many cultures carried fire as embers over distances, e.g. in horns, shells or vessels with smouldering material.
Today this knowledge is mainly of historical interest. In practice: carry two modern ignition sources in different places.
Common mistakes
- An airtight container – the ember suffocates
- Too much air – the material burns up quickly
- Carrying the container against the body or in luggage
Limits and risks
- Only for a limited time
- General description, no material identification
Material alternatives
Derived from material properties: a substitute must have all relevant properties. Observe the notes on the substitute.
- Small metal tin with lid
- Single-wall stainless steel bottle (Heat only single-wall bottles without paint/plastic; remove the lid before heating.)
Results come exclusively from structured entries. No improvised instructions are generated.
Sources
USDA Forest Service / Ad Council / National Association of State Foresters: Campfire Safety (Smokey Bear wildfire prevention campaign)
Embers can still start a fire long afterwards