Repairing zips and buckles on the move
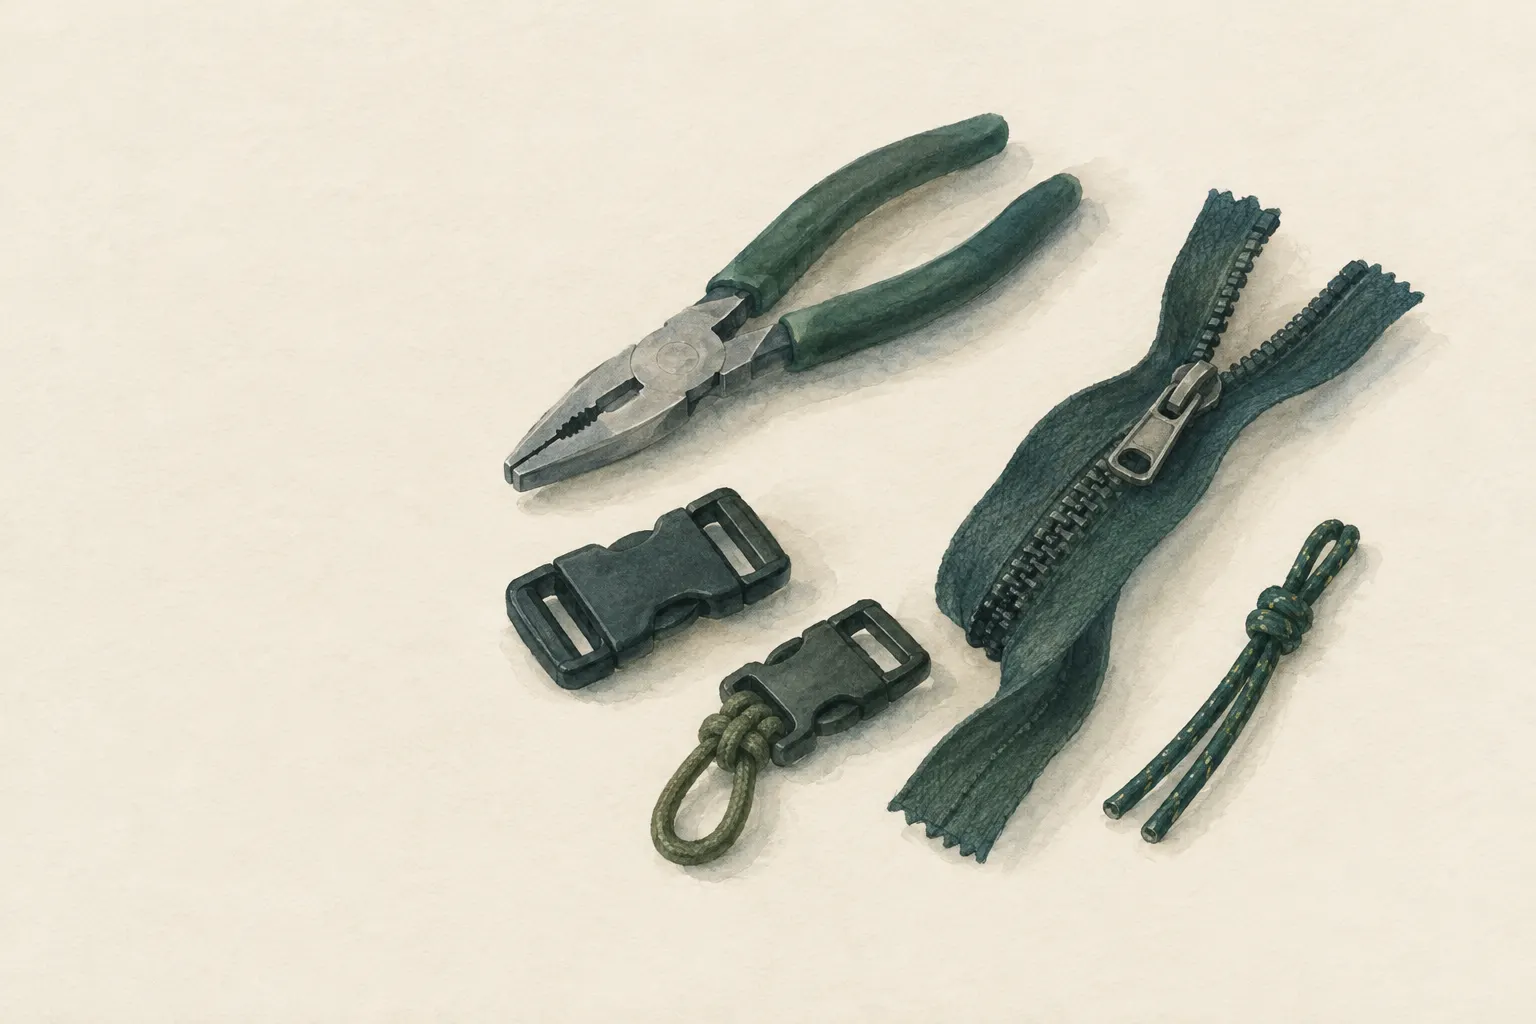
A zip that opens again behind the slider usually has a worn slider – carefully squeezing it with pliers often helps. A missing pull can be replaced with cord. Broken side-release buckles on a backpack or bag can be replaced temporarily with a knot or a cord loop.
- 5–20 minutes
Explained simply
A zip has two rows of little teeth that hook into each other like tiny hooks. The slider – the part you pull – is like a small wedge: it presses the teeth together so they lock. If the slider gets a little wider over time, it no longer presses firmly enough. Then the zip opens again right behind the slider.
It often helps to squeeze the slider very carefully, just a tiny bit, with small pliers. If the tab you pull on is missing, you simply thread a piece of cord through. And if a side-release buckle on a backpack has broken, you replace it with a knot or a cord loop.
But: buckles on safety equipment – a bike helmet, a climbing harness, a child seat, a life jacket – are never repaired yourself. Things like that must be replaced, because your life may depend on them.
How it works
Inside the slider there is a channel shaped like a Y. At the top the two rows of teeth come in separately; at the bottom they come out joined. When closing, the channel guides the rows towards each other at an angle and presses them together so that each tooth engages in the gap opposite. When opening, the central divider inside the slider separates the rows again.
The slider is made of two plates, top and bottom, joined by this divider. Through frequent use, strain on the fabric or sand in the zip, the plates bend apart very slightly over time. Even a tiny extra gap is enough for the teeth no longer to be pressed together firmly. Gently squeezing the plates restores the original gap.
A side-release buckle does something much simpler: it joins two strap ends so they can be opened quickly. A knot in the webbing or a cord loop takes over the same tension connection – it is just more awkward to open and adjust.
Find the cause first
Before you reach for the pliers, look closely. If the zip jams, fabric or a thread has often been pulled into the slider. Pull it out carefully instead of forcing the slider onward – otherwise the fabric tears or the slider gets distorted.
If the zip runs stiffly, there is often sand, dirt or salt between the teeth. Rinse it with water and brush it clean with an old toothbrush. That alone solves some problems.
Only if the zip is clean and still opens behind the slider is the slider usually worn. If, on the other hand, teeth have broken off or the tape the teeth sit on has torn out, squeezing will not help – then you need a stopgap and later a proper repair.
What really matters
Run the slider all the way down to the start of the zip. Put the pliers on the rear, open end of the slider – where the separated rows of teeth come out – and squeeze the two plates together very slightly, evenly on both sides. Then test. If the zip still does not hold, repeat the step with just a little more pressure.
Small steps are what matters most. With too much force the slider breaks, especially if it is plastic or thin metal, or it jams so tightly afterwards that it will not move. A squeezed, worn slider will not last forever either; but it often buys you time until a proper repair.
If the pull tab is missing, thread a piece of cord, a key ring or a paper clip through the eye on the slider. If nothing helps, you can close a zip from the inside with safety pins or sew it shut with large stitches. On a jacket this at least keeps you warm until it can be repaired.
Replacing broken buckles
If a side-release buckle on a hip or sternum strap breaks, join the two straps with a water knot, also called a tape knot. It is the usual knot for joining flat webbing. Pull it tight firmly and leave the tails good and long, because webbing can slip in knots over time.
Alternatively, fix a cord loop to one strap end, thread the other end through and tie it off. Remove broken buckle remnants so they do not chafe or dig into you.
For the future, a spare buckle in the repair kit is worthwhile. There are clip-on replacement buckles for common strap widths that can be fitted without sewing. Measure the width of your straps beforehand.
Safety and limits
For anything that protects people there is one clear rule: buckles and fastenings on climbing harnesses, helmets, child seats, life jackets, avalanche equipment and other protective gear are never repaired by improvisation. Such parts must withstand tested forces. If something is broken there, the equipment is retired and replaced.
When working with pliers, the slider can slip or break. Work calmly, keep your fingers out of the way in case the pliers slip, and do not squeeze in a jerk.
A permanent zip repair means a new slider or a whole new zip, for example at a tailor's or through the manufacturer. For sleeping bags, tents and expensive jackets it is almost always worth it.
Step by step
Clean
Remove sand, dirt and threads from the teeth, e.g. with water and a brush. If the slider jams, fabric is often caught – pull it out carefully.
- 1
Clean
Remove sand, dirt and threads from the teeth, e.g. with water and a brush. If the slider jams, fabric is often caught – pull it out carefully.
- 2
Squeeze the slider
Run the slider right down to the start. With pliers squeeze the two plates at the rear (open) end very slightly, evenly on both sides. Test and repeat if needed.
- 3
Replace the pull
Thread a piece of cord, a key ring or a paper clip through the slider's eye.
- 4
If nothing helps
Close the zip with safety pins from the inside or sew it shut with large stitches; with clothing this at least keeps you warm until it can be repaired.
- 5
Replace a buckle
Join the webbing straps with a water knot (tape knot) or fix a cord loop to one end, thread the other end through and tie it. Remove broken buckle remnants so they do not chafe.
Common mistakes
- Squashing the slider in one go
- Forcing the zip over trapped fabric
- Not tightening the replacement knot
- Improvised buckle on safety equipment
Quick view
Materials
Multitool
Pliers
Rules on carrying blades differ by place – check local rules.
Paracord
Not a climbing or safety rope.
Safety pins
Keep out of reach of small children.
Sewing kit
Suitable for
- Jackets, sleeping bags, tent doors, bags
- Hip and sternum straps on backpacks
Not suitable for
- Safety-critical fastenings: climbing harnesses, helmets, child seats, life jackets, avalanche equipment
Prerequisites
- Small pliers or a multitool
- Some cord
Safety
- Squeeze the slider only in small steps. Too much force breaks it or makes it jam.
How it works
A zip slider presses the teeth together when closing. If it widens over time the teeth no longer engage – the zip opens behind the slider. Gently squeezing restores the gap. A side-release buckle joins two strap ends; a webbing knot or a cord loop takes over the same tension connection, just less convenient to open.
Advantages
- Clothing, sleeping bag and tent stay closed
- Hardly any material needed
Disadvantages
- Worn sliders do not last forever after squeezing
- Knots are more awkward than buckles
Deep knowledge
Background
Repairs on the move, including zips and buckles, are covered as part of gear care in mountaineering handbooks such as "Mountaineering: The Freedom of the Hills". The water knot is the usual knot for joining webbing.
A permanent zip repair means replacing the slider or the whole zip at a tailor's or through the manufacturer.
Variants
- Spare buckle in the kit
- Clip-on replacement buckles for common strap widths exist; one belongs in the repair kit.
Common mistakes
- Squashing the slider in one go
- Forcing the zip over trapped fabric
- Not tightening the replacement knot
- Improvised buckle on safety equipment
Limits and risks
- No repair of broken teeth or torn-out tapes
- Not for safety equipment
Material alternatives
Derived from material properties: a substitute must have all relevant properties. Observe the notes on the substitute.
- Paracord
- Rope (Never use unknown or damaged rope for life-safety purposes.)
Results come exclusively from structured entries. No improvised instructions are generated.
Sources
The Mountaineers Books (2017): Mountaineering: The Freedom of the Hills, 9th edition
Repairs to gear on the move