Debris hut from natural materials
A debris hut is a narrow, wedge-shaped shelter made from a ridgepole, branches leaned against it and a very thick layer of dry leaves. It insulates if it is covered thickly enough, but it costs hours of work and a lot of material – and is only permissible where collecting is allowed.
- Several hours, depending on available material and experience
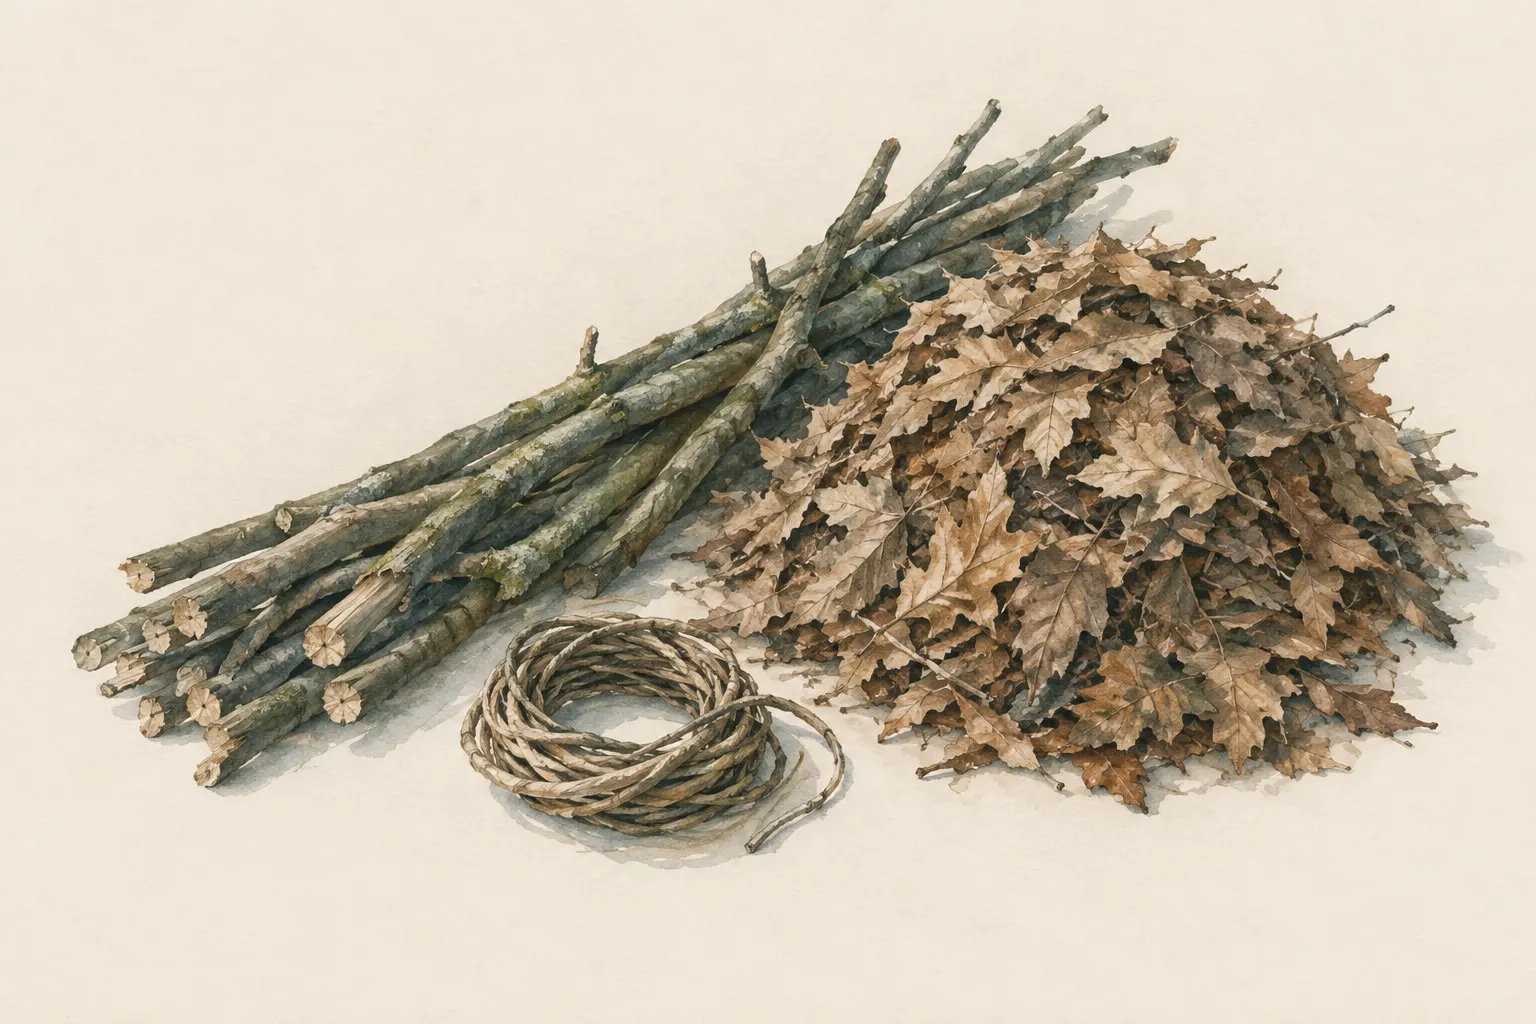
Explained simply
A debris hut is a small shelter you build without any equipment from branches and dry leaves. Imagine a narrow, pointed roof just big enough to crawl into – with an enormous pile of leaves on top.
Why does it keep you warm? There is lots of air between the dry leaves, and still air holds on to heat, just like the feathers in a down jacket. So the hut is really a sleeping bag made of leaves. Because it is so narrow, your body can fill the small space with its own warmth.
But: building it takes hours and needs an incredible amount of dry leaves. In many forests and protected areas it is not allowed. And there is never fire in the hut, no candle and no stove – leaves burn very easily.
How it works
The frame consists of a sturdy ridgepole resting at one end on a secure support at about hip height and at the other end on the ground. Branches lean against it close together on both sides, forming a narrow wedge. On top goes the actual insulation: a very thick layer of dry leaves.
The warmth does not come from the hut but from you. The leaf layer only slows its escape. That is why size matters so much: every bit of space you do not need has to be filled with body heat. The hut should be just big enough to turn over in.
A thick layer of leaves on the floor of the hut interrupts heat conduction into the ground. The steep sides shed rain, a bit like a thatched roof. Both only work, however, if the leaves are dry and the layer is really thick.
What really matters
The value of a debris hut depends almost entirely on the thickness and dryness of the leaf layer. A quickly built, thinly covered hut protects barely better than open sky. How thick the layer must be cannot be stated generally – it depends on the cold and on the material. It is almost always more than you think.
Start early. Building takes several hours, and you need daylight. Anyone who starts only as darkness falls will not finish. Fine twigs on top of the leaves stop the wind from carrying them away. A pile of leaves or your backpack at the entrance, which you can pull in from inside, keeps out the wind.
Building is physically demanding. Shed layers before you start to sweat, otherwise you will end up lying in the hut in damp clothing – and damp undoes much of the work.
Safety: what to watch out for
The ridgepole must safely carry the weight of the cover layer and rest firmly at both ends. Check stability before crawling in, and do not use rotten poles. Do not build under dead trees or broken, hanging branches.
Leaves and dry branches burn very easily. No fire in the hut or close to it, no candle and no stove inside. Where fire is allowed at all, local rules and fire bans apply.
Leaf litter can contain ticks, insects and other animals. Check your body and clothing thoroughly afterwards. At warning signs of hypothermia, as always: seek shelter and call the local emergency number (112 in the EU) if things get worse.
When it makes sense – and when not
A debris hut can help in a real emergency in deciduous woodland when no tarp, tent or emergency bivouac is available and there are enough dry leaves and deadwood nearby. It then offers built-in ground insulation and protection from cold.
It is unsuitable as a quick shelter as darkness falls, for groups (each person needs their own narrow hut), in heavy rain without an extra sheet and in areas without enough dry leaves. With carried equipment – such as an emergency blanket or bivvy bag – an emergency bivouac is usually faster and less strenuous.
A sheet between two layers of leaves or over the cover layer clearly improves rain protection; leaves on top hold it down in the wind.
Rules and nature
In Central Europe and many other regions, building shelters and collecting material is restricted or prohibited in many forests and protected areas. The rules vary greatly from place to place. Find out beforehand what is allowed.
If you want to practise, get the landowner's permission and ideally practise under instruction. Do not damage living trees and dismantle the hut afterwards so that the site looks as it did before.
In a real emergency your safety comes first. Even so, it is worth destroying as little as possible and using only loose, dead material.
Step by step
Choose the site
Choose a level, dry, slightly raised spot near plenty of leaves and deadwood, away from hollows, streams and dead branches overhead.
- 1
Choose the site
Choose a level, dry, slightly raised spot near plenty of leaves and deadwood, away from hollows, streams and dead branches overhead.
- 2
Place the ridgepole
Rest a sturdy pole, somewhat longer than your height, with one end on a secure support (such as a stump or forked branch) at about hip height and the other end on the ground.
Check the support for stability – the pole must not slip off.
- 3
Check the size
Lie underneath as a test. The interior should be just large enough to turn over in – any extra space has to be filled with body heat.
- 4
Lean on the ribs
Lean branches steeply against the ridgepole on both sides, close together. Leave a small entrance at the high end.
- 5
Cover thickly with leaves
Pile dry leaves very thickly over the frame; a thin layer is not enough. Fine twigs on top stop the wind from blowing the leaves away.
- 6
Insulate the floor
Fill the interior with a thick layer of dry leaves that does not compress completely under body weight.
- 7
Close the entrance
A pile of leaves or a backpack at the opening, which you can pull in from inside, keeps out the wind.
Common mistakes
- Starting too late in the day
- Building a hut too large for the body to warm
- Cover layer too thin
- Using wet leaves
- Forgetting the floor layer
- Building under dead trees
- Soaking yourself in sweat while building
Quick view
Materials
Sturdy sticks / poles
One sturdy ridgepole and many branches for the frame
Do not cut live wood where prohibited.
Dry leaves, grass or conifer boughs
Large amounts of dry leaves for insulation and the floor layer
Collect only where allowed; no protected plants. Check for ticks and insects.
Plastic sheet / large bin bag
As extra rain protection on top of the leaf layer
Tears easily; never pull over the head (suffocation risk).
Do not use for drinking water unless food-grade.
Suitable for
- Emergencies in deciduous woodland without a tarp or tent
- Supervised practice with the landowner's permission
Not suitable for
- Nature reserves and places where collecting or building is prohibited
- Quick shelter as darkness falls
- Groups – each person needs their own narrow hut
- Areas without enough dry leaves
Prerequisites
- Permission or legal admissibility at the location
- Enough dry leaves and deadwood nearby
- Several hours of daylight
Safety
- Building is physically demanding. Shed layers to avoid soaking yourself in sweat, and start in good time.
- Leaf litter can contain ticks, insects and other animals. Check your body and clothing afterwards.
How it works
The hut works like a sleeping bag made of leaves: countless air pockets between dry leaves slow heat loss. The interior is kept so narrow that the body can fill it with its own warmth. A thick floor layer interrupts conduction into the ground, and the steep sides shed rain. Wet or thinly applied leaves barely insulate.
Advantages
- No tools or equipment needed
- Good insulation with a sufficiently thick, dry leaf layer
- Ground insulation is built in
Disadvantages
- High time and energy cost
- Only possible with plenty of dry leaves
- Disturbs nature and is not permitted in many places
- Only for one person
- Ticks and insects
Deep knowledge
Background
The debris hut is described in survival manuals such as FM 3-05.70 as a shelter that can protect against cold without equipment. Its value depends almost entirely on the thickness and dryness of the leaf layer; a quickly built, thinly covered hut protects barely better than open sky.
In Central Europe, building shelters and collecting material is restricted or prohibited in many forests and protected areas. For practice, always get the landowner's permission and dismantle the hut afterwards. In a real emergency your own safety comes first, but an emergency bivouac with carried equipment is usually faster and less strenuous.
Variants
- With a sheet as rain protection
- A sheet between two layers of leaves or over the cover layer clearly improves rain protection. Leaves on top hold the sheet down in wind.
Common mistakes
- Starting too late in the day
- Building a hut too large for the body to warm
- Cover layer too thin
- Using wet leaves
- Forgetting the floor layer
- Building under dead trees
- Soaking yourself in sweat while building
Limits and risks
- No measurements for the leaf layer – needs depend on cold and material
- Not for heavy rain without an additional sheet
- Legal situation varies by region
Material alternatives
Derived from material properties: a substitute must have all relevant properties. Observe the notes on the substitute.
- Dry leaves, grass or conifer boughs
- Sleeping pad, Backpack, Dry spare clothing (Carry it in waterproof packaging – wet clothing barely insulates.), Wool blanket / duvet (Keep away from candles, stoves and heaters.), Insulated cool box (Keeps cold only for a limited time; without ice packs or ice it is not a fridge.), Sleeping bag (Do not store compressed long-term; do not pack away damp.), Newspaper and cardboard (Flammable – keep away from candles, stoves, heaters and embers.), Insulated cooking box (hay box, thermal cooker) (Never put open flame or embers inside – only the hot, closed pot.)
- Plastic sheet / large bin bag
- Tarp, Emergency blanket (Tears easily once punctured; short-term shelter only.), Document folder (waterproof) (Store securely – contains sensitive personal data.), Rain poncho (When used as a shelter, it no longer protects your body from rain.), Bivy bag (Never fully close off the face.), Tent (Do not cook or heat inside the tent (fire and carbon monoxide danger).), Heavy-duty bin bag (large) (Suffocation risk: never pull plastic bags over the head or face and keep them away from small children.), Group shelter bag (Airtight – ventilate regularly.)
Results come exclusively from structured entries. No improvised instructions are generated.
Sources
Headquarters, Department of the Army (USA) (2002): FM 3-05.70 Survival
Construction and principle of the debris hut
Wilderness & Environmental Medicine (Wilderness Medical Society) (2019): Wilderness Medical Society Clinical Practice Guidelines for the Out-of-Hospital Evaluation and Treatment of Accidental Hypothermia: 2019 Update
Insulation and protection from ground cold to prevent hypothermia