Pitching a tent on snow
Normal stakes hardly hold in snow. You stamp out a level platform, anchor lines with buried objects (deadman anchors) or wide snow stakes and keep vents and entrance clear of snow overnight. Avalanche terrain is excluded.
- About 30–60 minutes including the platform
Explained simply
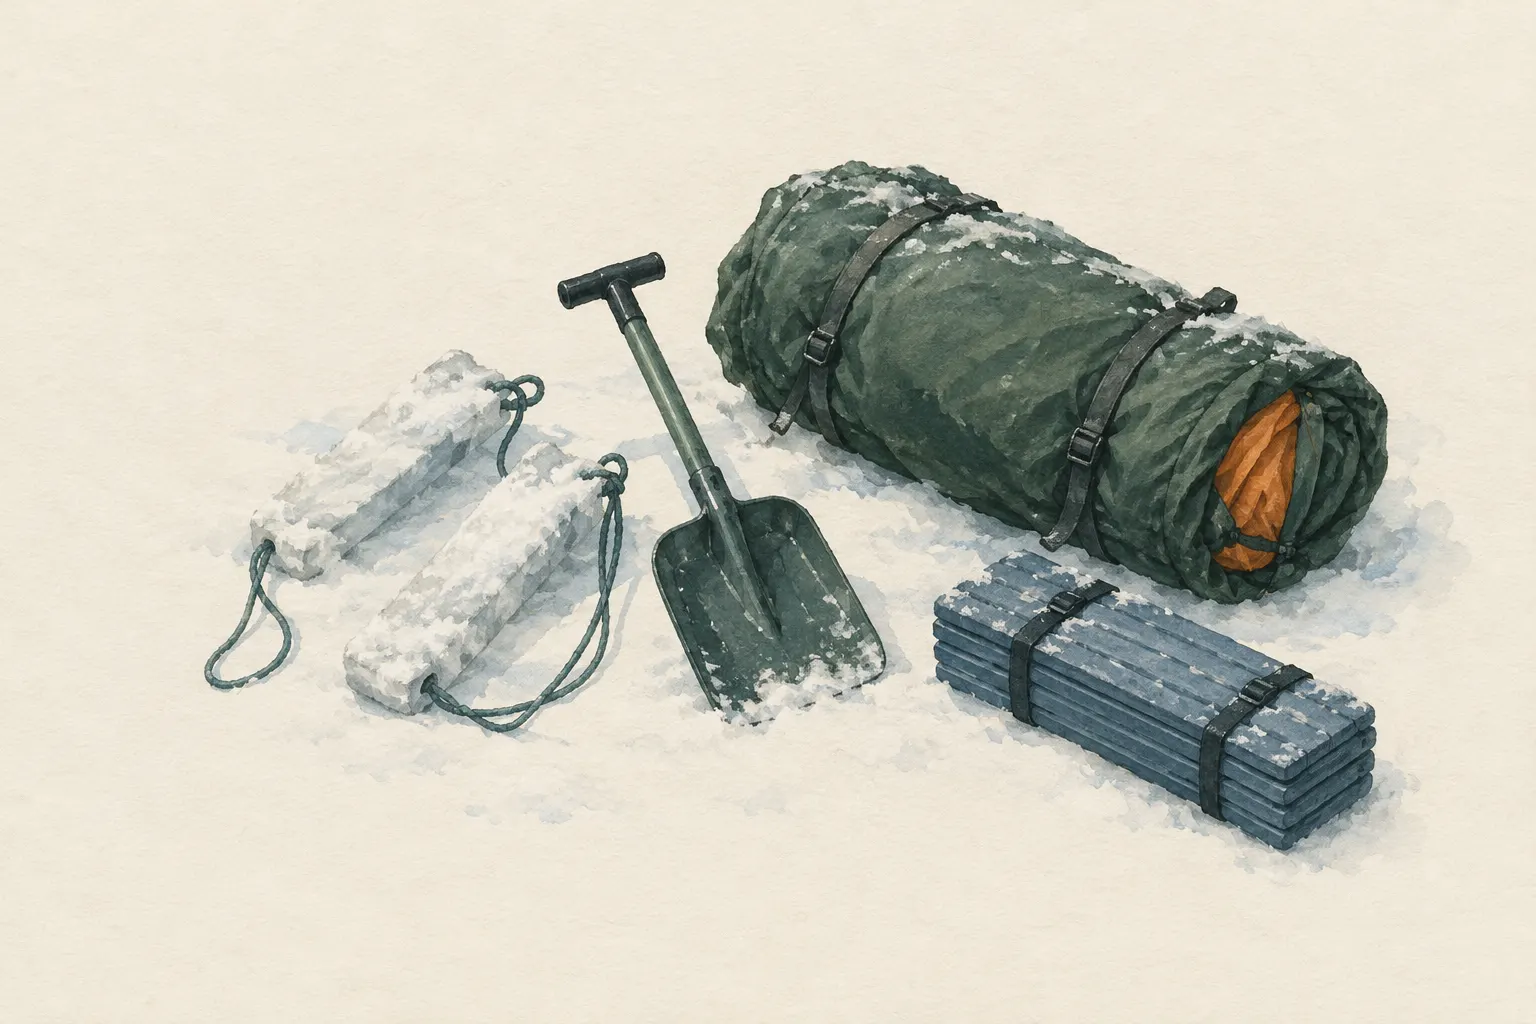
Pitching a tent in snow is different from pitching it on a meadow. A normal stake sits in loose snow like a spoon in pudding – one strong pull and it is out. So you tie the lines to objects such as sticks, skis or small bags full of snow and bury them crosswise in the snow. A buried hold like this is called a deadman anchor. It holds because it grips a large area of snow rather than just a small point.
Before the tent goes up, you stamp a level area firm with skis or snowshoes. If you do not, you will press hollows into the snow at night and lie crooked. If there is time, let the area rest for a while – snow gets firmer as it settles.
But the most important thing is the place: tents do not belong on slopes, at the foot of a slope or under trees loaded with snow. Avalanches or sliding snow can be dangerous there. And cooking happens outside, never in the tent or vestibule.
How it works
A stake holds in the ground because soil is dense and firm. Fresh snow, by contrast, consists largely of air between loose crystals. A thin stake finds hardly any resistance in it. An object buried crosswise, on the other hand, has to push a whole block of snow ahead of it to be pulled out. That is why it holds much better.
Snow has a useful property: when it is compressed or stirred up, the crystals bond with each other over time and the snow gets firmer. You use this twice – when stamping out the platform and when stamping snow over a buried anchor. If you have time, wait a little after stamping before you pitch the tent.
Snow walls can block wind but have a catch. Behind every obstacle the wind slows down and drops the snow it carries. If a tall wall stands too close to the tent, this snow lands right on the tent. A low wall at some distance protects better.
Safety: what to watch out for
Choosing the site is the most important safety decision. Avalanche terrain, the foot of slopes, hollows below steep slopes, cornices – overhanging snow edges on ridges – and trees with a heavy snow load are ruled out. Avalanche knowledge is a field of its own that this entry does not replace; anyone who has not mastered it stays on flat terrain well away from slopes.
No cooking or heating inside the tent or vestibule. Carbon monoxide from stoves is invisible and odourless, and in winter it is tempting to seal the tent. At night snow can also drift over the vents. That is why they must be kept clear regularly.
Snowfall and drifting can collapse a tent. Knock the snow off regularly during the night and dig it out if necessary. Watch for signs of hypothermia: heavy shivering, clumsiness, confusion. Anyone reacting like this needs warmth, shelter and if necessary help via the local emergency number (112 in the EU).
What really matters
Stamp out a platform larger than the tent so that you can also stand safely around the tent and set the lines. Walk over it several times until it is evenly firm. Soft spots turn into hollows overnight.
Wind is your biggest opponent while pitching. A tent that you let go of for a moment can slide or blow away very quickly on snow. Always hold it or tie it down, anchor the windward side first and only then tension all the lines. Extra cord to extend the lines helps, because anchors sometimes have to be buried a little further away.
You can dig a pit in the vestibule. Then you sit in the entrance like on a bench and can put on boots more comfortably. In the evening it is worth checking the anchors: tie the lines so that you can release them in the morning without digging out the frozen anchor – or simply leave anchors made of natural material in the snow.
Warmth in a winter tent
A tent keeps out wind and snow but is much colder than a well-built snow cave, because the thin fabric hardly insulates. Warmth at night therefore comes mainly from your sleep system: two sleeping pads stacked, a suitable sleeping bag and dry clothing. More on this in the entry on sleeping on snow.
Condensation is especially annoying in winter. The moisture from your breath freezes into frost on the inside of the tent and trickles down in the morning. Open vents reduce this. Shake or wipe the frost off in the morning before it melts and soaks your things.
How to practise it
First get to know your tent well in normal conditions. Then practise the winter pitch where nothing can go wrong: for example in a snowy garden, near a hut or near the car. Try out different anchors and note which ones hold in which kind of snow.
A winter camp with experienced people or a course is a good way to work up to it gradually. Spending a night in the snow alone and without winter experience is not recommended. Allow plenty of time: with the platform, pitching in snow takes much longer than in summer.
Step by step
Choose a safe spot
Flat terrain away from slopes, slope feet, cornices and trees loaded with snow.
- 1
Choose a safe spot
Flat terrain away from slopes, slope feet, cornices and trees loaded with snow.
- 2
Stamp a platform
Stamp an area larger than the tent level with skis or snowshoes and let it rest briefly if there is time.
- 3
Prepare anchors
Tie lines to sticks, skis, poles or snow-filled bags and bury them crosswise to the direction of pull.
- 4
Pitch the tent
Secure the tent against blowing away (always hold or tie it), anchor the windward side first, then raise it and tension all lines.
- 5
Dig out the vestibule
Dig a pit in the vestibule – makes sitting and putting on boots easier. Still only run the stove outdoors.
- 6
Check during the night
Keep vents open, knock off snow load, re-tension lines.
Common mistakes
- Normal stakes in loose snow
- Letting go of the tent while pitching
- Pitched at the foot of a slope
- Stove in the vestibule
- Vent blocked by snow
Quick view
Materials
Tent
Do not cook or heat inside the tent (fire and carbon monoxide danger).
Snow shovel
Always take it inside when digging a snow shelter.
Sturdy sticks / poles
Or stuff sacks filled with snow, skis, poles as deadman anchors
Do not cut live wood where prohibited.
Paracord
Extra cord to extend lines
Not a climbing or safety rope.
Sleeping pad
Two pads on snow are advisable
Suitable for
- Winter trips in flat terrain safe from avalanches
- Groups with a shovel
Not suitable for
- Avalanche terrain and the foot of slopes
- People without winter experience on their own
- Heavily wind-scoured ridges
Prerequisites
- Experience with the tent in normal conditions
- Knowledge of the avalanche situation or safe, flat terrain
Safety
- Snowfall and drifting can collapse the tent and block vents. Knock off or dig out the snow from outside regularly during the night.
How it works
An object buried crosswise (deadman anchor) spreads the pull of the line over a large area of snow; snow stamped on top firms up over time. A stamped platform prevents you from pressing hollows into the tent floor overnight. Snow walls can block wind but must not create drift traps above the tent.
Advantages
- Familiar shelter also in winter
- Quicker than snow shelters
- Little soaking while setting up
Disadvantages
- Colder than a snow cave
- Vulnerable to snow load
- Anchors freeze in and are hard to free in the morning
Deep knowledge
Background
Deadman anchors are a common method in winter mountaineering to secure tents and lines in snow. Mountaineering literature such as "Mountaineering: The Freedom of the Hills" covers winter camps and anchoring in snow.
Because anchors often freeze in, it helps to tie lines so they can be released in the morning without digging the anchor out – or to leave the anchor if it is made of natural material.
Variants
- With a wind wall
- A low snow wall on the windward side at some distance from the tent can protect; too close or too high it encourages drifts onto the tent.
Common mistakes
- Normal stakes in loose snow
- Letting go of the tent while pitching
- Pitched at the foot of a slope
- Stove in the vestibule
- Vent blocked by snow
Limits and risks
- Avalanche knowledge is not part of this entry
- No figures for anchor holding strength
Material alternatives
Derived from material properties: a substitute must have all relevant properties. Observe the notes on the substitute.
- Tent
- Tarp, Plastic sheet / large bin bag (Tears easily; never pull over the head (suffocation risk).), Emergency blanket (Tears easily once punctured; short-term shelter only.), Document folder (waterproof) (Store securely – contains sensitive personal data.), Rain poncho (When used as a shelter, it no longer protects your body from rain.), Bivy bag (Never fully close off the face.), Heavy-duty bin bag (large) (Suffocation risk: never pull plastic bags over the head or face and keep them away from small children.), Group shelter bag (Airtight – ventilate regularly.)
- Paracord
- Rope (Never use unknown or damaged rope for life-safety purposes.)
- Sleeping pad
- Dry leaves, grass or conifer boughs (Collect only where allowed; no protected plants. Check for ticks and insects.), Backpack, Dry spare clothing (Carry it in waterproof packaging – wet clothing barely insulates.), Wool blanket / duvet (Keep away from candles, stoves and heaters.), Insulated cool box (Keeps cold only for a limited time; without ice packs or ice it is not a fridge.), Sleeping bag (Do not store compressed long-term; do not pack away damp.), Newspaper and cardboard (Flammable – keep away from candles, stoves, heaters and embers.), Insulated cooking box (hay box, thermal cooker) (Never put open flame or embers inside – only the hot, closed pot.)
Results come exclusively from structured entries. No improvised instructions are generated.
Sources
The Mountaineers Books (2017): Mountaineering: The Freedom of the Hills, 9th edition
Camping, tents and bivouacs in the mountains and in snow
Wilderness & Environmental Medicine (Wilderness Medical Society) (2019): Wilderness Medical Society Clinical Practice Guidelines for the Out-of-Hospital Evaluation and Treatment of Accidental Hypothermia: 2019 Update
Wind, wet and ground contact as factors in hypothermia; calling for help at signs of hypothermia