Plastic tube tent
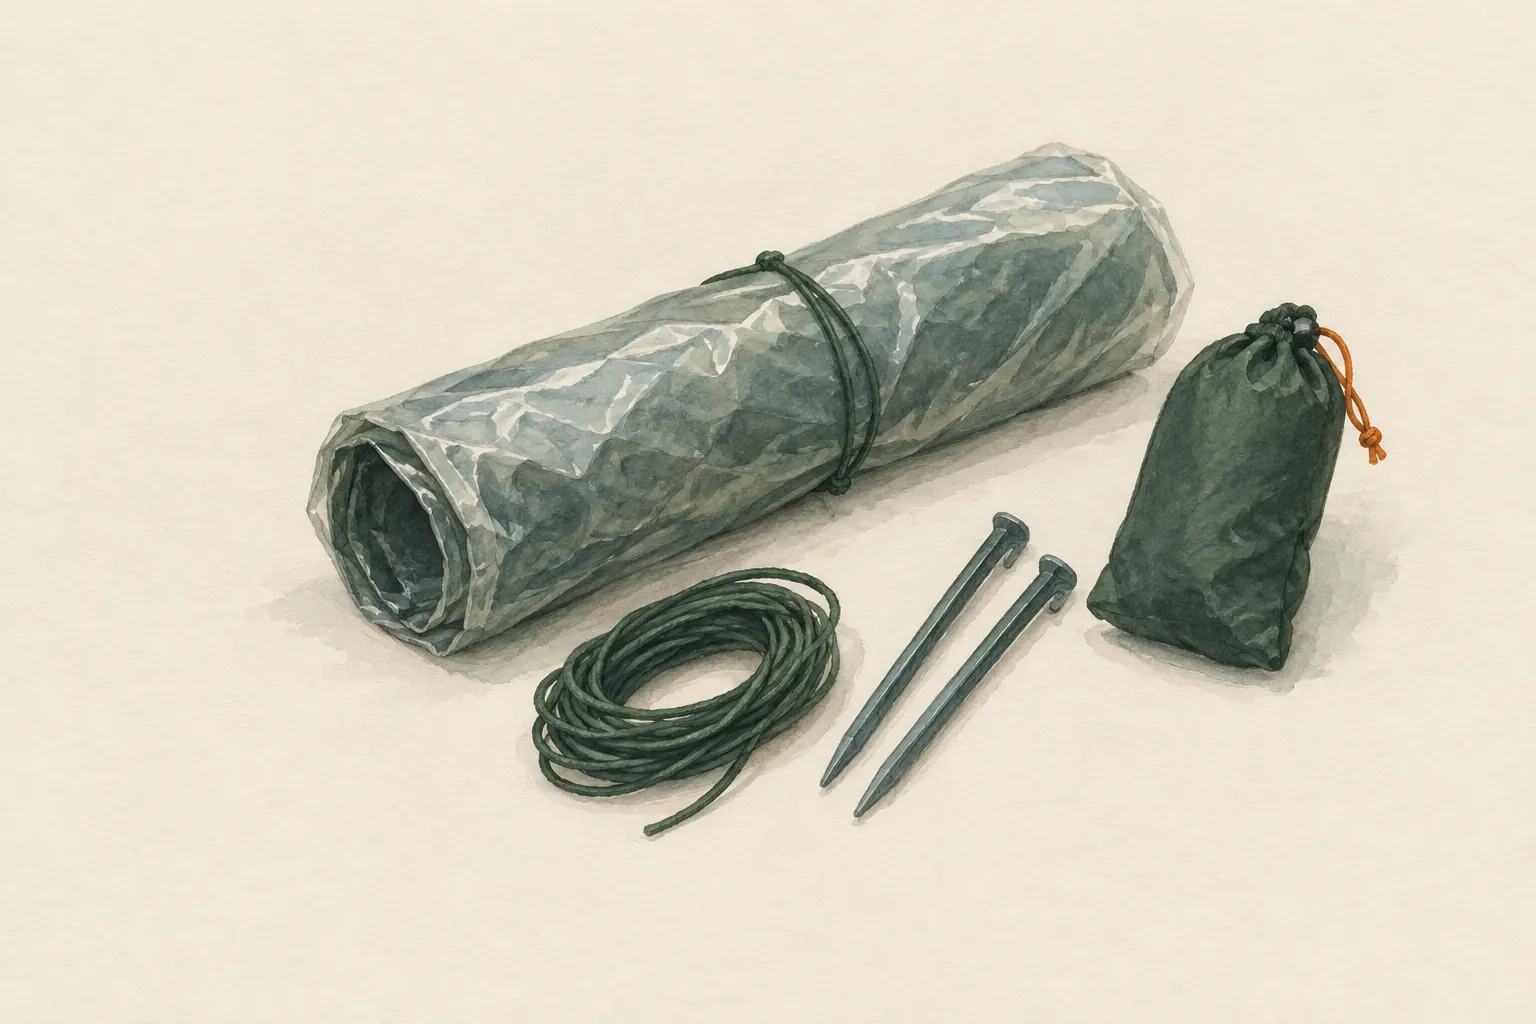
A tube tent is a plastic tube with a line threaded through it and tied between two trees. Body weight holds the floor down, creating a simple triangular tent with open ends. It is cheap and light but prone to condensation and sensitive to wind – an emergency solution.
- About 5–10 minutes
Explained simply
A tube tent is basically a long plastic tube, a bit like a giant bag open at both ends. You thread a cord through it and stretch it between two trees. Then you lie down inside. Your weight presses the lower part onto the ground, and above you a triangle-shaped roof forms – like a tent made of one piece.
It is cheap, very light and fits into any backpack pocket. That is why it is often found in emergency kits. It keeps off rain and wind, but it does not keep you warm. So you need a pad or something else underneath that separates you from the cold ground.
Plastic does not let moisture out. When you breathe, it gets wet inside, like a lunchbox you put warm food into. So leave both ends open. And: never any fire or stove nearby, and the plastic must not lie on your face.
How it works
The tensioned line forms the ridge, the topmost edge. The tube hangs over it and falls at an angle on both sides to where the plastic closes into a floor. Only the weight of you and your gear turns it into a stable triangle: without a load, the floor would be pulled up with the line.
Plastic sheeting is waterproof but also vapour-proof. A person gives off moisture all night through breathing and the skin. In a tent made of breathable fabric or with a second layer, some of it can escape; on plastic, by contrast, it settles as water droplets. So the open ends are not a weakness – they are the ventilation.
The plastic does not insulate. It stops rain soaking you and wind blowing away your warm air layer, but it does not hold in heat. You keep losing heat to the ground if nothing lies in between.
What really matters
The spot must be level and not a hollow that water runs into in rain – otherwise it collects in the floor of the tube. Look up for dead branches. Lay the tube across the wind or with one end into it so it does not balloon out like a sail.
Stretch the line tight at about hip to chest height. If it is too low, the plastic lies on your face and everything gets wet. If it is too high, the floor becomes too narrow. A tensioning hitch you can tighten again is helpful, because plastic and line give a little.
Weigh down the corners with pad, backpack and gear so the floor lies flat and the wind cannot get under the plastic. Leave both ends at least partly open. Without a tube, a long flat sheet works in a similar way: lay it over the line and fold both edges inward under the pad.
Safety: what to watch out for
Plastic never goes over the head and face and must not sag down there either – risk of suffocation. That is why the right height of the line is not only a question of comfort. Children should never play with or sleep in plastic sheeting unsupervised.
No fire is lit and no stove is run under or next to the plastic. Plastic melts and burns easily, and carbon monoxide can build up in a confined space. Cooking happens – where permitted – outdoors at a distance. Also check the local rules on open fires.
A tube tent protects from rain, but not from cold. If you lie in it on a cold night, you need dry clothing and insulation underneath you. With signs of hypothermia – heavy shivering, confusion, listlessness – get help via the local emergency number (112 in the EU).
When it makes sense – and when not
A tube tent is a good reserve for an emergency kit or day pack: for a break in the rain or a single unplanned night, when two trees stand at a suitable distance. It weighs little and costs little.
It is unsuitable for several nights, strong wind or terrain without anchor points. Thin plastic tears easily, flaps loudly in the wind and is often hardly reusable after one use. Anyone who regularly spends nights outdoors is better served by a tarp, bivy bag or tent.
How to practise it
Pitch the tube tent once in the garden or a park before you rely on it in an emergency. You will notice how long the cord needs to be, which hitch is easy to re-tension and how much room there really is inside.
Lie down in it as a test and notice where the plastic comes close to your face. Adjust the line height so there is enough clearance. Afterwards, pack the tent in a small bag together with enough cord so everything is together in an emergency.
Step by step
Choose a spot
A level spot with the tube across the wind or one end into it, no hollow, no dead branches.
- 1
Choose a spot
A level spot with the tube across the wind or one end into it, no hollow, no dead branches.
- 2
Thread the line
Thread the line through the tube and tie it tightly to both trees at about hip to chest height.
- 3
Weigh the floor down
Put the pad and gear in the corners so the floor lies flat and the wind cannot get under the sheet.
- 4
Leave the ends open
Leave both ends at least partly open so moisture can escape.
Common mistakes
- Ends fully closed – wet inside
- Pitched in a hollow – water runs in
- Line too low – sheet lies on the face
Quick view
Materials
Plastic sheet / large bin bag
Made as a tube or improvised from a long sheet
Tears easily; never pull over the head (suffocation risk).
Do not use for drinking water unless food-grade.
Paracord
Not a climbing or safety rope.
Sleeping pad
Suitable for
- Emergency kit, backpack reserve
- Short rain breaks and a single emergency night
Not suitable for
- Strong wind
- Several nights
- Terrain without anchor points
Prerequisites
- Two anchor points
- A tensioning hitch
How it works
The line forms the ridge, the sheet hangs over it as a roof and closes into a floor below. People and gear weigh the floor down. Because plastic does not let water vapour through, condensation forms inside – the open ends act as ventilation.
Advantages
- Very cheap and light
- Simple to pitch
- Built-in floor
Disadvantages
- Heavy condensation
- Tears easily
- Flaps in wind
- Hardly reusable
Deep knowledge
Background
Tube tents made of thin plastic have been sold in emergency kits for decades. They belong in the same class as emergency blankets and bin bags: they keep off rain and wind but do not insulate.
As with any improvised solution, their value depends heavily on ground insulation, dry clothing and shelter from the wind.
Variants
- With a flat sheet
- Lay a long sheet over the line and fold both edges inward under the pad – this works much like a tube.
Common mistakes
- Ends fully closed – wet inside
- Pitched in a hollow – water runs in
- Line too low – sheet lies on the face
Limits and risks
- No figures for sheet thickness
- Intended only for short emergencies
Material alternatives
Derived from material properties: a substitute must have all relevant properties. Observe the notes on the substitute.
- Plastic sheet / large bin bag
- Tarp, Emergency blanket (Tears easily once punctured; short-term shelter only.), Document folder (waterproof) (Store securely – contains sensitive personal data.), Rain poncho (When used as a shelter, it no longer protects your body from rain.), Bivy bag (Never fully close off the face.), Tent (Do not cook or heat inside the tent (fire and carbon monoxide danger).), Heavy-duty bin bag (large) (Suffocation risk: never pull plastic bags over the head or face and keep them away from small children.), Group shelter bag (Airtight – ventilate regularly.)
- Paracord
- Rope (Never use unknown or damaged rope for life-safety purposes.)
- Sleeping pad
- Dry leaves, grass or conifer boughs (Collect only where allowed; no protected plants. Check for ticks and insects.), Backpack, Dry spare clothing (Carry it in waterproof packaging – wet clothing barely insulates.), Wool blanket / duvet (Keep away from candles, stoves and heaters.), Insulated cool box (Keeps cold only for a limited time; without ice packs or ice it is not a fridge.), Sleeping bag (Do not store compressed long-term; do not pack away damp.), Newspaper and cardboard (Flammable – keep away from candles, stoves, heaters and embers.), Insulated cooking box (hay box, thermal cooker) (Never put open flame or embers inside – only the hot, closed pot.)
Results come exclusively from structured entries. No improvised instructions are generated.
Sources
Headquarters, Department of the Army (USA) (2002): FM 3-05.70 Survival
Principles of improvised shelters, site selection and shelter construction
Wilderness & Environmental Medicine (Wilderness Medical Society) (2019): Wilderness Medical Society Clinical Practice Guidelines for the Out-of-Hospital Evaluation and Treatment of Accidental Hypothermia: 2019 Update
Wind, wet and ground contact as factors in hypothermia; calling for help at signs of hypothermia