Cone frame (tipi / wickiup style)
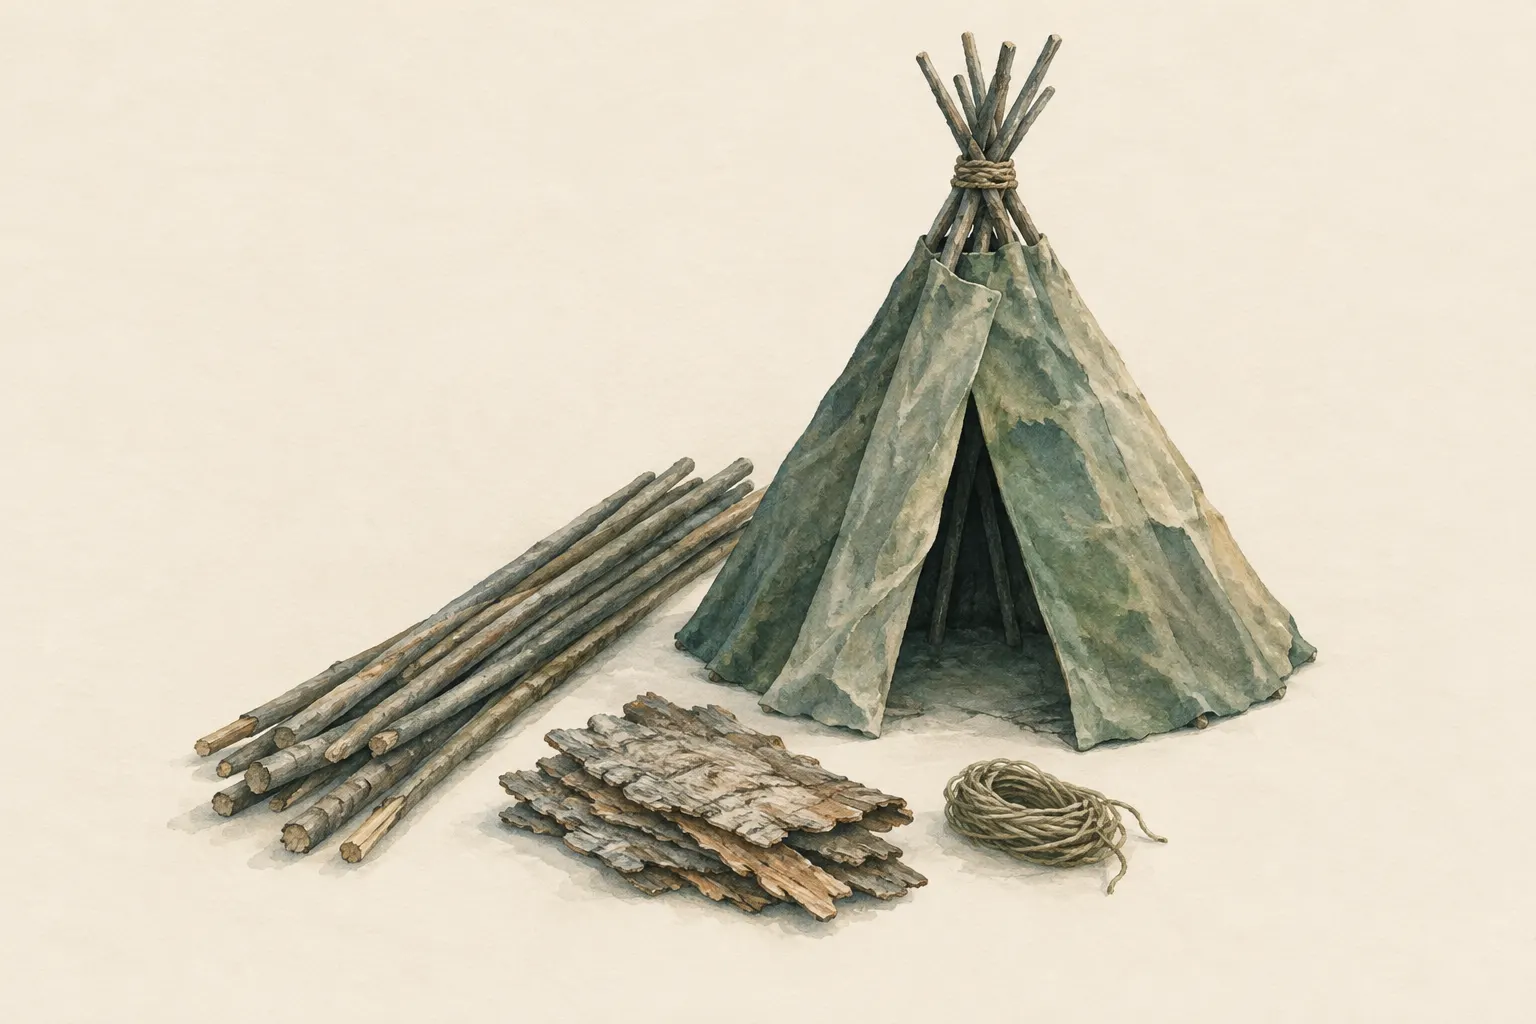
Several poles are leaned against each other in a cone and tied at the top; the frame is covered with a sheet, bark from deadwood, branches or leaves. The form is stable, needs no tree as an anchor and offers sitting height – but takes a lot of material and time.
- One to several hours
Explained simply
Take three long poles, tie them together at the top and stand them up so that the feet spread apart. You now have a tripod that stands on its own – like a camera tripod. You lean more poles against it all round. That creates a cone, similar to a tipi.
You cover the cone with a tarp or with bark pieces from dead wood, branches or leaves. Because the walls are steep, rain and snow slide off. And because the cone looks the same from every side, it does not matter where the wind comes from.
Important: tie the apex firmly, otherwise everything can collapse. And do not light a fire inside – an emergency cone is not a real tipi with a smoke hole.
How it works
Three poles leaned against each other form a stable tripod because the loads brace one another: each pole presses against the other two, and the weight is carried into the ground through the three feet. That is why this shape needs no tree as an anchor – it stands freely.
Additional poles close the surface between the three main poles. The closer they stand, the easier it is to attach the covering. The steep flanks let rain and snow slide off, and the round shape presents the same profile to wind from any direction.
An advantage over flat shelters is the height in the middle: you can sit inside, change clothes and organise your gear. The drawback: you need many long, straight poles and a lot of covering material.
What really matters
The apex is the heart of the cone. Poles merely leaned together can slip and bring the frame down. Tie the three main poles firmly together at the top before standing them up, and spread the feet evenly. Unevenly spaced poles make the cone tip over.
Leave an entrance on the downwind side. Lay the additional poles into the crotch at the apex. Check stability before covering – a covered frame is heavier and harder to correct.
Cover from bottom to top, layer over layer, like roof tiles. Do not fully close the apex and the entrance, so that moist breath can escape. Otherwise a lot of condensation forms. There are no fixed figures for pole length or angle – they depend on how many people need to fit and what material is available.
Safety: what to watch out for
A collapsing frame can cause injury. Check the lashing at the apex and the footing before working underneath or lying inside. Do not use rotten poles.
No open fire and no stove are used in an improvised cone. There is a fire risk, and carbon monoxide can collect – a gas you can neither see nor smell and that can make you unconscious. Traditional tipis with smoke flaps and a fireplace rest on great experience and are something quite different from an emergency build.
Look up before building to check for dead branches overhead. And check local rules: collecting material and building are not permitted everywhere. Do not damage living trees.
When it makes sense – and when not
The cone is worthwhile when you stay at one place for longer, need sitting height and enough suitable deadwood is available – or when you have a large tarp you can wrap around it. It is also useful where there are no suitable trees for a line.
As a quick emergency shelter it is unsuitable, because finding poles and covering cost a lot of time and effort. In areas without long, straight poles or where collecting is prohibited it is out of the question.
Good to know
Cone-shaped frames are among the oldest building forms of all and are widespread in many cultures. The US military manual FM 3-05.70 describes one-pole, three-pole and no-pole tepee forms made of parachute cloth as improvised shelters.
The words “tipi” and “wickiup” come from North American cultures, where they refer to quite different structures developed over generations. This entry describes only a simple cone-shaped emergency frame and does not claim to reproduce those traditional building methods.
Step by step
Set up the tripod
Tie three main poles together at the top, stand them up and spread the feet evenly.
- 1
Set up the tripod
Tie three main poles together at the top, stand them up and spread the feet evenly.
- 2
Lean on more poles
Lean more poles into the crotch at the apex; leave an entrance on the downwind side.
- 3
Cover
Wrap with a tarp or cover from bottom to top like roof tiles with natural material.
- 4
Leave ventilation open
Do not fully close the apex and entrance, to reduce condensation.
- 5
Insulate the floor
Lay out a sleeping pad or a thick dry layer.
Common mistakes
- Apex only loosely leaned together
- Poles unevenly spaced
- Entrance facing the wind
- Fire inside
Quick view
Materials
Sturdy sticks / poles
Three strong main poles and many more poles
Do not cut live wood where prohibited.
Paracord
To lash the apex
Not a climbing or safety rope.
Tarp
Fastest covering
Dry leaves, grass or conifer boughs
Collect only where allowed; no protected plants. Check for ticks and insects.
Suitable for
- Terrain without suitable trees for a ridgeline
- Multi-day camps where permitted
- Sitting up and storing gear
Not suitable for
- Quick emergency shelter
- Areas without suitable deadwood
- Fires inside without experience
Prerequisites
- Permission to collect
- A lashing or clove hitch to tie the apex
Safety
- Wild camping, bivouacking, collecting material and fires are regulated very differently from region to region. Check local rules, do not damage living trees and leave the site without a trace.
How it works
Three poles leaned against each other form a stable tripod because the loads brace one another. Additional poles close the surface. The steep flanks shed rain and snow, and the shape presents the same profile to wind from any direction.
Advantages
- No tree needed as an anchor
- Equally good against wind from all directions
- Sitting height
Disadvantages
- A lot of material
- More space to warm
- Natural covering is rarely fully waterproof
Deep knowledge
Background
Cone-shaped frames are among the oldest building forms and are widespread in many cultures. FM 3-05.70 describes one-pole, three-pole and no-pole tepee forms made of parachute cloth as improvised shelters.
This emergency form is not to be confused with traditional tipis, whose smoke flaps and fireplaces rest on long experience.
Variants
- One-pole cone with a sheet
- A sheet is raised at its centre on a branch or central pole and staked all round. Faster but smaller.
Common mistakes
- Apex only loosely leaned together
- Poles unevenly spaced
- Entrance facing the wind
- Fire inside
Limits and risks
- No figures for pole length or angle
- Not intended for a fire inside
Material alternatives
Derived from material properties: a substitute must have all relevant properties. Observe the notes on the substitute.
- Paracord
- Rope (Never use unknown or damaged rope for life-safety purposes.)
- Tarp
- Plastic sheet / large bin bag (Tears easily; never pull over the head (suffocation risk).), Emergency blanket (Tears easily once punctured; short-term shelter only.), Document folder (waterproof) (Store securely – contains sensitive personal data.), Rain poncho (When used as a shelter, it no longer protects your body from rain.), Bivy bag (Never fully close off the face.), Tent (Do not cook or heat inside the tent (fire and carbon monoxide danger).), Heavy-duty bin bag (large) (Suffocation risk: never pull plastic bags over the head or face and keep them away from small children.), Group shelter bag (Airtight – ventilate regularly.)
- Dry leaves, grass or conifer boughs
- Sleeping pad, Backpack, Dry spare clothing (Carry it in waterproof packaging – wet clothing barely insulates.), Wool blanket / duvet (Keep away from candles, stoves and heaters.), Insulated cool box (Keeps cold only for a limited time; without ice packs or ice it is not a fridge.), Sleeping bag (Do not store compressed long-term; do not pack away damp.), Newspaper and cardboard (Flammable – keep away from candles, stoves, heaters and embers.), Insulated cooking box (hay box, thermal cooker) (Never put open flame or embers inside – only the hot, closed pot.)
Results come exclusively from structured entries. No improvised instructions are generated.
Sources
Headquarters, Department of the Army (USA) (2002): FM 3-05.70 Survival
Cone-shaped shelters (tepee forms) from sheet or cloth
Leave No Trace Center for Outdoor Ethics: The Seven Principles of Leave No Trace (Principle 5: Minimize Campfire Impacts)
Principles for low-impact camping