Skip to content
In an emergencyAustriaEmergency numbers →
SurviveBetter
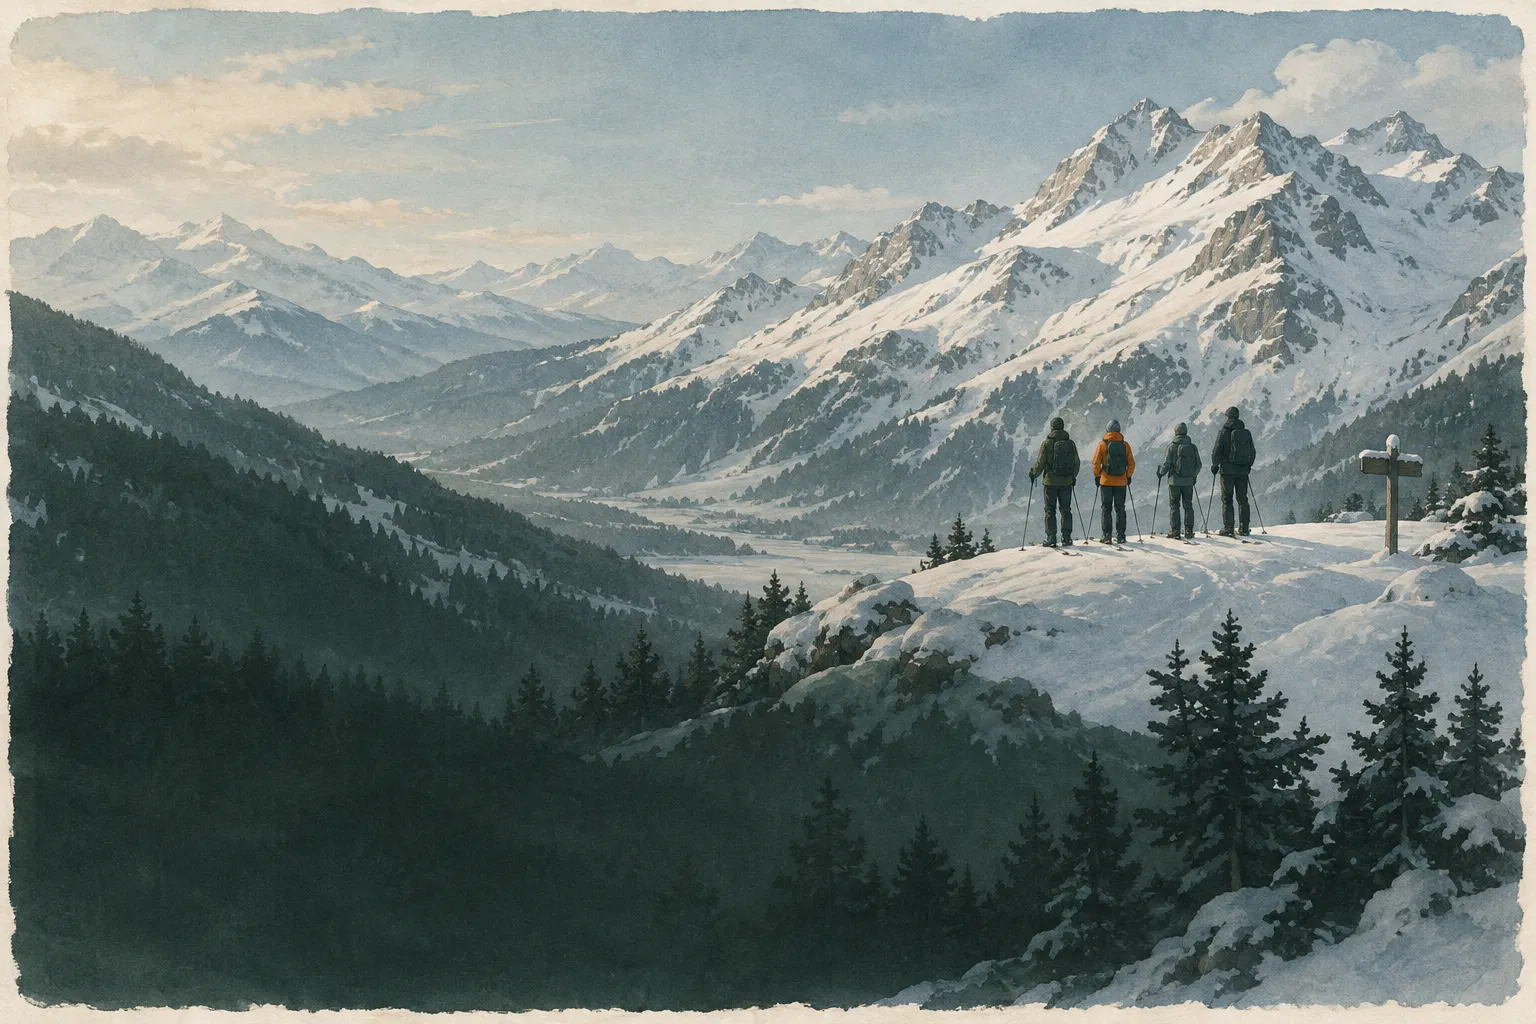
Ski tourers standing on a safe flat ridge looking at steep snow slopes

I am out in winter and there is avalanche danger

Fresh snow, bright sunshine, an untracked slope – and the bulletin shows a raised danger level. The most important avalanche rescue is the decision not to go in at all.

First

  1. Read the current regional avalanche bulletin: danger level, avalanche problems, affected elevations and slopes.
  2. Without avalanche training and rescue gear stay on secured pistes, cleared winter paths and marked routes.
  3. Take warning signs seriously: fresh avalanches, whumpf sounds, cracks in the snowpack – then turn back.
  4. If an avalanche releases and someone is buried: call 112 at once and watch the spot where the person was last seen.

Call emergency services if

  • Someone has been caught by an avalanche or is missing
  • You are stuck in avalanche terrain and cannot get back safely
  • Injury or hypothermia
  • Darkness falling in steep, snowy terrain

What is happening

Avalanches usually release where people trigger them: on steep slopes away from secured pistes and paths, often shortly after new snow or wind. For people without training the warning signs are hard to read – a slope can look completely harmless and still be dangerous.

In winter the avalanche warning services of the Alpine countries publish a daily avalanche bulletin with a Europe-wide danger level from 1 (low) to 5 (very high), plus the main avalanche problems and the elevations and slope aspects most affected. Even at middle levels such as 2 (“moderate”) and 3 (“considerable”) people can trigger avalanches on steep slopes – at level 3 even with a low additional load.

Equipment such as an avalanche transceiver, probe and shovel is vital in an emergency but does not prevent an avalanche. It only helps if everyone in the group is trained and practises companion rescue regularly. Anyone without that does not belong in avalanche terrain – not even “just briefly” next to the piste.

This page does not replace an avalanche course and does not teach rescue technique. It helps with the decisions before: read the bulletin, choose the terrain, recognise warning signs, turn back – and in the worst case raise the alarm at once.

Step by step

I am out in winter and there is avalanche danger – Phase 1 of 4The evening before and in the morning: get informed. Read the current regional avalanche bulletin: danger level, avalanche problems, affected elevations and aspects. Check the weather: new snow, strong wind and rapid warming increase the danger. Adapt the trip to the situation – or choose an alternative: piste, cleared winter path, valley loop. Leave a trip plan with route and return time.
Phase 1 of 4

Phase 1 of 4

The evening before and in the morning: get informed

Read the current regional avalanche bulletin: danger level, avalanche problems, affected elevations and aspects. Check the weather: new snow, strong wind and rapid warming increase the danger. Adapt the trip to the situation – or choose an alternative: piste, cleared winter path, valley loop. Leave a trip plan with route and return time.

The animation shows the key actions of each phase schematically; the text below is what counts.

  1. Phase 1

    The evening before and in the morning: get informed

    • Read the current regional avalanche bulletin: danger level, avalanche problems, affected elevations and aspects.
    • Check the weather: new snow, strong wind and rapid warming increase the danger.
    • Adapt the trip to the situation – or choose an alternative: piste, cleared winter path, valley loop.
    • Leave a trip plan with route and return time.
  2. Phase 2

    On the way: terrain and warning signs

    • Without training and rescue gear stay on secured pistes and marked winter paths. Closures and warning signs always apply.
    • With training: transceiver check at the start, keep distances, cross steep slopes one at a time, regroup at safe points.
    • Watch for warning signs: fresh avalanches, “whumpf” sounds, cracks shooting through the snowpack.
    • If there are warning signs or you are unsure, turn back – along your own track, away from steep slopes.
  3. Phase 3

    If an avalanche releases

    • Call 112 at once – ideally one person calls while the others act. Give the location, number of missing people and time.
    • Remember or mark where the person was last seen.
    • Trained groups start the practised companion rescue at once; anyone without training follows the dispatcher's instructions and fetches helpers.
    • Look after your own safety: nobody else goes onto endangered slopes above.
  4. Phase 4

    After the day

    • Once down, inform the dispatcher and contact person if an alarm was raised or you are late.
    • Talk it through: what did we see, where were we unsure, what will we do differently next time?
    • Plan an avalanche course with an alpine club, mountain school or comparable provider before going into open terrain.
    • Take distressing experiences seriously and talk about them.

★ Pro tips

What experienced people do differently: proven practice from mountain rescue, fire services, lifeguards and civil protection that beginners rarely know.

  1. The number that matters: 30 degrees

    Slab avalanches usually release on slopes of about 30 degrees and steeper. Many official online maps can show slope angles in colour. Use them at home to see where your route gets steeper than 30 degrees and where steep slopes lie above it.

  2. In spring: start early, finish early

    In spring the sun softens the snow over the course of the day and the risk of wet-snow avalanches rises. Starting early means you travel on frozen, supportive snow. Be off sunny slopes before they turn soft.

  3. Recognise wind-drifted snow

    Wind carries snow onto the sheltered side of ridges and rolls. Signs include cornices, snow plumes blowing off ridges, rippled snow surfaces and pillow-shaped deposits. Such spots are especially dangerous – avoid them, above all after new snow with wind.

  4. Check three times: at home, en route, at the slope

    Experienced ski tourers do not decide once but three times: when planning at home, on the way based on weather and snow, and again right before each steep slope. If something does not match the bulletin, the more cautious view wins. A "no" at any of these points means turning back.

  5. Read the bulletin again in the morning

    Many avalanche warning services publish the bulletin the evening before and update it in the morning when needed. So read it again shortly before you set off. Wind, new snow or rain overnight can change a lot.

What to watch out for

  • Fine weather after new snow

    The first sunny day after snowfall draws many people onto untracked slopes – exactly when the snowpack has often not yet settled.

  • Tracks are no proof

    The fact that someone has already skied a slope does not mean it is safe. Some avalanches are only triggered by the second, third or tenth person.

  • Danger from above

    Avalanches can also come down onto flat ground from steep slopes above. Winter paths beneath steep flanks are therefore sometimes closed.

  • Group pressure

    A goal you are determined to reach, time pressure or a dominant person often lead to risky decisions. Anyone may say “no”, and the group follows the most cautious voice.

  • Closed pistes

    Closures have reasons: avalanche blasting, piste machines with winch cables or acute avalanche danger. Never ride closed areas.

Common mistakes

  • Going “just briefly” off the piste without training and equipment.
  • Not reading the avalanche bulletin or only looking at the danger level.
  • Taking existing tracks as a sign of safety.
  • Ignoring warning signs because the goal is so close.
  • Discussing first after an avalanche instead of raising the alarm at once.

Prepare in advance

  • Take an avalanche course and practise companion rescue every season.
  • Anyone going into open terrain: transceiver, probe and shovel for each person – and the skill to use them.
  • Know the region's avalanche warning app or site and use it daily.
  • Do your first trips in open terrain with a certified mountain guide.
  • Fix turnaround points and alternatives at the planning stage.

Special consideration

Families and children
With children in winter stay on secured pistes, cleared paths and marked winter routes only. Children tend to ride into deep snow beside the piste – agree clear limits beforehand.
Snowshoers and walkers
Snowshoe routes can also pass through avalanche terrain. Use only designated routes and take the bulletin as seriously as for ski touring.

Sources

  • European Avalanche Danger Scale · European Avalanche Warning Services (EAWS)
  • Mountaineering: The Freedom of the Hills, 9th edition · The Mountaineers Books, 2017
  • International Commission for Alpine Rescue (ICAR) – recommendations and information (organisation website) · ICAR – International Commission for Alpine Rescue
  • 112 – the European emergency number · European Commission

Your situation

Out as
Training and equipment
Observation

Matching entries

0 rules apply

No AI decides here. Every recommendation is based on a visible rule.

Add details about your situation above to get more specific guidance.

Basics for this situation

Why: Always applies to this situation – regardless of your answers.

All rules of this situation (6)
  1. [not active] If Training and equipment = No avalanche training

    Without training keep out of avalanche terrain – even at a low danger level. Closures and warning signs always apply.

  2. [not active] If Out as = Ski tour or freeride

    Off-piste only with training, a checked transceiver, probe, shovel and partners – ride steep slopes one at a time and regroup in safe spots.

  3. [not active] If Out as = Ski resort, piste

    Stay on open, secured pistes. Never ride closed runs or areas.

  4. [not active] If Out as = Winter walk / snowshoes

    Winter footpaths can also run beneath steep slopes. Use only cleared or marked winter routes and respect closures.

  5. [not active] If Observation = Fresh avalanches, whumpfs, cracks

    Warning signs mean: turn back along your own track, keep away from steep slopes. Giving up is a good decision.

  6. [not active] If Observation = Avalanche released, someone missing

    Call 112 at once – ideally one person calls while the others start the practised companion rescue if they are trained and equipped for it. Watch out for further avalanches.