Bow drill troubleshooting: when no ember forms
Most bow drill attempts fail for a few typical reasons: damp or unsuitable wood, polished (glazed) friction surfaces, a notch that is too small, too little pressure or stopping too early. This overview matches signs – smoke but no ember, squeaking, a spindle that pops out, light coarse dust – to likely causes and fixes.
- Each correction costs another strenuous attempt
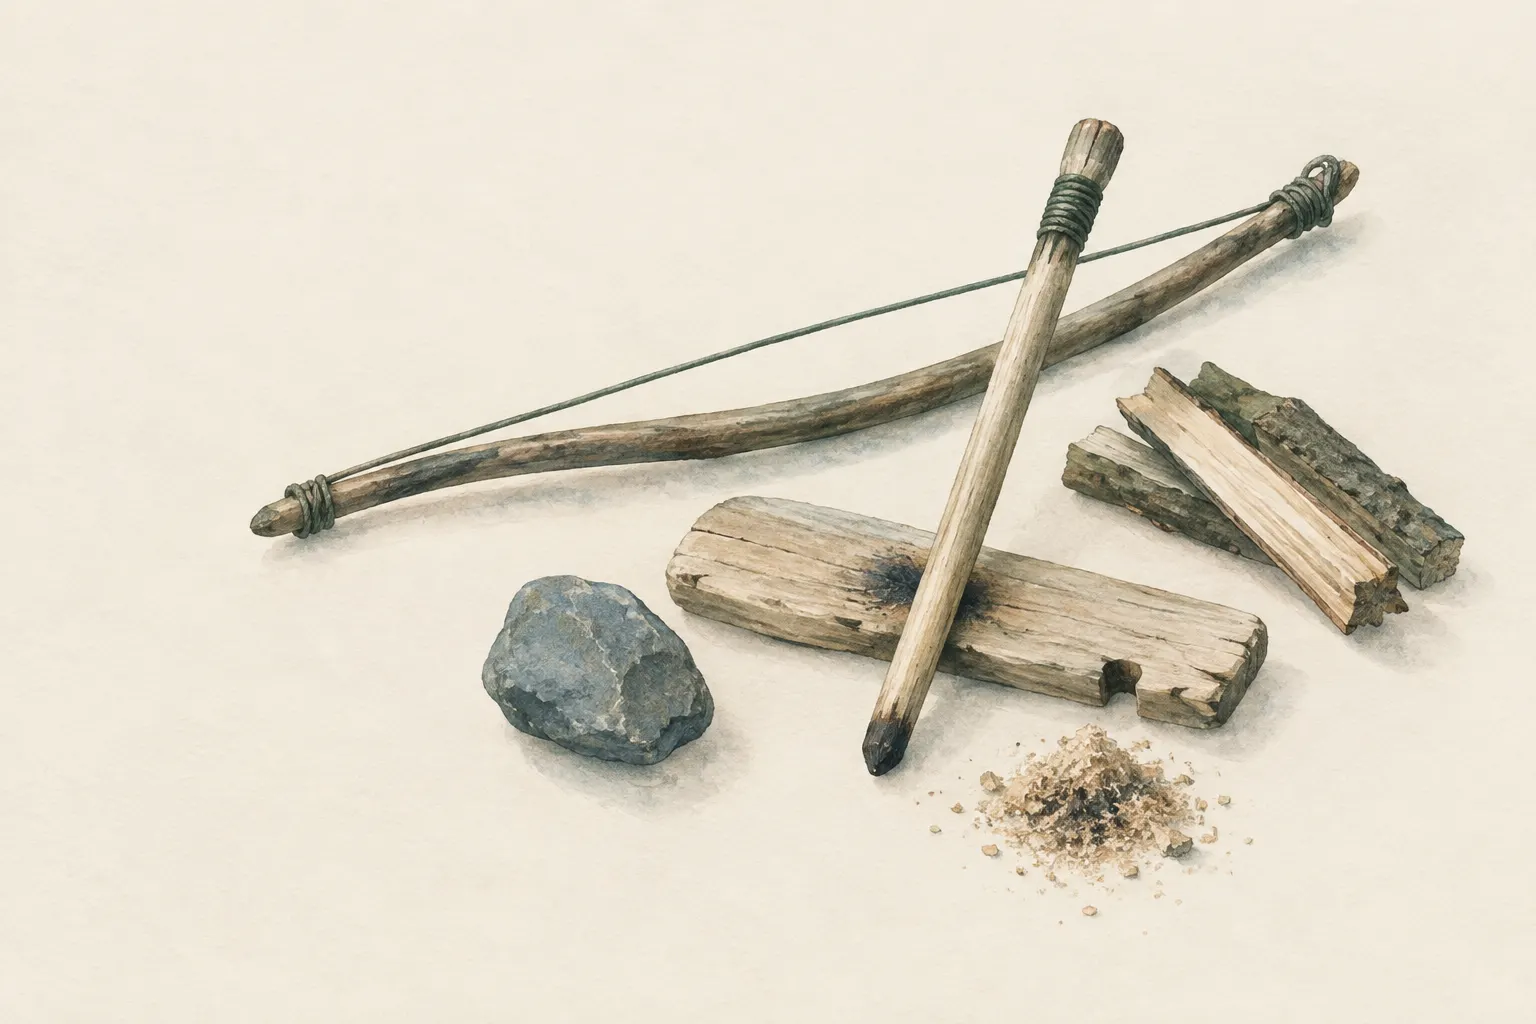
Explained simply
With a bow drill you use a bow to spin a wooden stick very fast in a small hollow in a board. The rubbing creates heat, just as your hands get warm when you rub them together in winter. Fine, dark wood dust forms in the process. When enough of it gets hot enough, a small ember forms.
Often it does not work the first time – and that is completely normal. Then it helps to watch for clues like a detective: does the stick squeak? Is the dust light or dark? Does the stick pop out? Each sign tells you what you can change.
Very important: the bow drill is an exercise, not an emergency plan. If you are cold or tired, save your strength and use a lighter instead. And when re-carving, always cut away from your body.
How it works
An ember forms when enough very hot, fine wood dust collects in the notch of the board and stays together there. The dust comes from wear on the spindle (the spinning stick) and the socket. The notch is a wedge-shaped cut at the edge of the socket where the dust gathers, stays warm and eventually starts to smoulder by itself.
For this to work, pressure and speed must match. Too little pressure just lets the surfaces slide over each other and polishes them. Too little speed produces dust, but only lukewarm dust. Moisture in the wood uses up heat because the water has to evaporate first before the wood can get hot enough – which is why no technique helps with damp wood.
Reading the signs
Lots of smoke but no ember: usually you stop too early or the notch is too small. Smoke only means that it is getting hot – not that there is already an ember. Keep going for a few dozen more even strokes after the first smoke and widen the notch so that it reaches roughly to the centre of the socket.
Squeaking and shiny surfaces: spindle and socket are “glazed”, i.e. polished smooth, and slip instead of grinding. Roughen them with the knife and start with more pressure. If it keeps happening, the wood is probably too hard or too resinous. The dust also tells you a lot: light, coarse dust points to too little speed or damp wood. Dark brown to black, fine dust that clings together is a good sign.
The spindle pops out: carve it straighter and rounder, deepen the sockets slightly and brace the hand holding the bearing block firmly against your shin. Move the bow along its full length and evenly. If the cord slips, adjust the tension; if the top end gets hot, smooth or grease the upper socket and carve the top of the spindle a little more pointed.
What really matters
The wood matters more than anything else. It must be dry, medium-hard and low in resin. Wood species are deliberately not named here because the atlas does not describe plant identification – it is best to learn this on a course with wood that someone knows for certain. Unsuitable wood cannot be “corrected away”.
Body position is just as important. A stable, calm stance with your foot firmly on the board and the pressing hand braced on your shin makes the movement even. Jerky, short bow strokes produce less heat than long, steady ones. And once the ember is there: leave it alone for a moment before moving it – a young ember falls apart easily.
Safety: what to watch out for
The bow drill takes a lot of strength and sweat. In a real emergency with cold and exhaustion, exactly that can become dangerous, because sweaty clothing and fatigue make you cool down. In that case, first secure warmth with clothing and shelter and use modern ignition sources. Always carry at least two of them.
When re-cutting the notch and socket, work away from your body and rest the board securely, not on your thigh. A practice fire is also a real fire: check local rules and wildfire danger beforehand and keep extinguishing water ready.
How to practise it
Practise in good weather, with wood you know and with plenty of time. Change only one thing at a time – for example only the pressure or only the notch – so you can tell what really helps. A partner who watches and tells you whether the spindle is upright is very helpful.
Success rates typically improve only after many hours of practice. That is not a sign of clumsiness; many small details simply have to come together. When your arms get tired, take a break – with exhausted muscles the movement gets shaky, and that costs more than it gains.
Step by step
Lots of smoke but no ember
Often you stop too early or the notch is too small. Keep going for a few dozen more even strokes after the first smoke and widen the notch so that it reaches roughly to the centre of the socket.
- 1
Lots of smoke but no ember
Often you stop too early or the notch is too small. Keep going for a few dozen more even strokes after the first smoke and widen the notch so that it reaches roughly to the centre of the socket.
- 2
Squeaking and shiny surfaces
Shiny, smooth friction surfaces on spindle and socket slip instead of grinding. Roughen them with the knife and start with more pressure. If the problem persists, the wood is usually too hard or resinous.
- 3
Read the dust
Light, coarse dust points to too little speed or damp wood. Dark brown to black, fine dust that clings together is a good sign.
- 4
Spindle pops out
Carve the spindle straighter and rounder, deepen the sockets slightly and brace the bearing-block hand firmly against your shin. Move the bow evenly along its full length.
- 5
Cord slips or breaks
Adjust the cord tension: the spindle must sit tightly without loading it becoming a struggle. Replace worn cord.
- 6
Top end gets hot
If the spindle grinds more at the top than at the bottom, smooth or lubricate the bearing-block socket (e.g. with a little grease) and carve the top of the spindle more pointed.
Common mistakes
- Practising with damp or green wood
- Stopping at the first smoke
- Jerky, short bow strokes
- A notch that is too small or badly placed
- Moving the young ember too early
Quick view
Materials
Bow drill set (bow, spindle, hearth board, bearing block)
Use only dry wood.
Requires a lot of practice.
Knife (fixed or locking blade)
Cut away from your body.
Rules on carrying knives differ by region – check local rules.
Suitable for
- Practice and courses
- Targeted improvement of technique
Not suitable for
- Real emergencies with cold and exhaustion
- Continuous rain and damp wood
Prerequisites
- A complete bow drill set
- The basic bow drill technique
- A knife and the skill to use it safely
Safety
- Friction fire is not a reliable emergency plan. If you are cold or exhausted, save energy and secure warmth with clothing and shelter first. Always carry at least two modern ignition sources.
- When re-cutting the notch and socket, carve away from your body and rest the board securely.
How it works
An ember forms only when enough very hot, fine wood dust collects in the notch and stays together there. Speed and pressure must match: too little pressure polishes the surfaces, too little speed only produces lukewarm dust. Moisture uses up heat before the wood gets hot enough.
Advantages
- Saves many failed attempts
- Builds understanding of friction heat
Disadvantages
- Does not replace guidance and practice
- Unsuitable wood cannot be ‘corrected away’
Deep knowledge
Background
Bushcraft textbooks describe the bow drill in detail because, although it looks simple, many small details are decisive. Success rates typically improve only after many hours of practice with familiar wood.
Wood species are deliberately not named here, as the atlas does not describe plant identification; what matters is dryness, medium hardness and little resin.
Common mistakes
- Practising with damp or green wood
- Stopping at the first smoke
- Jerky, short bow strokes
- A notch that is too small or badly placed
- Moving the young ember too early
Limits and risks
- No technique helps with damp wood
- Exhaustion ends every further attempt
Material alternatives
Derived from material properties: a substitute must have all relevant properties. Observe the notes on the substitute.
- Bow drill set (bow, spindle, hearth board, bearing block)
- Lighter, matches or ferro rod (Observe local fire bans.), Ferro rod (Practise before you need it.), Fire striker and hard stone (Carbon steel, not stainless.), Burning lens / magnifier (Never leave lying in the sun – fire risk.), Fire piston (Maintain the seal.)
Results come exclusively from structured entries. No improvised instructions are generated.
Sources
Mors L. Kochanski – Lone Pine Publishing: Bushcraft: Outdoor Skills and Wilderness Survival
Construction, technique and failure points of the bow drill
Ray Mears – Hodder & Stoughton (2002): Bushcraft
Bow drill fire lighting