Top-down (upside-down) fire
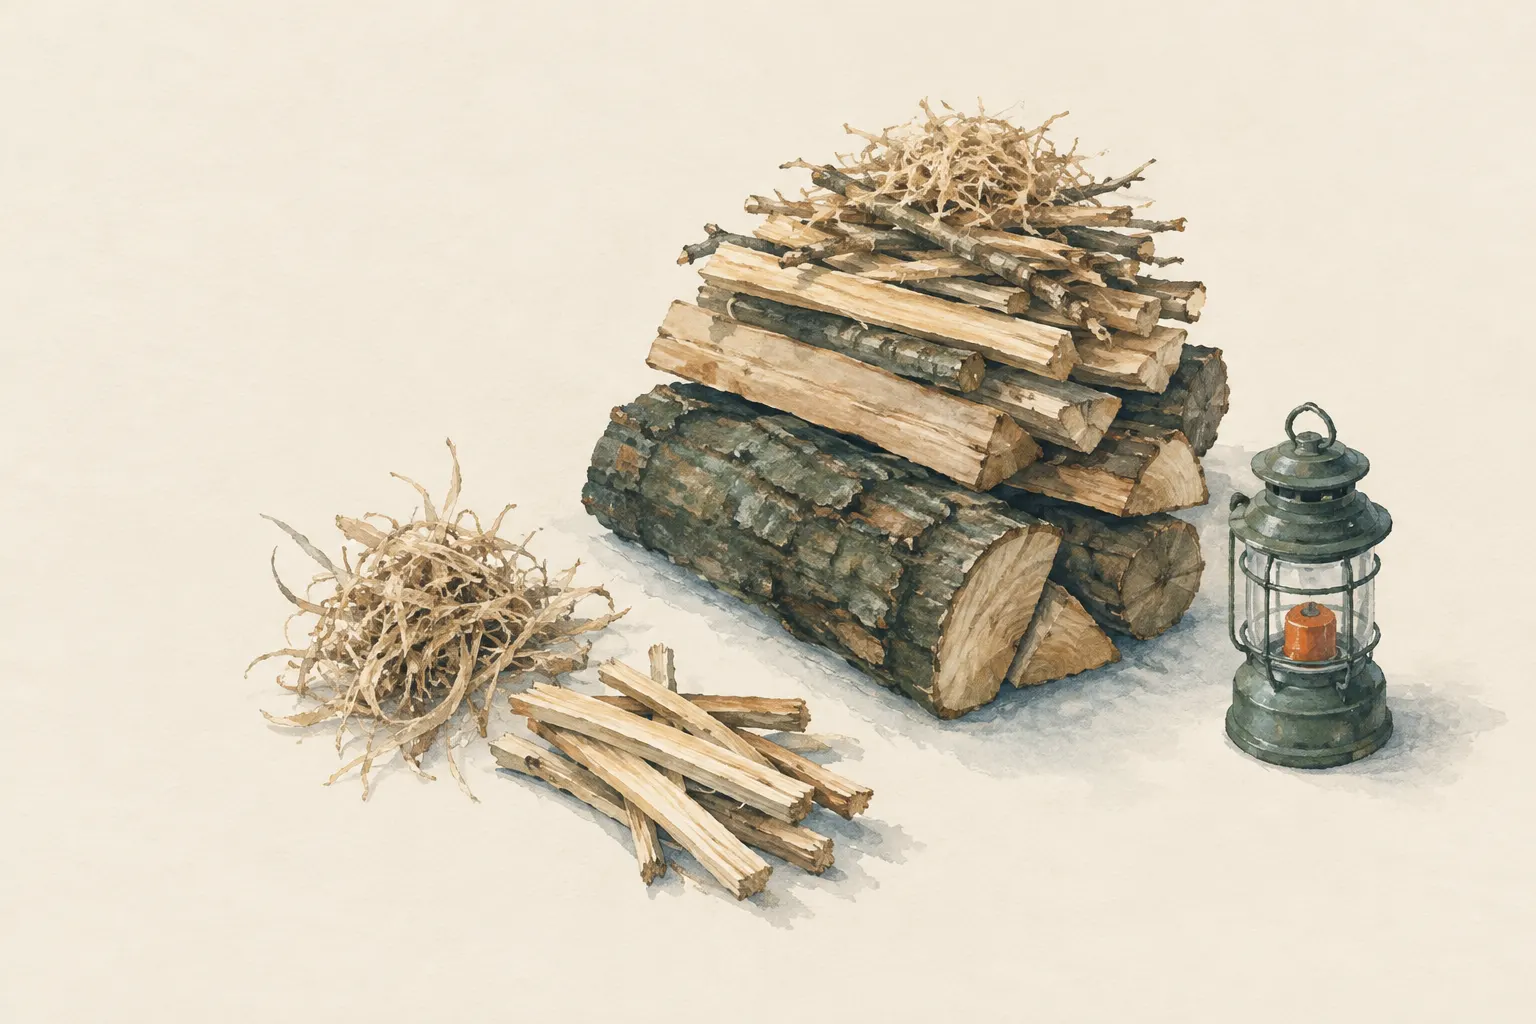
In the top-down fire, the thickest logs lie at the bottom and the layers get thinner towards the top; tinder and kindling sit right on top. The fire burns slowly downwards, needs little tending and lasts a long time. It does, however, require careful preparation of enough dry wood.
- 15–20 minutes to build
Explained simply
In most fires, the thin wood is at the bottom and the thick wood goes on top later. In the top-down fire you do the exact opposite: the thickest logs lie at the bottom, thinner and thinner layers go on top, and right at the top sits a small teepee of tinder and fine kindling. You light it at the top.
The fire then slowly eats its way down through the stack – a bit like a candle burning down from the top. Embers fall down and light the next, slightly thicker layer. You hardly need to add wood, and the fire burns for a long time.
The catch: you have to gather a lot of dry wood beforehand and stack it carefully. And as with every fire: only where it is allowed.
How it works
The flame at the top warms the layer directly below. When wood is heated, it gives off combustible gases, which the flame then burns as well. Once the upper sticks have burned through, their embers fall onto the next layer and ignite it. That is how the fire works its way down step by step.
The big advantage: the fire is never buried under new wood. With an ordinary fire, adding wood presses cool wood onto the flame, and it smokes until it burns itself. In a top-down fire the fuel is already in place and is preheated from above. That is why there is usually little smoke once it has got going.
What really matters
The chain must not break. The jump in thickness between two layers must not be too big, otherwise the embers of the thinner layer are not enough to light the thicker one. Think of a staircase: each step should be only a little higher than the one before.
At the bottom the wood must be especially dry. Damp sticks in the lower layers stall the fire exactly when it is supposed to keep going by itself. Lay the bottom layer of the thickest logs close together, each further layer crosswise on top and slightly thinner.
At the top you need enough tinder and the finest kindling. The small teepee on top has to produce enough embers to light the first layer of wood reliably. Do not skimp here – better to prepare a little more fine material.
When it makes sense – and when not
The top-down fire suits a calm evening fire that should burn for a long time without someone constantly adding wood. It forms stable embers and needs little tending. Lighting from the top is also recommended for wood stoves because the wood burns more cleanly.
It is less suited to quick cooking: it takes a while for the hot embers to reach the bottom. It works poorly with wet wood, because the chain then breaks at a damp layer. If you have only a little wood or are in a hurry, a teepee is the better choice.
Safety: what to watch out for
Even a fire that needs little tending must never be left unattended. Precisely because it burns for a long time on its own, it is tempting to wander too far away or fall asleep. Stay nearby and keep water ready for putting it out.
Check the local rules and current wildfire danger before every fire; fire bans always apply. Do not build the stack higher than necessary, so the flames stay small and few sparks fly. Never pour flammable liquids onto the stack, even if the start is slow.
Because the fire burns for a long time, there is often a thick layer of embers at the end. Put it out with plenty of water, stir thoroughly and keep pouring until nothing hisses any more and everything is cold.
How to practise it
Build your first top-down fire on an evening when you have time, at a permitted fire site. Gather wood beforehand in at least four thicknesses: thick logs, forearm-thick, thumb-thick and pencil-thick sticks, plus tinder and matchstick-thin wood.
Light it and watch without interfering. Where does the fire stall? Is a layer too thick or too damp, or are the sticks too close together? With every attempt you learn what the staircase must look like for the fire to run through by itself.
Step by step
Bottom layer
Lay the thickest logs close together as a base.
- 1
Bottom layer
Lay the thickest logs close together as a base.
- 2
Cross layers
Lay each further layer crosswise and slightly thinner until you reach kindling thickness.
- 3
Tinder on top
Set a small teepee of tinder and the finest kindling on the top layer.
- 4
Light on top
Light the tinder on top and let the fire do its work.
Common mistakes
- Too large a jump between layers
- Damp wood in the lower layers
- Too little kindling on top
Quick view
Materials
Dry firewood
Collect only where permitted.
Tinder
Carry in waterproof packaging.
Do not use liquid accelerants as tinder.
Suitable for
- A long-burning fire with little tending
- Evening fires
- Little smoke once it is going
Not suitable for
- Quick cooking
- Wet wood
Prerequisites
- A safe, permitted fire site
- Plenty of dry wood in all thicknesses
How it works
The flame at the top heats the layer below, whose gases then burn too. Embers drop slowly and ignite the next, thicker layer. Because the fire starts at the top, it is not smothered by wood added on top.
Advantages
- Long burn time
- Little tending
- Stable embers
Disadvantages
- Needs a lot of prepared wood
- Slow start
Deep knowledge
Background
The principle is also known as the pyramid or ‘upside-down fire’ and is recommended for wood stoves as ‘top-down lighting’ because it burns more cleanly.
Outdoors, the preparation pays off in a fire that burns without constant refuelling.
Common mistakes
- Too large a jump between layers
- Damp wood in the lower layers
- Too little kindling on top
Limits and risks
- If preparation is insufficient, the chain breaks
Material alternatives
Derived from material properties: a substitute must have all relevant properties. Observe the notes on the substitute.
- Dry firewood
- Tinder (Carry in waterproof packaging.), Char cloth (charred cotton) (Store dry in a tin.), Finest-grade steel wool (Store separately from batteries – fire risk.), Fatwood (resin-rich wood) (Collect only dead wood where permitted.), Stove fuel (canister, liquid fuel, alcohol) (Store fuels apart from food and in original containers or bottles intended for them.), Petroleum jelly cotton balls (Use only pure cotton.)
- Tinder
- Dry firewood (Collect only where permitted.), Char cloth (charred cotton) (Store dry in a tin.), Finest-grade steel wool (Store separately from batteries – fire risk.), Fatwood (resin-rich wood) (Collect only dead wood where permitted.), Stove fuel (canister, liquid fuel, alcohol) (Store fuels apart from food and in original containers or bottles intended for them.), Petroleum jelly cotton balls (Use only pure cotton.)
Results come exclusively from structured entries. No improvised instructions are generated.
Sources
Headquarters, Department of the Army (USA) (2002): FM 3-05.70 Survival
Pyramid fire lay