Quinzhee (hollowed snow mound)
A large pile of shovelled snow is left to settle and then hollowed out. It works even with little snow depth but costs a lot of time and energy and carries collapse, suffocation and carbon monoxide risks. Only with two or more people, with practice and never in avalanche terrain.
- Several hours including waiting time for settling
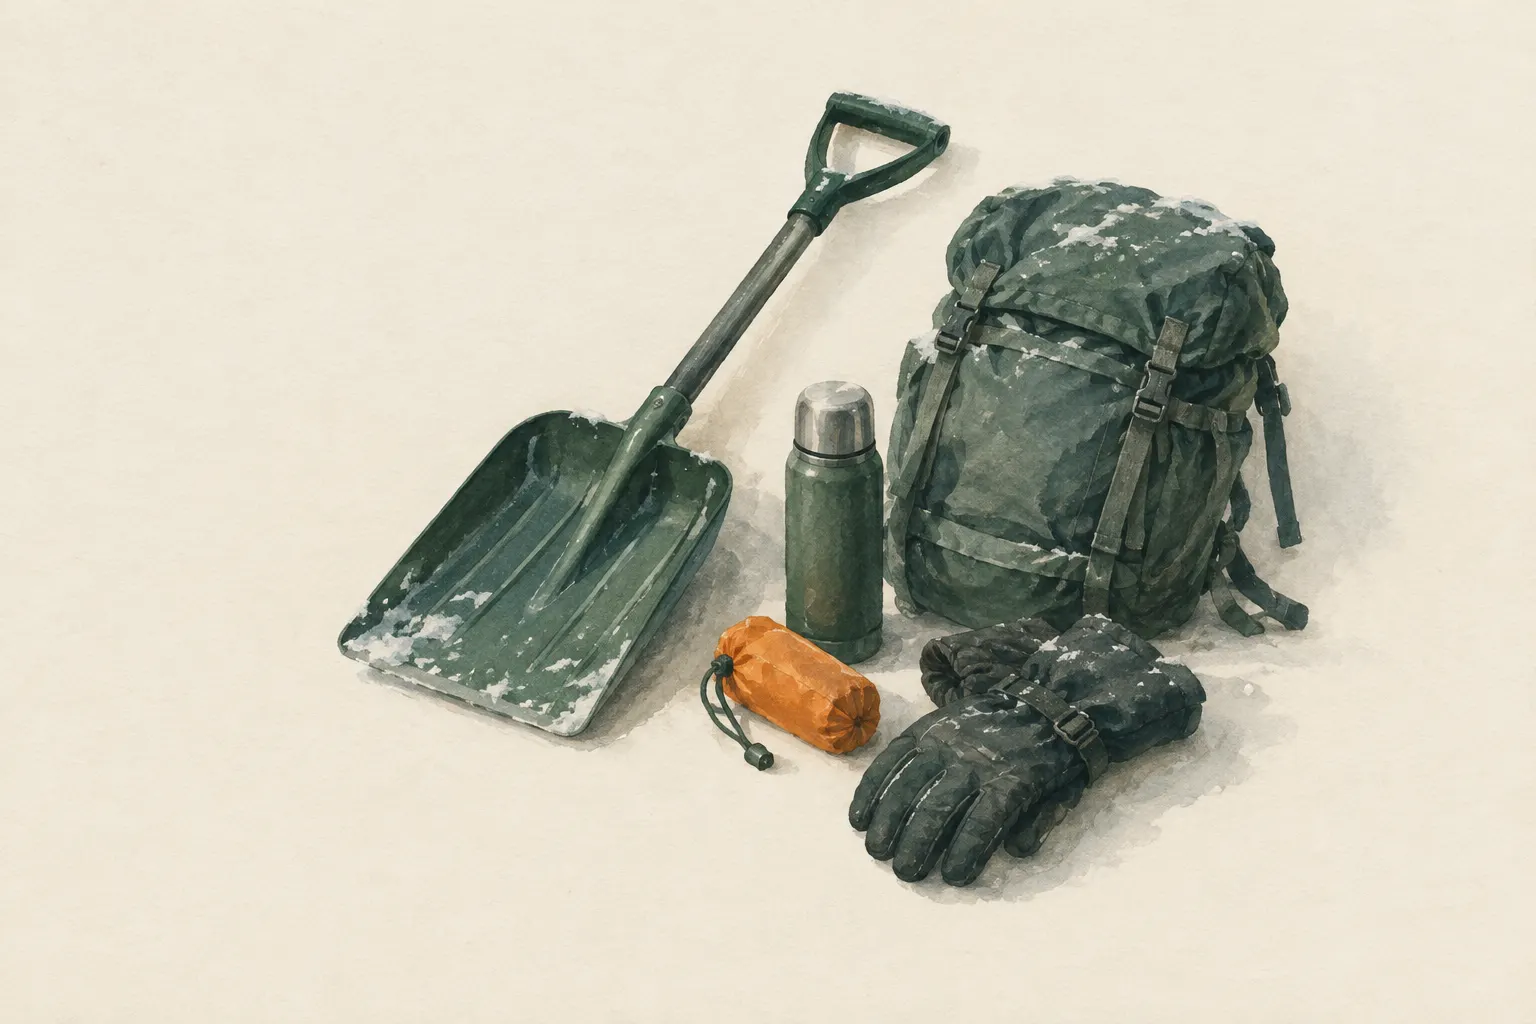
Explained simply
A quinzhee (pronounced roughly “kwin-zee”) is a big pile of snow that you hollow out – almost like an igloo, only without blocks. First you shovel a lot of snow into a round mound. Then you wait until the snow has settled and become firmer. Only then do you dig a cave into it from the inside.
So that the roof does not end up too thin, you first push sticks of equal length into the mound. When you hit the end of a stick while digging, you stop digging at that spot.
It is a lot of work and not without danger. Never build alone: one person digs, the other stays outside and can help at once. And never a stove or candle inside – always keep an air hole open.
How it works
When you shovel snow, the snow crystals are mixed up and broken. Over time they bond with each other again – this is called settling or sintering. That makes the pile load-bearing, a bit like loose sugar grains caking together. Only once this has happened can it be hollowed out without collapsing straight away.
The advantage over a snow cave: you do not need a deep snowdrift. A quinzhee works even with little snow depth, because you gather the snow yourself. But that costs a lot of time and energy.
Inside, the same applies as in any snow shelter: warm air rises. So the sleeping platform is higher than the entrance, and the low entrance becomes a cold trap. A smooth, domed inner ceiling lets drips run down the walls instead of dripping onto you.
Safety: what to watch out for
Never build or hollow out alone. One person digs, the other stays outside and can help immediately if it collapses. The shovel is always at hand – inside at night as well. Walls or roofs that are too thin, and thaw conditions, lead to collapse. At cracks, a sagging ceiling or heavy dripping, get out at once. Do not sleep inside in thaw or rain.
Stoves, candles and burners can produce lethal amounts of carbon monoxide in a snow shelter and use up oxygen. An open ventilation hole is mandatory, pushed at an angle through the roof and kept clear regularly. Stoves are run outdoors as a rule.
Digging makes you wet and sweaty, and soaked clothing can trigger hypothermia. Take off insulating layers first, work slowly and take turns. Avalanche terrain is excluded: no building on or below slopes, under cornices or in gullies. At signs of hypothermia, call the local emergency number (112 in the EU).
What really matters
Patience while it settles is decisive. Anyone who digs too early digs into loose snow that slides in or caves in. How long settling takes depends strongly on the type of snow and the temperature – there is no reliable figure. Stay warm and dry during this time instead of standing around and getting cold.
The thickness markers are your most important safeguard. Push sticks of equal length vertically into the mound from outside, all round, until they are flush with the surface. As soon as you see the end of a stick while hollowing out, the wall is thick enough at that spot – stop digging there. Without markers the roof almost always ends up too thin.
Very wet snow is heavy and tends to sag; very powdery, cold snow often bonds poorly. Both make building harder and less safe. Trees with a lot of snow on their branches directly above the site are also unfavourable.
When it makes sense – and when not
A quinzhee is something for planned winter trips, winter camps and courses, when at least two practised people, shovels and plenty of time are available – and the snow is not deep enough for a cave.
Precisely because it looks simple, it is underestimated. It is unsuitable alone, as darkness falls, in very wet or very powdery snow and in avalanche terrain. In real emergencies a snow trench or an emergency bivouac is usually quicker and safer.
Good to know
The quinzhee originates in North America; the name is commonly traced back to Athabaskan languages. It is practised in winter camps and outdoor courses because it works even where the snow is too shallow for a cave.
The typical causes of accidents are always the same: hollowing out alone, roofs that are too thin and missing ventilation. Anyone who takes these three points seriously and first practises the technique under guidance in safe terrain soon understands why snow shelters need experience.
Step by step
Choose a safe spot
Flat terrain with no slopes above, no snow-laden trees directly overhead.
- 1
Choose a safe spot
Flat terrain with no slopes above, no snow-laden trees directly overhead.
- 2
Pile up snow
Shovel snow into a large, round mound, mixing it as you go. Shed layers to avoid sweating.
- 3
Insert thickness markers
Push sticks of equal length vertically into the mound all round until they are flush with the surface.
- 4
Let it settle
Let the mound rest for a while. The time needed depends on snow and temperature; stay warm and dry during this time.
- 5
Hollow out – in pairs
Dig a low entrance and hollow out from inside. As soon as a stick end becomes visible, stop digging there. The second person stays outside.
Get out immediately if there are cracks, sagging or dripping.
- 6
Vent and platform
Push a ventilation hole at an angle through the roof, make the sleeping platform higher than the entrance and smooth the inner ceiling so drips run off.
- 7
Night and marking
Keep the shovel inside, clear the vent regularly, do not fully close the entrance, mark the location outside.
Common mistakes
- Digging alone
- Not letting it settle long enough
- Digging without thickness markers – roof too thin
- No ventilation hole
- Stove or candle inside
- Sweating through clothing
Quick view
Materials
Snow shovel
At least one, preferably two
Always take it inside when digging a snow shelter.
Sturdy sticks / poles
Sticks of equal length as thickness markers
Do not cut live wood where prohibited.
Sleeping pad
Dry spare clothing
Carry it in waterproof packaging – wet clothing barely insulates.
Headlamp / flashlight
Suitable for
- Planned winter practice with company
- Areas with little but sufficiently cohesive snow
Not suitable for
- Alone
- As darkness falls
- Very wet or very powdery snow
- Avalanche terrain
Prerequisites
- At least one other person
- Practical training under instruction
- Many hours of daylight
- Flat terrain safe from avalanches
How it works
Shovelled snow is mixed by being moved; over time the crystals bond again (settling or sintering) and the mound becomes load-bearing. It is then hollowed out from inside. Thickness markers show when the wall is thick enough. A sleeping platform above entrance level keeps warmer air in the room, a ventilation hole keeps the air fresh.
Advantages
- Works even with shallow snow
- Very good wind protection
- Snow insulates
Disadvantages
- Very high time and energy cost
- Collapse and CO danger
- Getting soaked while digging
- Only sensible in groups
Deep knowledge
Background
The quinzhee originates in North America; the name is commonly traced back to Athabaskan languages. It is practised in winter camps and outdoor courses because it works even where the snow is too shallow for a cave.
Precisely because it looks simple, it is underestimated: hollowing out alone, roofs that are too thin and missing ventilation are the typical causes of accidents. In real emergencies a snow trench or emergency bivouac is usually quicker.
Common mistakes
- Digging alone
- Not letting it settle long enough
- Digging without thickness markers – roof too thin
- No ventilation hole
- Stove or candle inside
- Sweating through clothing
Limits and risks
- No wall thickness or waiting times given – strongly snow-dependent
- No statements about avalanche danger
Material alternatives
Derived from material properties: a substitute must have all relevant properties. Observe the notes on the substitute.
- Sleeping pad
- Dry leaves, grass or conifer boughs (Collect only where allowed; no protected plants. Check for ticks and insects.), Backpack, Dry spare clothing (Carry it in waterproof packaging – wet clothing barely insulates.), Wool blanket / duvet (Keep away from candles, stoves and heaters.), Insulated cool box (Keeps cold only for a limited time; without ice packs or ice it is not a fridge.), Sleeping bag (Do not store compressed long-term; do not pack away damp.), Newspaper and cardboard (Flammable – keep away from candles, stoves, heaters and embers.), Insulated cooking box (hay box, thermal cooker) (Never put open flame or embers inside – only the hot, closed pot.)
- Dry spare clothing
- Sleeping pad, Dry leaves, grass or conifer boughs (Collect only where allowed; no protected plants. Check for ticks and insects.), Backpack, Wool blanket / duvet (Keep away from candles, stoves and heaters.), Insulated cool box (Keeps cold only for a limited time; without ice packs or ice it is not a fridge.), Sleeping bag (Do not store compressed long-term; do not pack away damp.), Newspaper and cardboard (Flammable – keep away from candles, stoves, heaters and embers.), Insulated cooking box (hay box, thermal cooker) (Never put open flame or embers inside – only the hot, closed pot.)
- Headlamp / flashlight
- Mobile phone (The battery drains quickly in cold and with continuous screen and GPS use.), Battery lantern / LED light
Results come exclusively from structured entries. No improvised instructions are generated.
Sources
The Mountaineers Books (2017): Mountaineering: The Freedom of the Hills, 9th edition
Snow shelters in mountaineering
World Health Organization, Regional Office for Europe (2010): WHO guidelines for indoor air quality: selected pollutants (carbon monoxide chapter)
Carbon monoxide in enclosed spaces
Wilderness & Environmental Medicine (Wilderness Medical Society) (2019): Wilderness Medical Society Clinical Practice Guidelines for the Out-of-Hospital Evaluation and Treatment of Accidental Hypothermia: 2019 Update
Wind, wet and ground contact as factors in hypothermia