Improvised snowshoes from rods, boughs and cord
If you sink to the knee with every step in deep snow, you are exhausted and soaked after a short time. Improvised snowshoes spread your weight over a larger area: a frame of two bent rods, cross bars, cord or spruce boughs as the surface, and a binding in which the foot can pivot. This is an emergency solution – often it is wiser to stay where you are and call for help.
- About 1–2 hours for a pair, less with practice
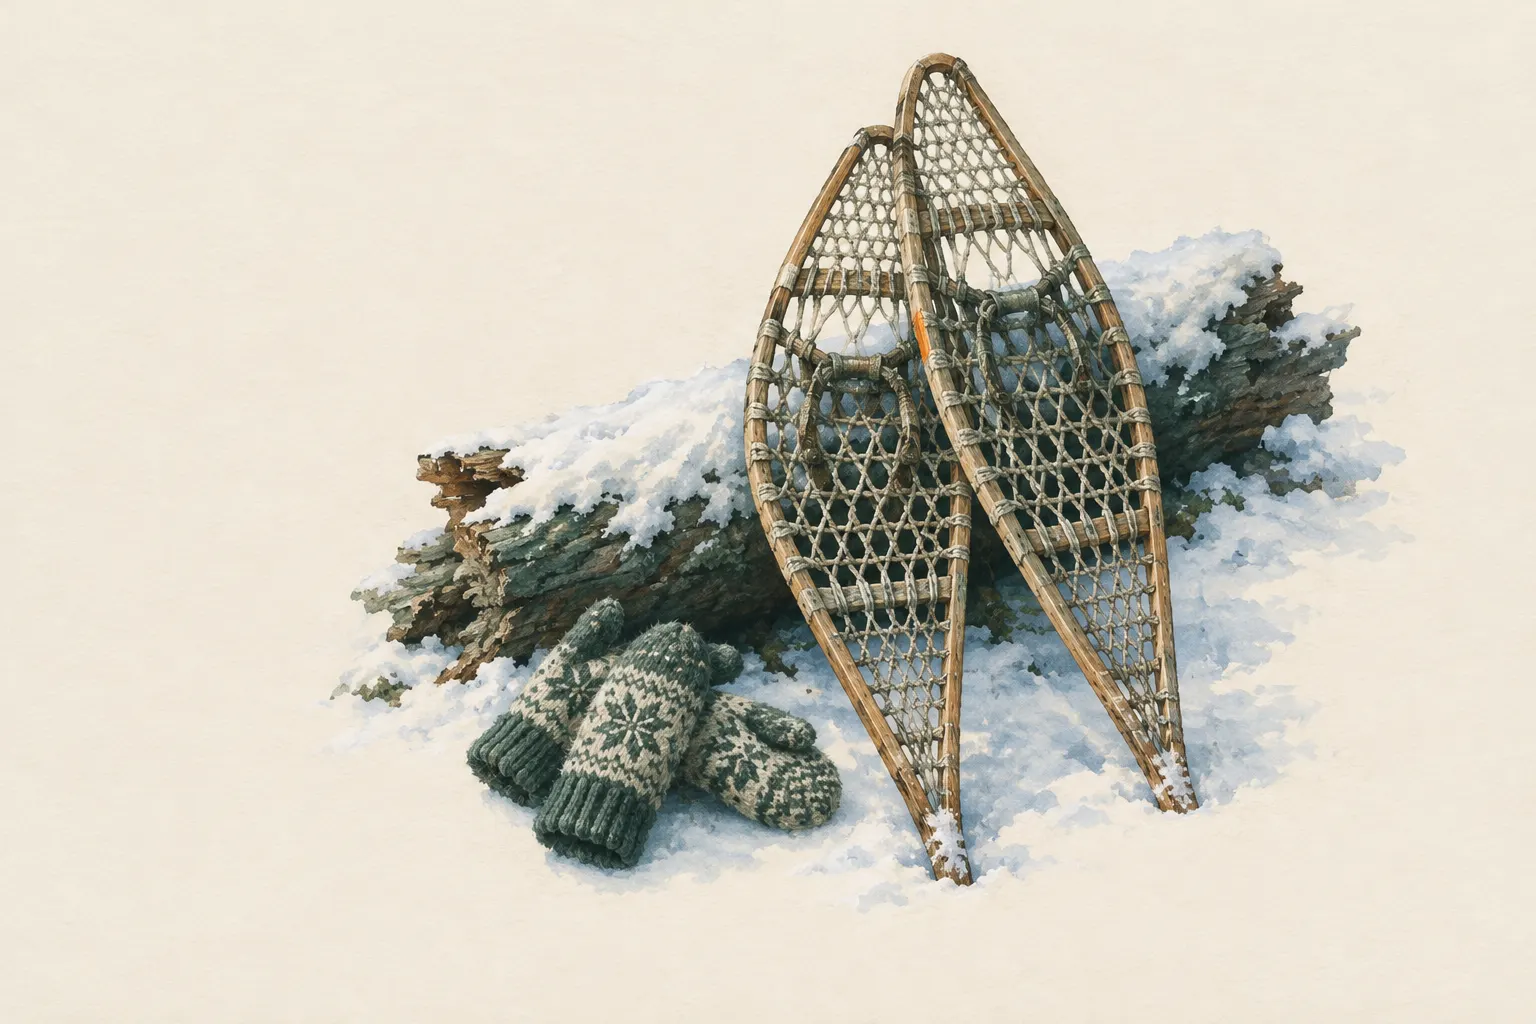
Explained simply
Have you ever tried to trudge through deep snow? With every step you sink to your knee. It is incredibly tiring, and soon your trousers and shoes are wet. Snowshoes help: they are wide and spread your weight like a duck with big feet.
In an emergency you can build some yourself. You bend a long, flexible rod into a teardrop shape, tie two cross sticks onto it and stretch cord or spruce boughs in between. Then you tie your boot on at the front so that the heel can lift.
But watch out: in winter it is often safer to stay in a sheltered place and call for help. If you set off, you sweat, get tired and freeze. And snowshoes do not protect against avalanches – they have no business on steep slopes.
How it works
Whether you sink in depends on how much weight rests on each patch of snow. A boot has only a small area – the whole body presses on it, and the snow gives way. A snowshoe has a much larger area. The same weight is spread out, the pressure on each spot of snow is smaller, and you stay higher up.
The frame gives the shape, the lacing does the carrying. Cord in a zigzag or densely laid spruce boughs form a surface that does not slip through. The two cross bars under the ball and heel stiffen the frame and give the foot support.
The pivot at the toe is important. If the boot is fastened only at the front cross bar, the heel can lift while walking. The tail of the shoe then drags behind instead of lifting a pile of snow with every step. This saves a lot of energy.
What really matters
The rods must be fresh and flexible, for example willow or hazel. Dry branches snap when you bend them. Bend slowly and evenly over your knee, not with a jerk at one spot. The overlapping ends at the back must be wrapped very tightly, or the frame will spring open.
Size helps, but only up to a point: shoes that are too big are heavy and hard to steer. About one metre long and a good 25 cm wide already carries an adult much better in many kinds of snow. In very loose powder you will still sink in a little.
The binding must not be too tight. It should hold the foot without squeezing the blood vessels. Toes that do not get enough blood freeze faster. Stop now and then, move your toes and tighten the lashings and binding.
Safety: what to watch out for
In winter the first question is always: stay or go? Movement makes you warm, but also wet with sweat, and wet clothing chills you. On top of that come exhaustion and early darkness. If you have shelter and can call for help – 112, in Austria also 140 for mountain rescue – staying is often the safer choice.
Snowshoes make walking easier, but not safer against avalanches. Avalanches release mainly on steep, open slopes. Keep to flat forest, avoid gullies and slopes, and read the avalanche bulletin if you can reach it. When the avalanche danger is raised, stay out of open terrain altogether.
Watch for signs of frostbite and hypothermia: numb, white or waxy skin on toes and fingers, violent shivering, confusion. Then stop at once, seek shelter, put on dry clothing and get help.
When it makes sense – and when not
Improvised snowshoes make sense when you must cover a short distance through deep snow in flat forest – for example to the nearest road, to a hut or to fetch firewood. They are also good practice in a winter camp, so that you know how to do it in an emergency.
They make no sense on steep ground, on ice, on frozen water and for long marches. Improvised shoes break quickly and cost time and warmth to build. For planned winter trips, real snowshoes and good trip planning belong in your pack.
Good to know
The quickest emergency solution is bough bundles: several dense spruce boughs on top of each other, tied together in the middle and laced under the boot. They do not last long but are ready in a few minutes.
You may normally cut fresh rods and boughs only with permission. In a genuine emergency saving people comes first – then take only as little as necessary, preferably from different shrubs.
Walking in snowshoes takes practice: feet a little wider apart, short steps, a steady pace. Walking slowly is better than fast and sweaty.
Step by step
Decide: stay or go
First check whether staying is safer: can you call for help? Is there shelter? Build snowshoes only if you really must move and the terrain is flat and safe from avalanches.
- 1
Decide: stay or go
First check whether staying is safer: can you call for help? Is there shelter? Build snowshoes only if you really must move and the terrain is flat and safe from avalanches.
- 2
Gather material
Per shoe one or two flexible, fresh rods (e.g. willow or hazel), about thumb thick and a good head height long. Also four short, strong sticks as cross bars and plenty of cord. Bend the rods first: they must not snap.
- 3
Bend the frame
Slowly bend the rod at its middle into a teardrop shape: rounded at the front, coming together to a point at the back. Overlap the two ends at the back and wrap them tightly and firmly with cord. A shoe about one metre long and a good 25 cm wide already carries an adult much better in many kinds of snow.
- 4
Lash on the cross bars
Lash two cross bars across the frame: one under the ball of the foot, roughly in the middle, and a second under the heel. Secure each crossing with a square lashing and frapping turns.
- 5
Lace the deck
Lace cord in a zigzag between the sides of the frame, or lay spruce boughs densely across the bars and tie them on. Leave a gap in front of the front cross bar for the toe so it can tip down while walking.
- 6
Fit the binding
Fasten a loop over the toe of the boot at the front cross bar – this is the pivot. Secure it with a second cord around the heel and over the instep. Pull it only tight enough for the shoe to hold; the heel must be able to lift.
Do not cut off circulation – risk of frostbite.
- 7
Walk correctly
Walk with your feet wider apart than usual so the shoes do not step on each other. Lift the foot slightly and slide it forward; the tail drags behind. Short steps, a steady pace, avoid sweating and take frequent short rests.
- 8
Check and repair on the way
Every few hundred metres check and tighten the lashings and binding. Keep spare cord at hand. Move your toes and if they go numb stop at once, warm up and loosen the binding.
Common mistakes
- Setting off when staying would be safer
- Using dry, brittle rods that snap when bent
- Tying the toe down rigidly – the shoe lifts snow with every step
- Pulling the binding too tight
- Walking too fast and sweating through
Quick view
Materials
Flexible rods (e.g. willow, hazel)
Per shoe 1–2 flexible rods, about thumb thick and a good head height long
Cut only with permission; many riverside shrubs are protected.
Use fresh – dry rods snap when woven.
Sturdy sticks / poles
Short, strong sticks as cross bars
Do not cut live wood where prohibited.
Paracord
Plenty of cord for lashings, lacing and binding
Not a climbing or safety rope.
Spruce or fir boughs as bedding
Spruce or fir boughs as the deck
Only use fallen boughs or cut them with the forest owner's permission.
Dry conifer boughs burn very easily – keep them away from the fire.
Knife (fixed or locking blade)
Cut away from your body.
Rules on carrying knives differ by region – check local rules.
Gloves and mittens
Suitable for
- An emergency in flat to gently sloping forest terrain with deep snow
- Short distances, for example fetching wood or reaching a road
- Practice in a winter camp
Not suitable for
- Avalanche terrain, steep slopes, icy surfaces
- Long marches – improvised shoes break quickly
- A replacement for real snowshoes on planned trips
- Frozen water bodies
Prerequisites
- Able to tie square lashings and secure knots reliably
- Warm, dry clothing and gloves
- Able to judge avalanche conditions and terrain, or not entering it at all
Safety
- Bindings pulled too tight squeeze the blood vessels – this encourages frostbite in the toes. Make the binding only tight enough to hold the foot, move your toes regularly and stop and warm up at once if they go numb or the skin turns white.
- You may normally cut fresh rods and boughs only with the owner's permission. In a genuine emergency saving people comes first – then take only as little as necessary.
How it works
The larger the area under your foot, the less pressure on each square centimetre of snow – you sink in less. An oval frame with lacing carries you like a little raft. The toe is fastened so that it can pivot at the front cross bar, letting the heel lift and the tail of the shoe drag behind while walking instead of lifting snow.
Advantages
- Much less sinking in deep snow
- Needs only rods, sticks, cord and a knife
- Saves a lot of energy over short distances
Disadvantages
- Building costs time and body heat
- Lasts only a limited time
- Unsuitable on steep ground and ice
Deep knowledge
Background
Snowshoes are among the oldest means of travelling in winter; the US Army manual FM 3-05.70 describes simple improvised snowshoes made from flexible rods and cord for emergencies.
In the Alps, deep snow is often linked with avalanche danger. So any movement in winter includes a look at the avalanche bulletin – and the honest question whether staying would be safer.
Variants
- Quick bough bundles
- Lay several dense spruce boughs on top of each other with the thick ends to the front, tie them together in the middle and bind them under the boot with cord. Does not last long but is done in minutes.
- Real snowshoes
- For planned winter trips, bought snowshoes with bindings and crampons are much safer and faster – the entry on microspikes and snowshoes explains which suits what.
Common mistakes
- Setting off when staying would be safer
- Using dry, brittle rods that snap when bent
- Tying the toe down rigidly – the shoe lifts snow with every step
- Pulling the binding too tight
- Walking too fast and sweating through
Limits and risks
- No avalanche training – take courses and read specialist literature
- No load-bearing figures
- No treatment of frostbite beyond first measures
Material alternatives
Derived from material properties: a substitute must have all relevant properties. Observe the notes on the substitute.
- Paracord
- Rope (Never use unknown or damaged rope for life-safety purposes.), Thin, soft wire (brass or galvanised steel) (Wire ends are sharp – protect eyes and fingers when bending), Tow rope or tow strap (Attach only to the towing eyes provided by the manufacturer; never stand next to it under load.)
Results come exclusively from structured entries. No improvised instructions are generated.
Sources
Headquarters, Department of the Army (USA) (2002): FM 3-05.70 Survival
Improvised snowshoes from rods and cord
European Avalanche Warning Services (EAWS): European Avalanche Danger Scale
Avalanche danger levels and recommendations
Wilderness Medical Society – Wilderness & Environmental Medicine (2019): Wilderness Medical Society Clinical Practice Guidelines for the Prevention and Treatment of Frostbite: 2019 Update
Preventing frostbite, no constricting clothing
Wilderness & Environmental Medicine (Wilderness Medical Society) (2019): Wilderness Medical Society Clinical Practice Guidelines for the Out-of-Hospital Evaluation and Treatment of Accidental Hypothermia: 2019 Update
Hypothermia from wetness and exhaustion
Mors L. Kochanski – Lone Pine Publishing: Bushcraft: Outdoor Skills and Wilderness Survival
Winter travel and improvised equipment