Roofing a hut: bark, reed or grass bundles, sod
A roof stays watertight when water always runs off over the next layer: you cover from the bottom up, each layer overlapping the one below like roof tiles. Grass bundles and reed need a steep roof, bark a medium one, sod a flatter one – but sod is very heavy. Take bark only from felled or dead trees, and always build the roof frame strong enough for wet and snow.
- Days to weeks, depending on roof size and material
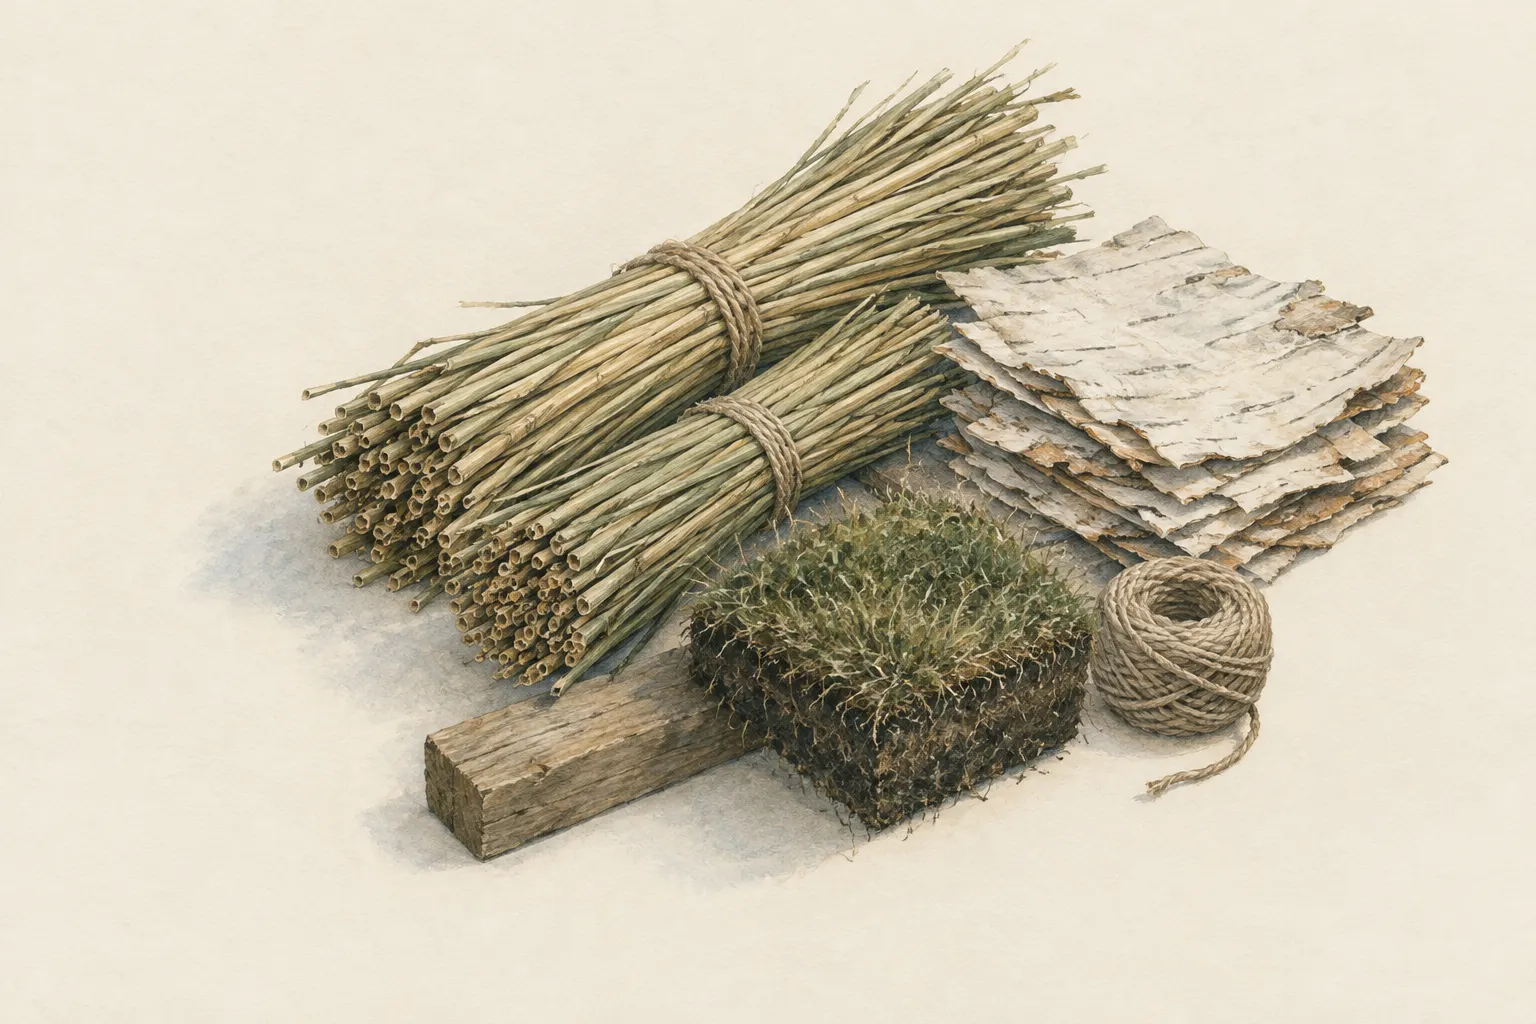
Explained simply
Take a look at a roof with roof tiles. The tiles do not lie side by side; each one lies a little over the one below – like the scales of a fish. When it rains, the water runs from tile to tile downwards and drips off at the edge without ever getting through a gap.
That is exactly how you cover a hut roof with material from nature: with pieces of bark, with bundles of reed or long grass, or with sod. You always start right at the bottom and work your way up. Each new row covers the old one. With grass and reed the roof must be steep so the water runs off quickly.
Two things are especially important. Wet sod is so heavy that a weak roof can collapse – so it needs very thick beams. And you take bark only from trees that are already felled or dead, because a living tree without its bark dies. Grass and reed roofs also burn easily, so no open fire under them without a proper smoke exit.
How it works
A natural roof is not watertight like a sheet – it sheds water. Each layer lies over the one below, so rain always lands on the top of the next layer and keeps flowing down until it drips off past the eaves. The joints always lie under a layer above, never open to the sky.
With stem roofs of reed or grass the water runs along the outside of the stalks. This only works if the roof is steep enough – roughly 45 degrees or more – and the layer thick enough that only the outermost stem ends get wet. If the roof is too flat, water stands in the layer, gets in and makes the material rot.
Sod works differently: it soaks up water and holds it. So underneath lies a watertight layer, traditionally in Scandinavia several layers of birch bark, today often a plastic sheet. The sod itself protects this layer from sun and wind, insulates and weighs it down. Because it would slide off a steep pitch, a sod roof is flatter and needs a retaining log at the eaves.
What really matters
Everything starts with the roof frame: strong rafters with battens across them, for bundles about a hand span to 30 centimetres apart. The lowest batten sits right at the eaves so the first row can be tied there. A roof overhang protects the walls – especially important with clay walls.
With bundles evenness matters. All stems point their thick end the same way, short and broken ones are sorted out. The first row is tied to the lowest batten with the thick ends down; each further row covers the previous one so far that only a small part stays visible. A thin layer saves material but does not keep water out.
Bark comes off best from freshly felled logs in spring and early summer, when the sap is flowing. You peel it in large pieces, let it dry flat under weights so it does not curl, and lay it like shingles from the bottom up. Poles laid on top and tied down stop the wind lifting it. The ridge, where the two roof sides meet, always needs its own cap.
Safety: what to watch out for
The biggest risk is a roof that is too heavy for its frame. Wet earth weighs a lot: even a layer of sod a hand's width thick can come to several hundred kilograms per square metre, and snow adds to that. A hut that collapses under this load can kill people. So sod roofs only on very strong logs with a short span – and when in doubt a lighter roof.
Stem and bark roofs catch fire very easily. An open fire in the hut needs a real smoke exit, enough distance from the roof and constant supervision; flying sparks from outside can set a roof alight too. Wherever something burns in an enclosed space, carbon monoxide forms, which you can neither see nor smell – ventilation and a CO alarm protect you.
When roofing you work at height. Stand only on load-bearing poles, never on battens or on the covering itself, work in pairs and let nobody stand beneath the work area. If rafters visibly bend or creak under snow, leave the hut at once; clear snow only from a safe position on the ground.
When it makes sense – and when not
A natural roof is worthwhile for a hut in which you stay for weeks or months, when there is enough reed, long grass, suitable bark or turf and you are allowed to take it. Bundle roofs insulate well and last a long time if done well. Bark is quicker to lay but only easy to obtain in the right season.
For a quick emergency shelter a tarp is almost always better, or a very thick layer of leaves and boughs on a steep frame. If you have a tarp but want to stay longer, the combination is ideal: tarp as the seal, natural covering on top as protection and insulation. Putting sod on a weak or doubtful roof frame never makes sense.
Good to know
Reed roofs still shape landscapes in northern Germany, the Netherlands, Denmark and Britain; thatcher is a recognised trade there. Turf roofs on birch bark were common for a long time in Norway and Iceland. Military survival manuals such as FM 3-05.70 and bushcraft textbooks describe the same basic principle for emergency shelters: from the bottom up, overlapping.
How much a roof frame can carry depends on wood species, thickness, span, moisture and snow. There is no simple rule of thumb for this, and this entry does not replace a structural calculation. A good principle is therefore: short spans, thick rafters, a lighter covering if in doubt – and a close look at the roof after every heavy rain and every snowfall.
Step by step
Choose the roof pitch
For grass and reed bundles you need a steep roof, about 45 degrees or steeper, or water gets in. Bark works at a medium pitch. Sod needs a clearly flatter roof or it slides off.
- 1
Choose the roof pitch
For grass and reed bundles you need a steep roof, about 45 degrees or steeper, or water gets in. Bark works at a medium pitch. Sod needs a clearly flatter roof or it slides off.
- 2
Fix the battens
Tie straight, thin poles across the rafters as battens, for bundles about a hand span to 30 centimetres apart. The lowest batten sits right at the eaves. Check every tie for a firm fit.
- 3
Lay bark
Bark comes off freshly felled logs most easily in spring and early summer. Let it dry flat under weights, then lay it like shingles from the eaves up: each row clearly overlaps the one below. Tie it down with poles laid on top so the wind does not lift it.
- 4
Tie bundles
For a stem roof tie reed or long grass into bundles about as thick as a forearm, all stems with the thick end in one direction. Sort out short and broken stems.
- 5
Cover from the bottom up
Tie the first row of bundles to the lowest batten, thick ends down. The next row covers the first so far that only a small part of each bundle remains visible. Continue row by row upwards. A thick layer stays watertight, a thin one does not.
- 6
Seal the ridge
At the ridge the two roof sides meet – the hardest spot. Lay bundles over it that cover both sides, or a cap of bark or sod, and tie it down well.
- 7
Sod only on a strong roof
For a sod roof you need very strong rafters, a watertight layer (traditionally several layers of birch bark) and a log at the eaves that holds the sod. Cut sod in brick-sized pieces with a spade, lay them close together and stagger the joints.
- 8
Check load and tightness
After the first rain look from inside to see where it drips and add more cover from outside. In snow watch the roof: if rafters bend or creak, get out of the hut at once. Clear snow only from a safe position on the ground.
Common mistakes
- Covering from the top down – water runs into the joints
- Too flat a roof for grass or reed
- Too thin a covering layer
- Putting sod on a weak roof frame
- Peeling bark from living trees
- An open fire under a stem roof without a smoke exit
Quick view
Materials
Sturdy sticks / poles
Rafters and battens
Do not cut live wood where prohibited.
Long-stemmed thatch (reed, grass, rushes)
For a bundle roof
Extremely flammable – no open fire and no sparks nearby.
Reed beds are often protected; harvest only where permitted.
Jute or sisal twine (bought)
For tying bundles and battens
Low strength, absorbs water and rots – light loads and practice only.
Folding saw
Fold or cover the blade after use; saw teeth are very sharp.
Small shovel / folding spade
For cutting sod
Tarp
As an extra waterproof layer
Sturdy work gloves
When handling flood mud or chemicals, also wear waterproof gloves.
Suitable for
- Huts in a long-term camp
- Areas with plenty of reed, long grass or turf
- A substitute when no tarp is available
Not suitable for
- Quick emergency shelters – a tarp or leaf layer is better
- Roofs over open fires without a smoke exit
- Sod on a weak roof frame
Prerequisites
- A finished, sturdy roof frame
- Permission for bark, reed, grass or sod
- At least a second person for work at height
Safety
- Falls from a roof are dangerous. Stand only on load-bearing poles, never on thin battens or roofing material, and work in pairs. Nobody stands beneath the work area.
- Take bark only from felled or dead trees. Peeling the bark all round a living tree kills it. For bark, reed and sod too: only with permission; reed beds are often protected.
How it works
Water follows gravity downwards. If every layer lies over the one below, it flows from layer to layer and out past the eaves without ever reaching a joint. The steeper the roof, the faster it runs off – with stems it runs along the outside of the stalks. Sod, by contrast, holds water and needs a watertight layer underneath, for example of bark, so it does not drip through.
Advantages
- Material often on site
- Grass, reed and sod roofs insulate well
- No nails, simple tools
Disadvantages
- A lot of material and work
- Stem roofs burn easily
- Sod is very heavy
- Leaks often show only in the first rain
Deep knowledge
Background
Survival manuals such as FM 3-05.70 and bushcraft textbooks describe covering shelters the same way every time: from the bottom up, overlapping like roof tiles. Reed and straw roofs are still common in northern Germany, the Netherlands and Britain; turf roofs on birch bark have a long tradition in Scandinavia.
How much a roof must carry depends on span, wood, wetness and snow. There is no simple rule of thumb for this – so when in doubt always build stronger and lighter.
Variants
- Leaf and bough roof
- For a short time a very thick layer of leaves or conifer boughs will do, again overlapping from the bottom up. Weigh it down with branches so the wind does not blow it away.
- Tarp underneath
- With a tarp under the natural covering the roof is watertight at once; the covering protects the tarp from sun and wind and adds insulation.
Common mistakes
- Covering from the top down – water runs into the joints
- Too flat a roof for grass or reed
- Too thin a covering layer
- Putting sod on a weak roof frame
- Peeling bark from living trees
- An open fire under a stem roof without a smoke exit
Limits and risks
- No load calculation for roof frames
- No instructions for professional thatching craft
- No chimney or stove construction
Material alternatives
Derived from material properties: a substitute must have all relevant properties. Observe the notes on the substitute.
- Long-stemmed thatch (reed, grass, rushes)
- Sleeping pad, Dry leaves, grass or conifer boughs (Collect only where allowed; no protected plants. Check for ticks and insects.), Backpack, Dry spare clothing (Carry it in waterproof packaging – wet clothing barely insulates.), Wool blanket / duvet (Keep away from candles, stoves and heaters.), Insulated cool box (Keeps cold only for a limited time; without ice packs or ice it is not a fridge.), Sleeping bag (Do not store compressed long-term; do not pack away damp.), Newspaper and cardboard (Flammable – keep away from candles, stoves, heaters and embers.), Insulated cooking box (hay box, thermal cooker) (Never put open flame or embers inside – only the hot, closed pot.)
- Jute or sisal twine (bought)
- Rope (Never use unknown or damaged rope for life-safety purposes.), Paracord (Not a climbing or safety rope.), Thin twine (Low breaking strength – light loads only.), Accessory cord (Use only certified cord after training for life-safety purposes.), Webbing (tubular webbing) (Inspect knotted webbing before every use.), Tree straps (Load only within the manufacturer's limits.), Monofilament fishing line (Never leave scraps of line behind: birds and other animals get tangled in them and die slowly. Wind up scraps and take them with you.), Thin, soft wire (brass or galvanised steel) (Wire ends are sharp – protect eyes and fingers when bending), Tow rope or tow strap (Attach only to the towing eyes provided by the manufacturer; never stand next to it under load.)
- Tarp
- Plastic sheet / large bin bag (Tears easily; never pull over the head (suffocation risk).), Emergency blanket (Tears easily once punctured; short-term shelter only.), Document folder (waterproof) (Store securely – contains sensitive personal data.), Rain poncho (When used as a shelter, it no longer protects your body from rain.), Bivy bag (Never fully close off the face.), Tent (Do not cook or heat inside the tent (fire and carbon monoxide danger).), Heavy-duty bin bag (large) (Suffocation risk: never pull plastic bags over the head or face and keep them away from small children.), Group shelter bag (Airtight – ventilate regularly.)
Results come exclusively from structured entries. No improvised instructions are generated.
Sources
Headquarters, Department of the Army (USA) (2002): FM 3-05.70 Survival
Lay covering material from the bottom up, overlapping, so rain runs off
Mors L. Kochanski – Lone Pine Publishing: Bushcraft: Outdoor Skills and Wilderness Survival
Covering with bark, grass and boughs; roof pitch and overlap
Ray Mears – Hodder & Stoughton (2002): Bushcraft
Natural roof covering in camp building
Centers for Disease Control and Prevention: Carbon Monoxide Poisoning – Prevention guidance
Carbon monoxide with fire in enclosed spaces