Building a simple log cabin from round logs
A log cabin is made by joining logs one above the other at the corners with notches until four walls stand. It lasts for decades but is a major project: many logs, heavy loads, felling with real dangers and weeks of work for several people. Plan small, set it on a dry stone foundation, open the notches downwards, seal the gaps – and build and fell only where the owner allows it.
- Weeks to months, several people
Explained simply
A log cabin is like a giant building-block house made of real tree trunks. The logs lie one above the other, and at the corners they lock into each other because a round notch is cut into each log. That way the cabin holds together without any nails.
That sounds simple, but it is huge work. Even for a small cabin you need many dozens of logs, and a single fresh log can weigh as much as several adults together. Felling trees is very dangerous and belongs in the hands of people who have learned how. So a log cabin is never built alone but with several helpers – and only where the owner of the forest allows it.
For the cabin to last, the wood must not lie on wet ground. So it goes on large stones. The notches always face downwards so no rain stays in them. The gaps between the logs are stuffed with moss and clay, and a strong roof goes on top.
How it works
In log building the walls carry themselves. Each log rests at both ends in a notch over the cross log below, and because long and cross walls follow one another alternately, the corners interlock. The weight of the roof and the logs presses the joints together – the heavier the wall, the tighter the notches sit.
In the simplest form, the round notch, you only cut a round hollow into the underside of the upper log that fits exactly over the log below. With the saddle notch the top of the lower log is also shaped a little. With both the important thing is that the notch opens downwards. A notch open upwards would be a little bowl in which rain water collects and the wood rots.
Wood rots when it stays wet for a long time. A dry stone foundation, a roof overhang and peeled logs make sure the wood can dry out after every rain. Fresh wood shrinks as it dries, so the walls settle in the first years; above doors and windows there must be room for this.
What really matters
Planning small is the most important decision. A cabin of about three by four metres inside with one door and a small window is already a big project. Straight logs of similar thickness with little taper make everything easier; you alternate thick and thin ends so the walls grow level. The two diagonals of the floor plan must be the same length – then it is square.
The foundation decides how long it lasts. Under the corners (and in between on longer walls) the topsoil is removed and a plinth of large flat stones set on firm ground. The lowest timber lies well above the ground, out of reach of splash water. For these sills you use the most durable wood available.
When notching: better try it three times than take off too much once. Lay the log on, mark the curve of the lower log, cut roughly, lay it on again, trim. You lay moss into the gaps while stacking; later you stuff remaining gaps with clay and straw. Build the roof stronger than you think – snow and wet covering are heavy.
Safety: what to watch out for
Felling is the most dangerous work in this project. Trees do not always fall where you want, trunks can split during felling and kick up, branches break out of the crown and trees get hung up in others. So only someone trained fells, with a clear escape route diagonally backwards, and nobody else stands within two tree lengths. Without training you only use logs that are already down – and only with permission.
Lifting and rolling heavy logs causes crush injuries and back injuries. Logs are moved with lever poles, on round rollers and up sloping ramps with ropes, always by several people with clear commands such as 'ready – lift'. Nobody stands downhill of a log or under a raised log, and hands and feet stay out of the area into which a log could roll.
When working with the axe you often stand right next to or on the log. Keep your legs out of the line of the swing, wear sturdy shoes and work only when rested. If someone is badly injured: protect yourself, call 112 (in Austria also 144), stop heavy bleeding with pressure. A stove in the finished cabin needs a real flue and ideally a CO alarm.
When it makes sense – and when not
A log cabin is only worthwhile if you will stay in one place for a very long time, have enough suitable timber, are allowed to use it and have several helpers and good tools. In cold, forested regions it is then one of the warmest and most durable shelters that can be built with simple means.
In an acute emergency it is the wrong choice. It takes weeks until the walls stand, and during that time you still need to sleep protected. For the first days and weeks a tarp, a debris hut or a small hut of poles and wattle make much more sense. Permanent buildings may also need planning permission – clarify this with the owner.
Good to know
Log building has been widespread for centuries in Scandinavia, Russia, the Baltic states and the Alps, often with elaborate corner joints and hewn beams instead of round logs. Settlers from northern and central Europe brought the method to North America. In the 1970s the Foxfire book recorded the memories of old cabin builders in the Appalachians and remains a well-known source for traditional techniques.
A lean-to cabin, with one wall higher than the other, saves building gables and is easier for beginners. And a practical tip: first build a small woodshed or shelter in log construction. That way you learn notching, lifting and stacking before tackling the actual cabin.
Step by step
Plan small and realistically
Plan a simple floor plan, for example about 3 × 4 metres inside, with one door and a small window. Even this needs several dozen straight logs. Expect weeks of work for several people and get permission for building and wood beforehand.
- 1
Plan small and realistically
Plan a simple floor plan, for example about 3 × 4 metres inside, with one door and a small window. Even this needs several dozen straight logs. Expect weeks of work for several people and get permission for building and wood beforehand.
- 2
Foundation against damp
At the corners (and in between on longer walls) remove the topsoil down to firm ground. Set large flat stones or stacked stone piers there so the lowest timber sits well above the ground and splash water does not reach it. Bring all piers to the same height with a string line.
- 3
Choose and prepare the logs
Choose straight, sound logs of as similar a diameter as possible with little taper. For the bottom sill logs use especially durable wood. Peel the logs – bark holds moisture and insects. Fresh wood shrinks as it dries, so the walls will settle later.
- 4
Fell and move only safely
Only someone trained fells, with an escape route diagonally backwards and nobody within two tree lengths. Logs are rolled on round rollers or dragged with a rope, by several people with commands. Nobody stands downhill of a log.
- 5
Lay the first course
Lay the two strongest logs as sills parallel on the piers. The two cross logs go over them in notches. Check with a string and by measuring the diagonals that the rectangle is square – both diagonals must be the same length.
- 6
Cut notches and stack
Lay the next log across the corner, mark the curve of the lower log on its underside and cut a round notch there (round or saddle notch). The notch always faces down. Test, trim and test again until the log sits snugly. Alternate thick and thin ends so the wall stays level.
- 7
Door and window
Saw out door and window openings once the wall is high enough. The cut log ends are held at the sides by an upright board or plank. Above every opening leave a gap so the wall can settle as it dries without crushing the frame.
- 8
Seal the gaps
Lay moss into the gaps while stacking. When the walls stand, stuff the remaining gaps with a mixture of clay and straw from outside and inside. After drying, fill cracks again – the wind finds every gap.
- 9
Put up the roof frame
A strong ridge pole goes onto the two gable ends, with more long poles (purlins) below it if needed. Rafters lie on top, reaching beyond the walls to form a roof overhang. Build too strong rather than too weak: snow and roofing are heavy. Cover it as described in the entry on roofing.
Common mistakes
- Planning too big and never finishing
- Laying the bottom logs directly on the ground – they rot
- Opening notches upwards – water collects there
- Felling trees without permission or training
- Leaving no settling gap above door and window
- Roof frame too weak for snow
Quick view
Materials
Round logs (straight, sound)
Straight logs of similar diameter, with permission
Fell or take only with the forest owner's permission.
Never lift or roll heavy logs alone; nobody stands downhill of a rolling log.
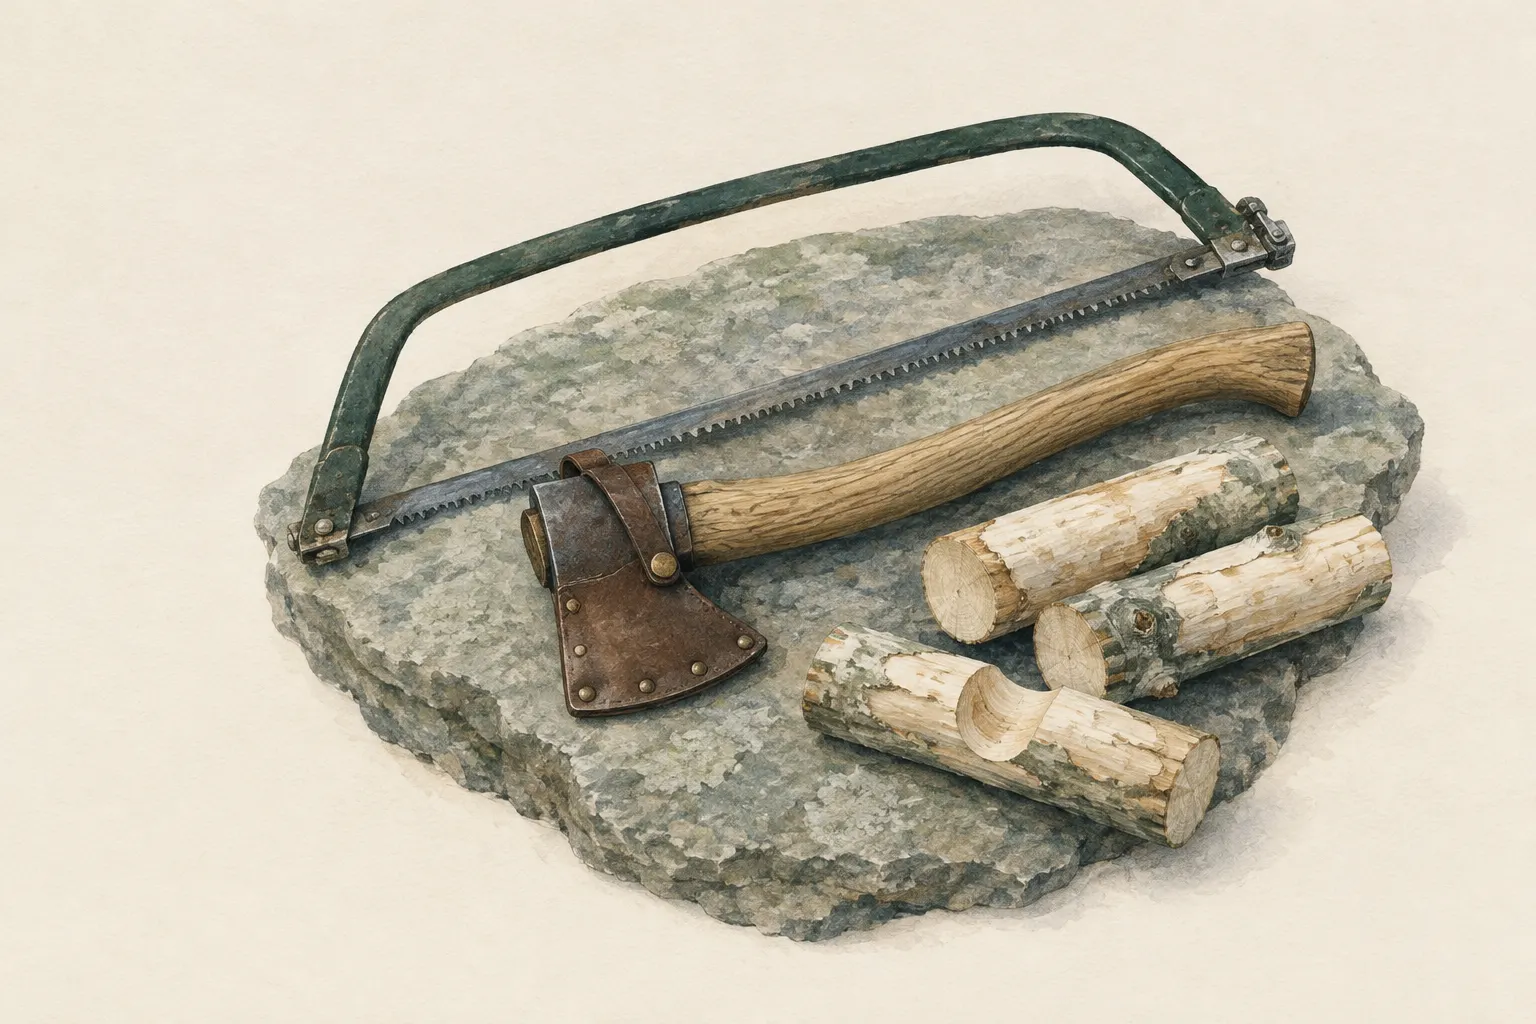
Hatchet or small axe
For notches; a carpenter's or felling axe is better
Only use with a firmly seated head and sound handle; fit the edge guard when not in use.
Rules on carrying and on cutting wood differ by region – check local rules.
Folding saw
A large bow saw or crosscut saw is better
Fold or cover the blade after use; saw teeth are very sharp.
Rope
For hauling and rolling logs up
Never use unknown or damaged rope for life-safety purposes.
Sturdy sticks / poles
Strong poles as levers and ramps
Do not cut live wood where prohibited.
Small shovel / folding spade
Sturdy work gloves
When handling flood mud or chemicals, also wear waterproof gloves.
Sturdy closed shoes
Suitable for
- Very long stays in one place
- Cold regions with plenty of timber
- Groups with time, tools and permission
Not suitable for
- Acute emergencies – far too slow
- Individuals without helpers
- Someone else's forest without permission
- People with no felling experience
Prerequisites
- Written or clear permission from the owner for building and wood
- Safe handling of axe and saw
- Several strong helpers
- An emergency shelter for the construction period
Safety
- When notching you often stand on or next to the log. Keep a firm stance, legs out of the line of the swing, sturdy footwear – otherwise a glancing axe blow hits a foot or shin.
- A stove or fire in the cabin needs a real smoke exit and distance from wood and roof. Without one there is a risk of carbon monoxide poisoning; a CO alarm is strongly recommended.
How it works
Each log sits in a notch over the cross log below it. The notch holds the corner together without nails, and because it opens downwards no rain water can collect in it. A dry foundation keeps ground moisture away from the wood – wood that can dry out again and again hardly rots. The gaps between the round logs are filled with moss, clay or wooden strips.
Advantages
- Very durable and windproof
- Wood stores heat and insulates
- Possible without nails and with simple tools
Disadvantages
- Enormous labour and material
- Great risk of injury when felling and lifting
- Needs permission and a lot of suitable timber
- Walls settle over years
Deep knowledge
Background
Log building is one of the oldest timber construction methods in Scandinavia, Eastern Europe and the Alps; settlers brought it to North America. In the 1970s the Foxfire book recorded the knowledge of old cabin builders in the Appalachians – from choosing the logs to the corner joints.
In a survival situation a log cabin is almost never the first choice: a tarp, a debris hut or a small wattle hut protects you faster. The log cabin is only worthwhile if you know for sure that you will stay a very long time.
Variants
- Partly dug in
- On a slope the back wall can be set into the hillside; this needs very good drainage and protection against earth pressure – the wall must withstand the slope.
- Lean-to cabin
- One long wall is built higher than the other; the roof is then a simple sloping surface without gables – easier to build.
Common mistakes
- Planning too big and never finishing
- Laying the bottom logs directly on the ground – they rot
- Opening notches upwards – water collects there
- Felling trees without permission or training
- Leaving no settling gap above door and window
- Roof frame too weak for snow
Limits and risks
- No structural calculations or load ratings
- No felling instructions – felling belongs in a course
- No building regulations – permanent structures may need a permit
- No stove or chimney construction
Material alternatives
Derived from material properties: a substitute must have all relevant properties. Observe the notes on the substitute.
- Round logs (straight, sound)
- Trekking poles, Sturdy sticks / poles (Do not cut live wood where prohibited.), Tent pole repair sleeve (Temporary only – have broken sections replaced at home.)
- Rope
- Paracord (Not a climbing or safety rope.), Thin, soft wire (brass or galvanised steel) (Wire ends are sharp – protect eyes and fingers when bending), Tow rope or tow strap (Attach only to the towing eyes provided by the manufacturer; never stand next to it under load.)
Results come exclusively from structured entries. No improvised instructions are generated.
Sources
Eliot Wigginton (Hrsg.) – Anchor Press/Doubleday (1972): The Foxfire Book (u. a. Kapitel zum Bau von Blockhütten)
Traditional log cabin building: choosing logs, corner notches, chinking, roof
Occupational Safety and Health Administration (OSHA), U.S. Department of Labor: Logging eTool – Felling
Felling hazards, escape route, safe distance of two tree lengths
USDA Forest Service, Missoula Technology and Development Center (Bernie Weisgerber, Bob Beckley) (1999): An Ax to Grind: A Practical Ax Manual
Safe axe use, stance and line of swing
Mors L. Kochanski – Lone Pine Publishing: Bushcraft: Outdoor Skills and Wilderness Survival
Timber structures in a long-term camp
Centers for Disease Control and Prevention: Carbon Monoxide Poisoning – Prevention guidance
Burning appliances only with venting, CO alarms