Burning out a bowl or cup with embers
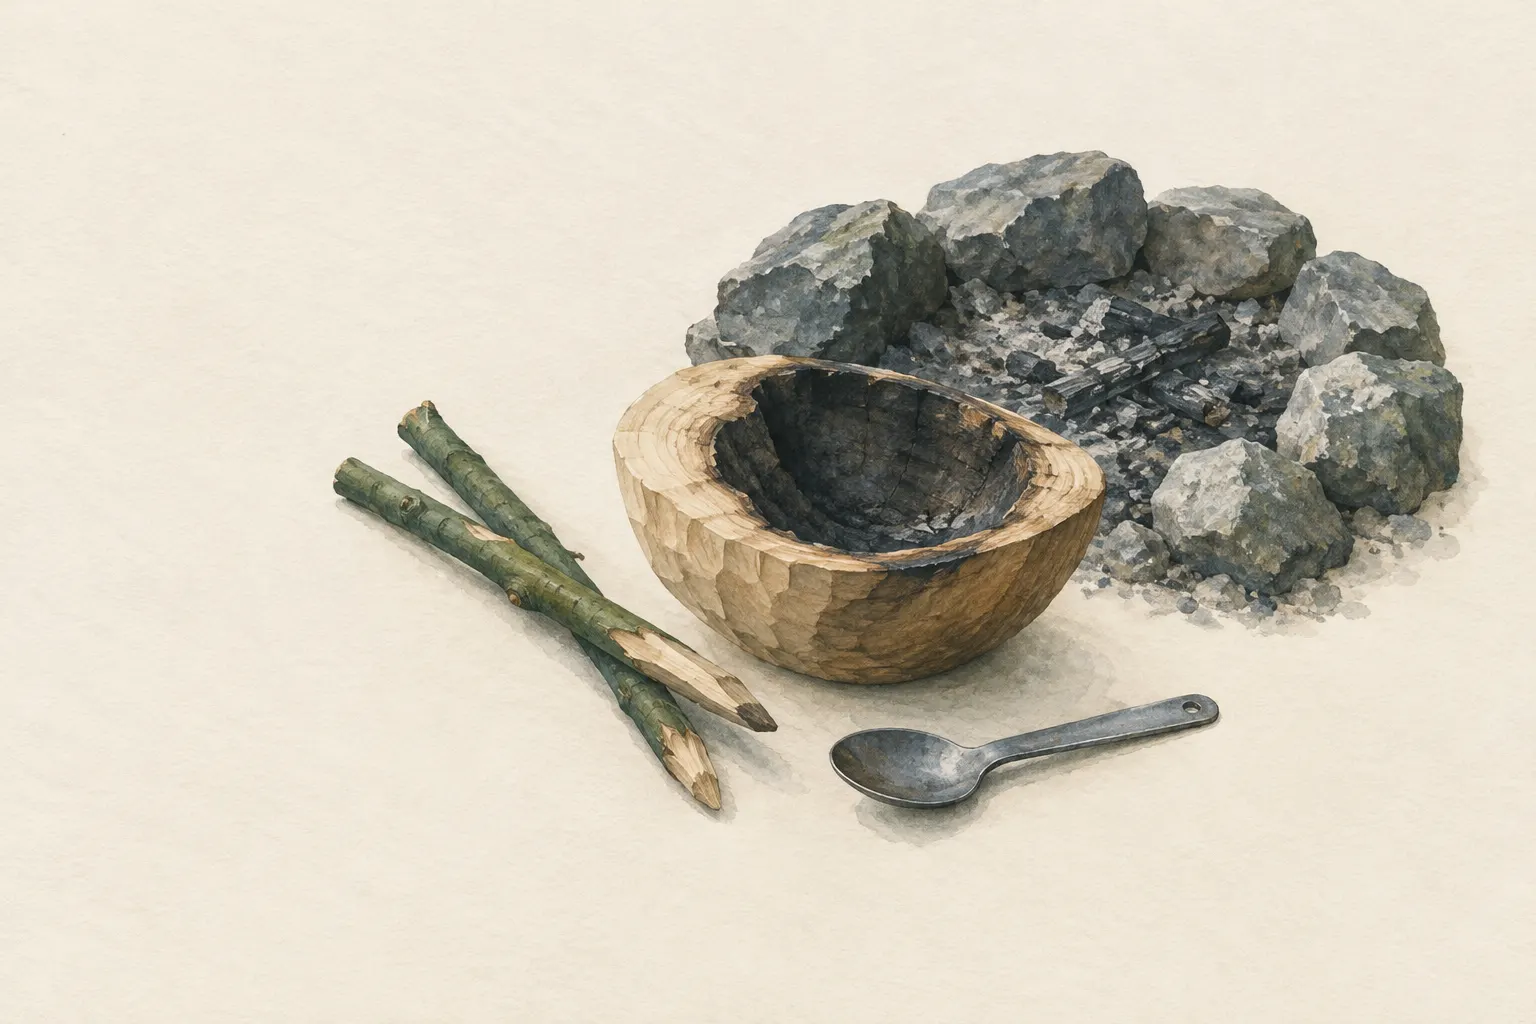
Instead of laborious carving, you let glowing coals burn a hollow into a block of wood: place an ember, blow on it gently, scrape away the charred layer, repeat. With a knife, a fire and patience this gives you a bowl or a cup. A damp rim of clay protects the parts that are meant to stay. Fire only where it is permitted, and always with water to put it out next to you.
- Small cup about 2–4 hours, larger bowl half a day to a whole day
Explained simply
Carving a bowl is hard and takes a long time. There is a trick where the fire does the work for you: you lay a glowing coal on a piece of wood and blow gently. The coal slowly eats its way into the wood and leaves a small black hollow.
The black layer is as soft as chalk. You scrape it away with the back of your knife, put the next coal in and blow again. So the hollow grows bigger and deeper step by step. So the rim does not burn too, you smear damp clay on it.
This takes a few hours – perfect for a long evening by the campfire. But embers are very hot, even when they look grey. You never touch them with your fingers, you blow from the side and you always have water next to you to put things out.
How it works
A glowing charcoal is a small furnace. When you blow on it, it gets more oxygen and becomes brighter and hotter. This heat moves into the wood directly beneath. There the wood breaks down and turns into charcoal itself – the hollow starts to grow.
But the new layer of char has a drawback: it insulates. The thicker it gets, the less heat reaches the fresh wood. That is why scraping is so important. After each round you scratch the black layer away until light, firm wood shows again. Then the next coal can attack directly.
Moisture slows burning a great deal, because the water has to evaporate first. You use exactly that at the rim: a thin ring of damp clay or mud holds the embers back where the wall is meant to stay. That lets you steer the shape of the hollow.
What really matters
The wooden block must be dry, sound and free of cracks, or the bowl will crack while burning or drying. Use reliably identified hardwood such as lime, birch, alder or maple. The block should be about twice as wide as the hollow so enough wall remains. A flat-sawn underside stops it from tipping over while you work.
Good embers are the most important thing. A fire of hardwood such as beech or oak gives firm, long-glowing coals the size of a walnut. Softwood embers fall apart quickly. Pick up the coals with two fresh green sticks like tongs, or with a metal spoon.
Blow calmly and steadily, not hard. Blowing too hard stirs up ash and sparks and achieves little more. In between, keep checking the wall thickness with your fingers – inside and outside at the same time. Base and wall should stay at least a good finger's width thick.
Safety: what to watch out for
Embers are several hundred degrees hot. A coal that is already grey on the outside can still be glowing fully inside. So never touch one with your fingers. If you do burn yourself, cool the spot at once with cool, not ice-cold, water for at least 20 minutes. For large burns, burns to the face or burns in children call 112, in Austria also 144.
When you blow, ash and small sparks fly up. Blow from the side and never hold your face directly over the coal. Glasses protect your eyes. Do not breathe in smoke – if you feel dizzy, take a break in the fresh air.
At the end everything must be out. The last ember goes back into the fireplace and the block is doused thoroughly with water. Wood can keep smouldering inside without you seeing it. Afterwards put the campfire out completely too, and check with your hand above the ash that no more heat is coming off.
When it makes sense – and when not
Burning is worthwhile in a base camp when a fire is burning for many hours anyway. It is ideal if you have no hook knife or find hollowing with a knife too strenuous. For groups it is a calm shared project in which everyone gets a turn at blowing – under supervision.
It does not make sense when fire is banned, when strong wind carries sparks or when you are staying only one night. And a wooden bowl is not a cooking pot: over a flame it catches fire itself. To heat water you can put hot stones into it instead – the entry on cooking without a pot explains this.
Good to know
For anything you eat or drink from, only wood you know for certain will do. Yew and laburnum are poisonous, and painted, impregnated or unknown wood also does not belong near food. Which woods are suitable is in the entry "Which wood for what?".
The finished bowl dries best slowly in the shade. By the fire or in full sun the surface dries too fast and cracks. A little cooking oil protects the wood somewhat from stains. After use you rinse it with clear water and let it dry in the open.
The charred inner surface is clean after scraping and smoothing. If you like, you can then carve a handle or a nice shape on the outside – and you have a cup in the style of the Nordic kuksa.
Step by step
Prepare the spot and the block
Work only at a permitted fireplace and have water ready. Choose a dry, crack-free block of reliably identified hardwood, for example lime, birch, alder or maple, about twice as wide as the hollow. Saw the underside flat so it cannot tip over.
- 1
Prepare the spot and the block
Work only at a permitted fireplace and have water ready. Choose a dry, crack-free block of reliably identified hardwood, for example lime, birch, alder or maple, about twice as wide as the hollow. Saw the underside flat so it cannot tip over.
- 2
Carve a starter hollow and protect the rim
Carve a shallow hollow about 2–3 cm wide into the middle of the top with the knife – away from your body. The first ember will sit in it. Smear the rim that is meant to stay with damp clay or mud.
Brace the block firmly, never carve over your leg.
- 3
Place an ember
Using two fresh sticks as tongs or a metal spoon, take a strongly glowing coal about the size of a walnut from the fire and place it in the starter hollow.
- 4
Blow gently
Blow steadily and calmly onto the coal from the side until it glows brightly and the wood beneath glows with it. Shift the coal now and then with the stick so the hollow grows evenly. When it has shrunk, add a new one.
Do not hold your face over the ember.
- 5
Scrape out the char
After two or three coals, put the ember back into the fire and scrape out the soft black layer of char with the back of the knife, a spoon or a stone until light, firm wood shows again. Char insulates – without scraping, progress almost stops.
- 6
Repeat and check the wall thickness
Ember, blow, scrape – again and again. Keep the clay rim damp. Regularly feel the wall thickness from inside and outside with your fingers: base and wall should stay at least a good finger's width thick, or the vessel will crack.
- 7
Douse and clean
Return the last ember to the fire, douse the block with water and check that nothing is still glowing. Then scrape out all the char, wash off the clay and rub the hollow smooth with sand or a sandstone.
- 8
Finish and use correctly
Shape the outside with knife or saw, rinse the vessel and let it dry slowly in the shade, not by the fire – otherwise it cracks. If you like, rub it with a little cooking oil. It is good for food and warm drinks, but not for cooking over a flame.
Common mistakes
- Not scraping out the char – the hollow hardly grows
- Blowing too hard so sparks and ash fly into your face
- Burning the wall too thin
- Drying the vessel by the fire so it cracks
- Not dousing the block after work
Quick view
Materials
Block of dry, non-toxic hardwood
About twice as wide as the hollow you want, with a flat underside
Do not use yew or laburnum, and no painted, treated or unknown wood for food vessels.
Dry firewood
Hardwood for good, long-lasting embers
Collect only where permitted.
Knife (fixed or locking blade)
Cut away from your body.
Rules on carrying knives differ by region – check local rules.
Water for extinguishing (bucket, canister or pot)
Have several litres ready before lighting.
Sturdy sticks / poles
Two fresh sticks as ember tongs, or a metal spoon
Do not cut live wood where prohibited.
Clay-rich soil (subsoil)
Damp clay or mud to protect the rim
Use only subsoil without roots and topsoil.
Secure or refill pits after digging – risk of falls.
Clean sand
For smoothing at the end
Improvised sand layers do not reliably remove pathogens.
Suitable for
- Base camps with a fire for several hours
- Eating and drinking vessels without a hook knife
- A group project for teenagers under supervision
Not suitable for
- Times of fire bans or high wildfire danger
- Strong wind that carries sparks
- Vessels for cooking directly over the fire – wood burns
- Wood from yew, laburnum or an unknown species
Prerequisites
- A permitted, safe fireplace with good embers
- Safe knife handling
- Time and patience – burning takes hours
Safety
- When blowing, ash and sparks fly. Blow from the side, do not hold your face directly over the embers, protect your eyes and do not breathe in smoke. If you feel dizzy, take a break.
- A wooden block can keep smouldering inside even when nothing is smoking outside. At the end put all embers back into the fireplace, douse the block thoroughly with water and put the fire out completely.
- For vessels you eat or drink from, use only reliably identified, non-toxic wood – never yew or laburnum, never painted, impregnated or unknown wood.
How it works
A glowing coal passes its heat to the wood below until that wood starts to glow and chars itself. Charcoal is soft and easy to scrape away; the sound wood beneath is not. By placing embers, blowing and scraping out the char, the hollow grows layer by layer. Where the rim is damp, the ember can hardly burn – that is how you control the shape.
Advantages
- Needs no hook knife
- Hollows form with almost no force
- The result is a lasting, useful vessel
Disadvantages
- Takes hours and needs a constant supply of embers
- Only where fire is permitted
- The vessel is not fireproof
Deep knowledge
Background
Hollowing wood with embers is an old technique used in many cultures for bowls, spoons and even dugout canoes. Bushcraft textbooks such as those by Mears and Kochanski describe ember burning as a complement to carving.
Burning is quiet and relaxing and suits long evenings by the fire. What matters is having good hardwood embers and putting the fire out completely afterwards.
Variants
- With a blowing tube
- A piece of reed or a thin metal tube directs the air precisely onto the coal and keeps your face further away. Never push the tube into the embers and never suck on it.
- Spoon bowl
- With a very small coal you can also burn out the bowl of a roughly carved spoon when there is no hook knife.
Common mistakes
- Not scraping out the char – the hollow hardly grows
- Blowing too hard so sparks and ash fly into your face
- Burning the wall too thin
- Drying the vessel by the fire so it cracks
- Not dousing the block after work
Limits and risks
- No figures for wood moisture or burning time per centimetre
- No treatment of burns beyond basic measures
- Only with wood you are allowed to use
Material alternatives
Derived from material properties: a substitute must have all relevant properties. Observe the notes on the substitute.
- Dry firewood
- Tinder (Carry in waterproof packaging.), Char cloth (charred cotton) (Store dry in a tin.), Finest-grade steel wool (Store separately from batteries – fire risk.), Fatwood (resin-rich wood) (Collect only dead wood where permitted.), Stove fuel (canister, liquid fuel, alcohol) (Store fuels apart from food and in original containers or bottles intended for them.), Petroleum jelly cotton balls (Use only pure cotton.), Cooking oil or cooking fat (tallow, lard) (Never put out burning fat with water – cover it with a lid to smother it.), Tree resin (spruce, pine) (Resin is flammable and sticks to the skin when hot – melt it only slowly over low heat.), Birch bark (from dead, fallen wood) (Never peel from living trees.)
Results come exclusively from structured entries. No improvised instructions are generated.
Sources
Ray Mears – Hodder & Stoughton (2002): Bushcraft
Hollowing wood with embers as a bushcraft technique
Mors L. Kochanski – Lone Pine Publishing: Bushcraft: Outdoor Skills and Wilderness Survival
Making wooden vessels in camp
Wissenschaftliche Verlagsgesellschaft Stuttgart (Dietrich Frohne, Hans Jürgen Pfänder): Giftpflanzen – Ein Handbuch für Apotheker, Ärzte, Toxikologen und Biologen
Toxicity of yew and laburnum
European Resuscitation Council – Resuscitation (journal) (2021): European Resuscitation Council Guidelines 2021: First Aid
Cool burns immediately with cool water
Leave No Trace Center for Outdoor Ethics: The Seven Principles of Leave No Trace (Principle 5: Minimize Campfire Impacts)
Keep fires small, put them out completely